


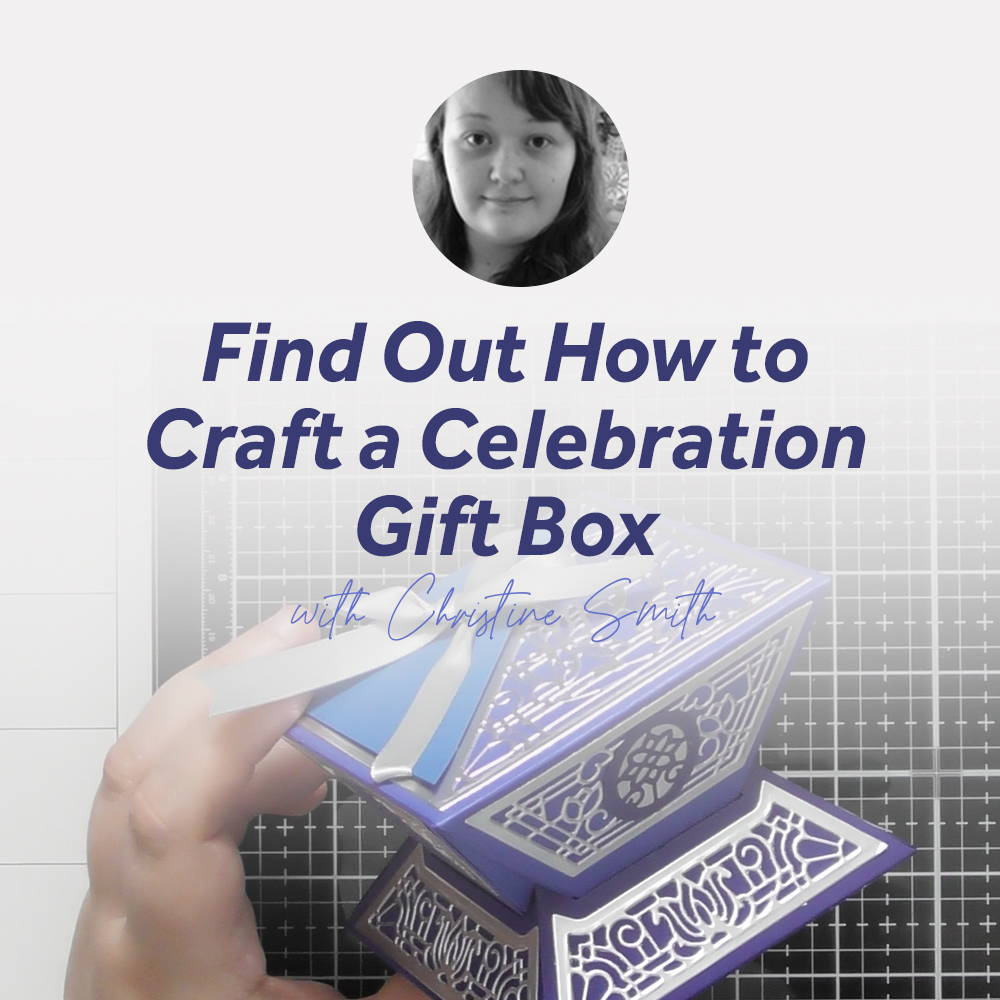
The Deco Gift Box is fascinating to make, it’s so clever the way to top slots into the bottom so easily and it’s so simple to assemble too, so I’ve done a step by step to show you just how simple it is :D
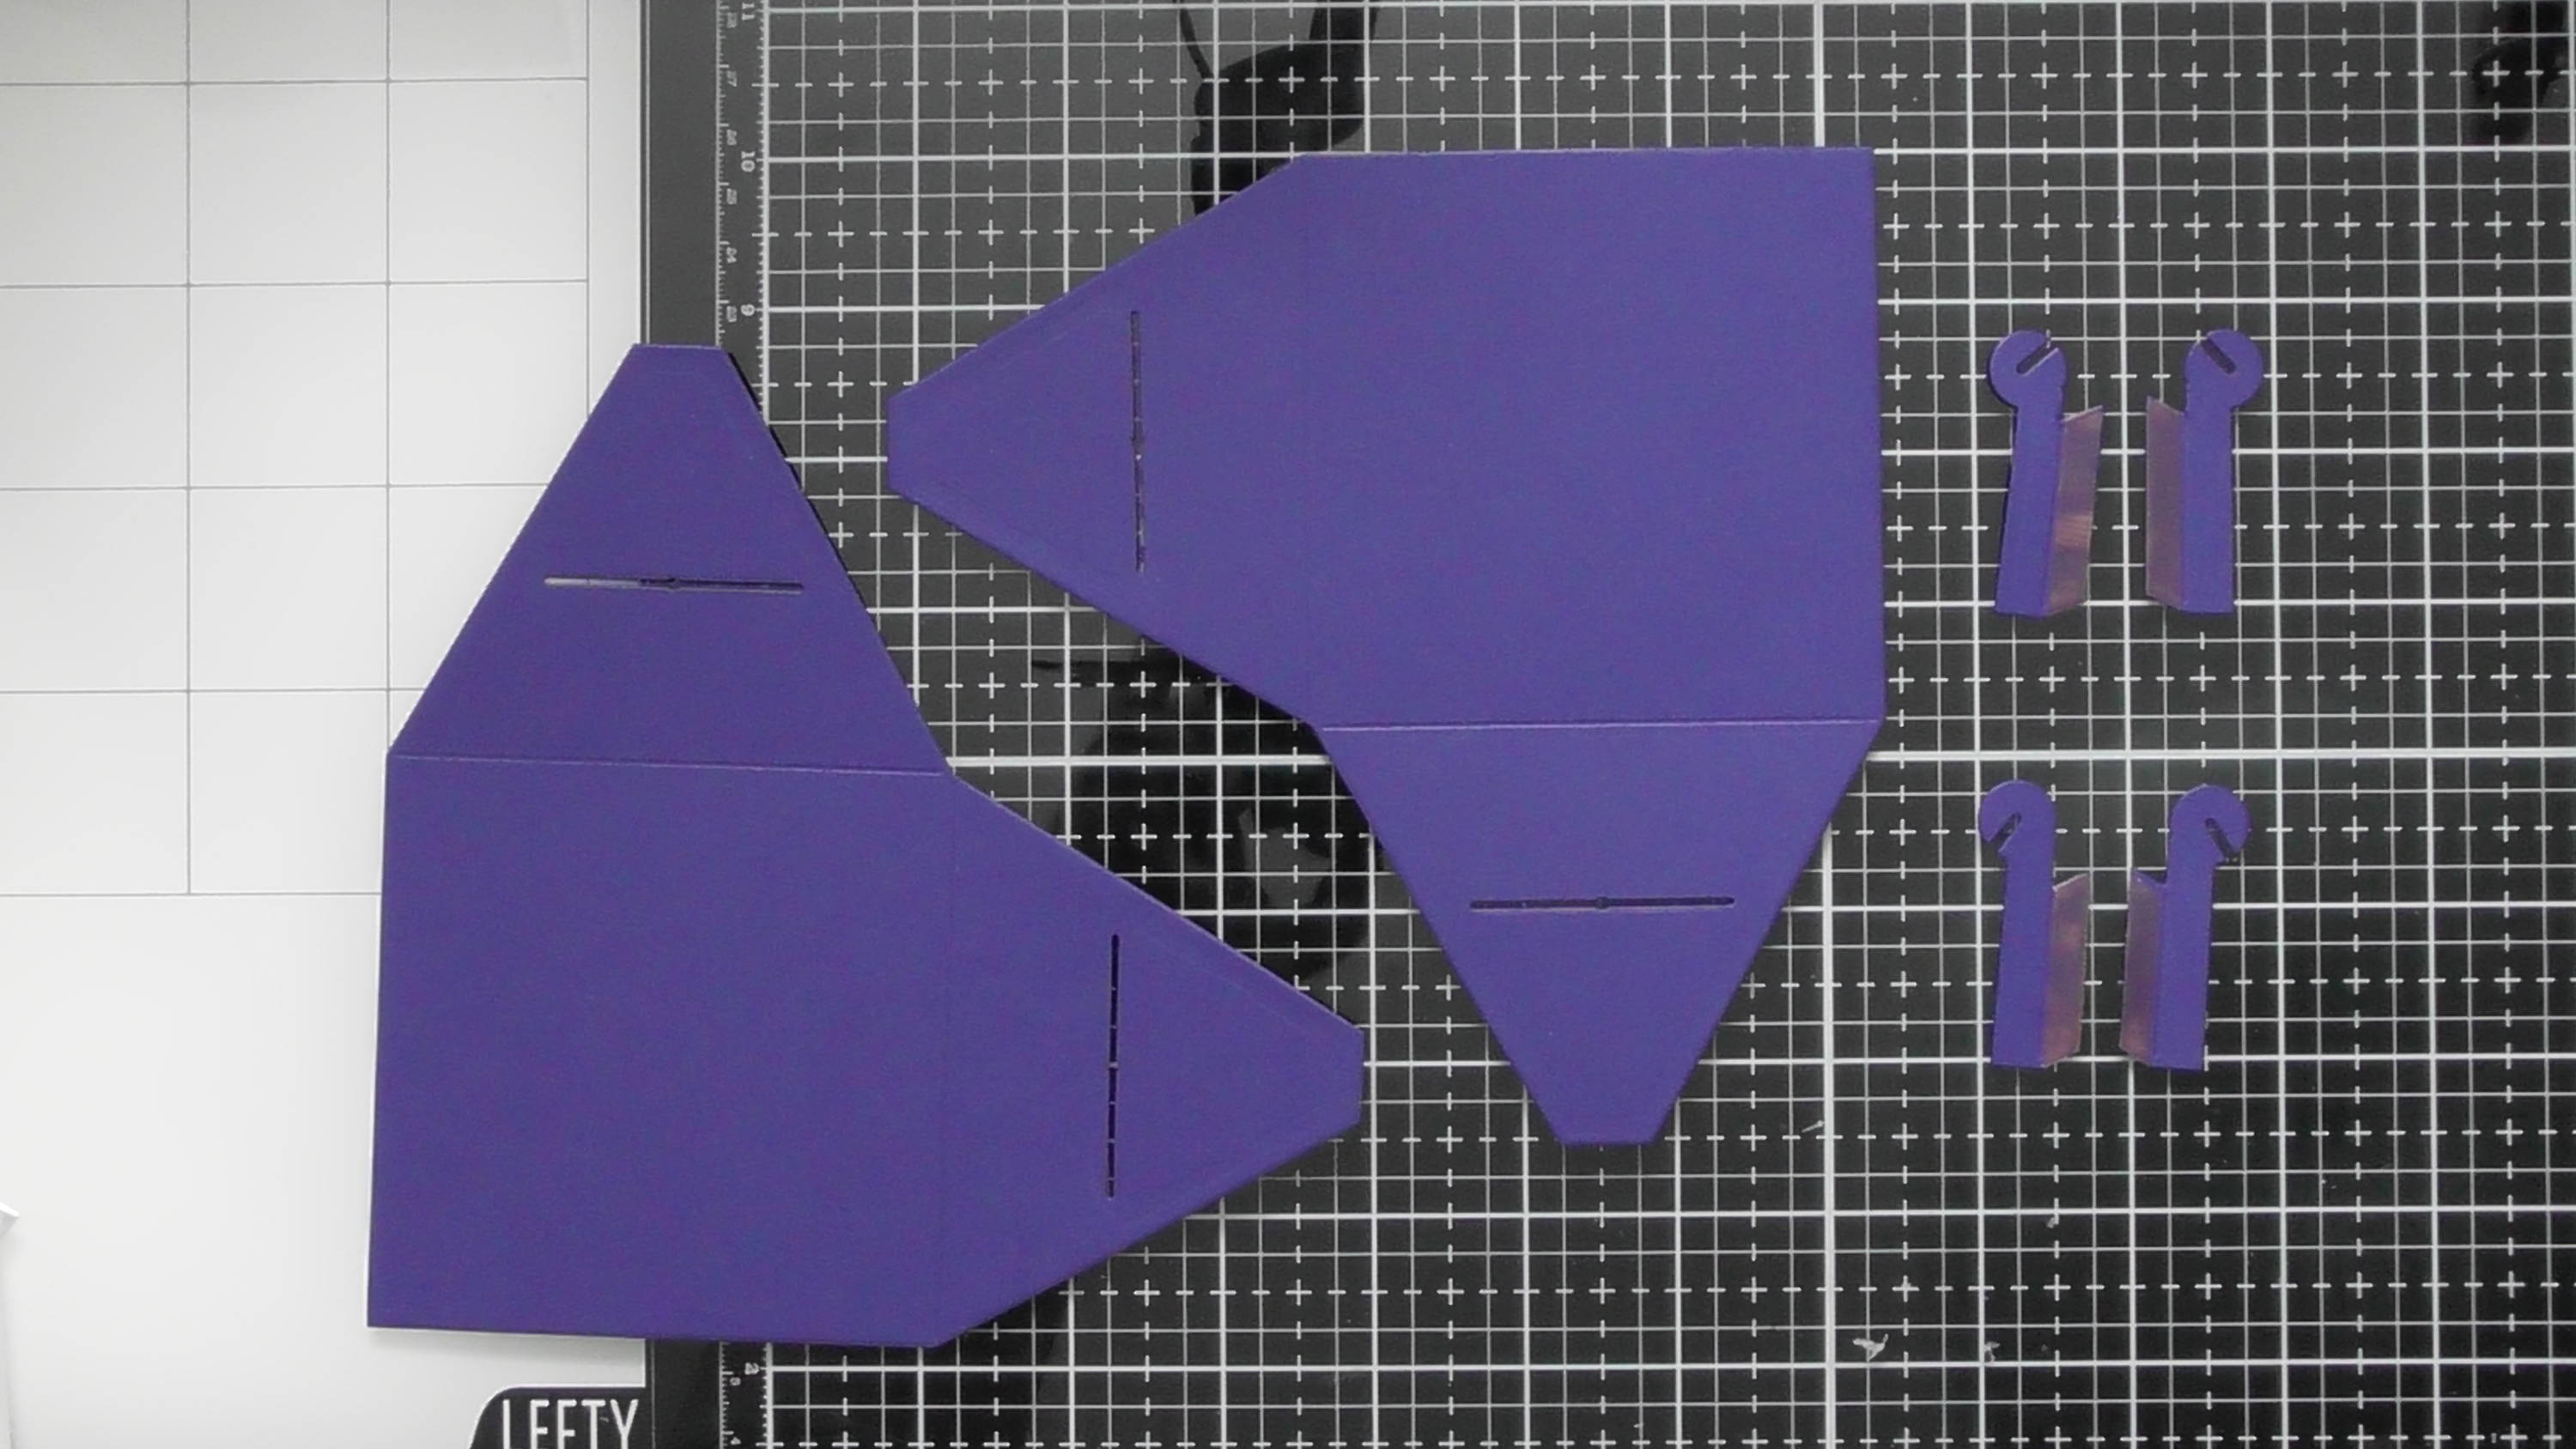
Step 1
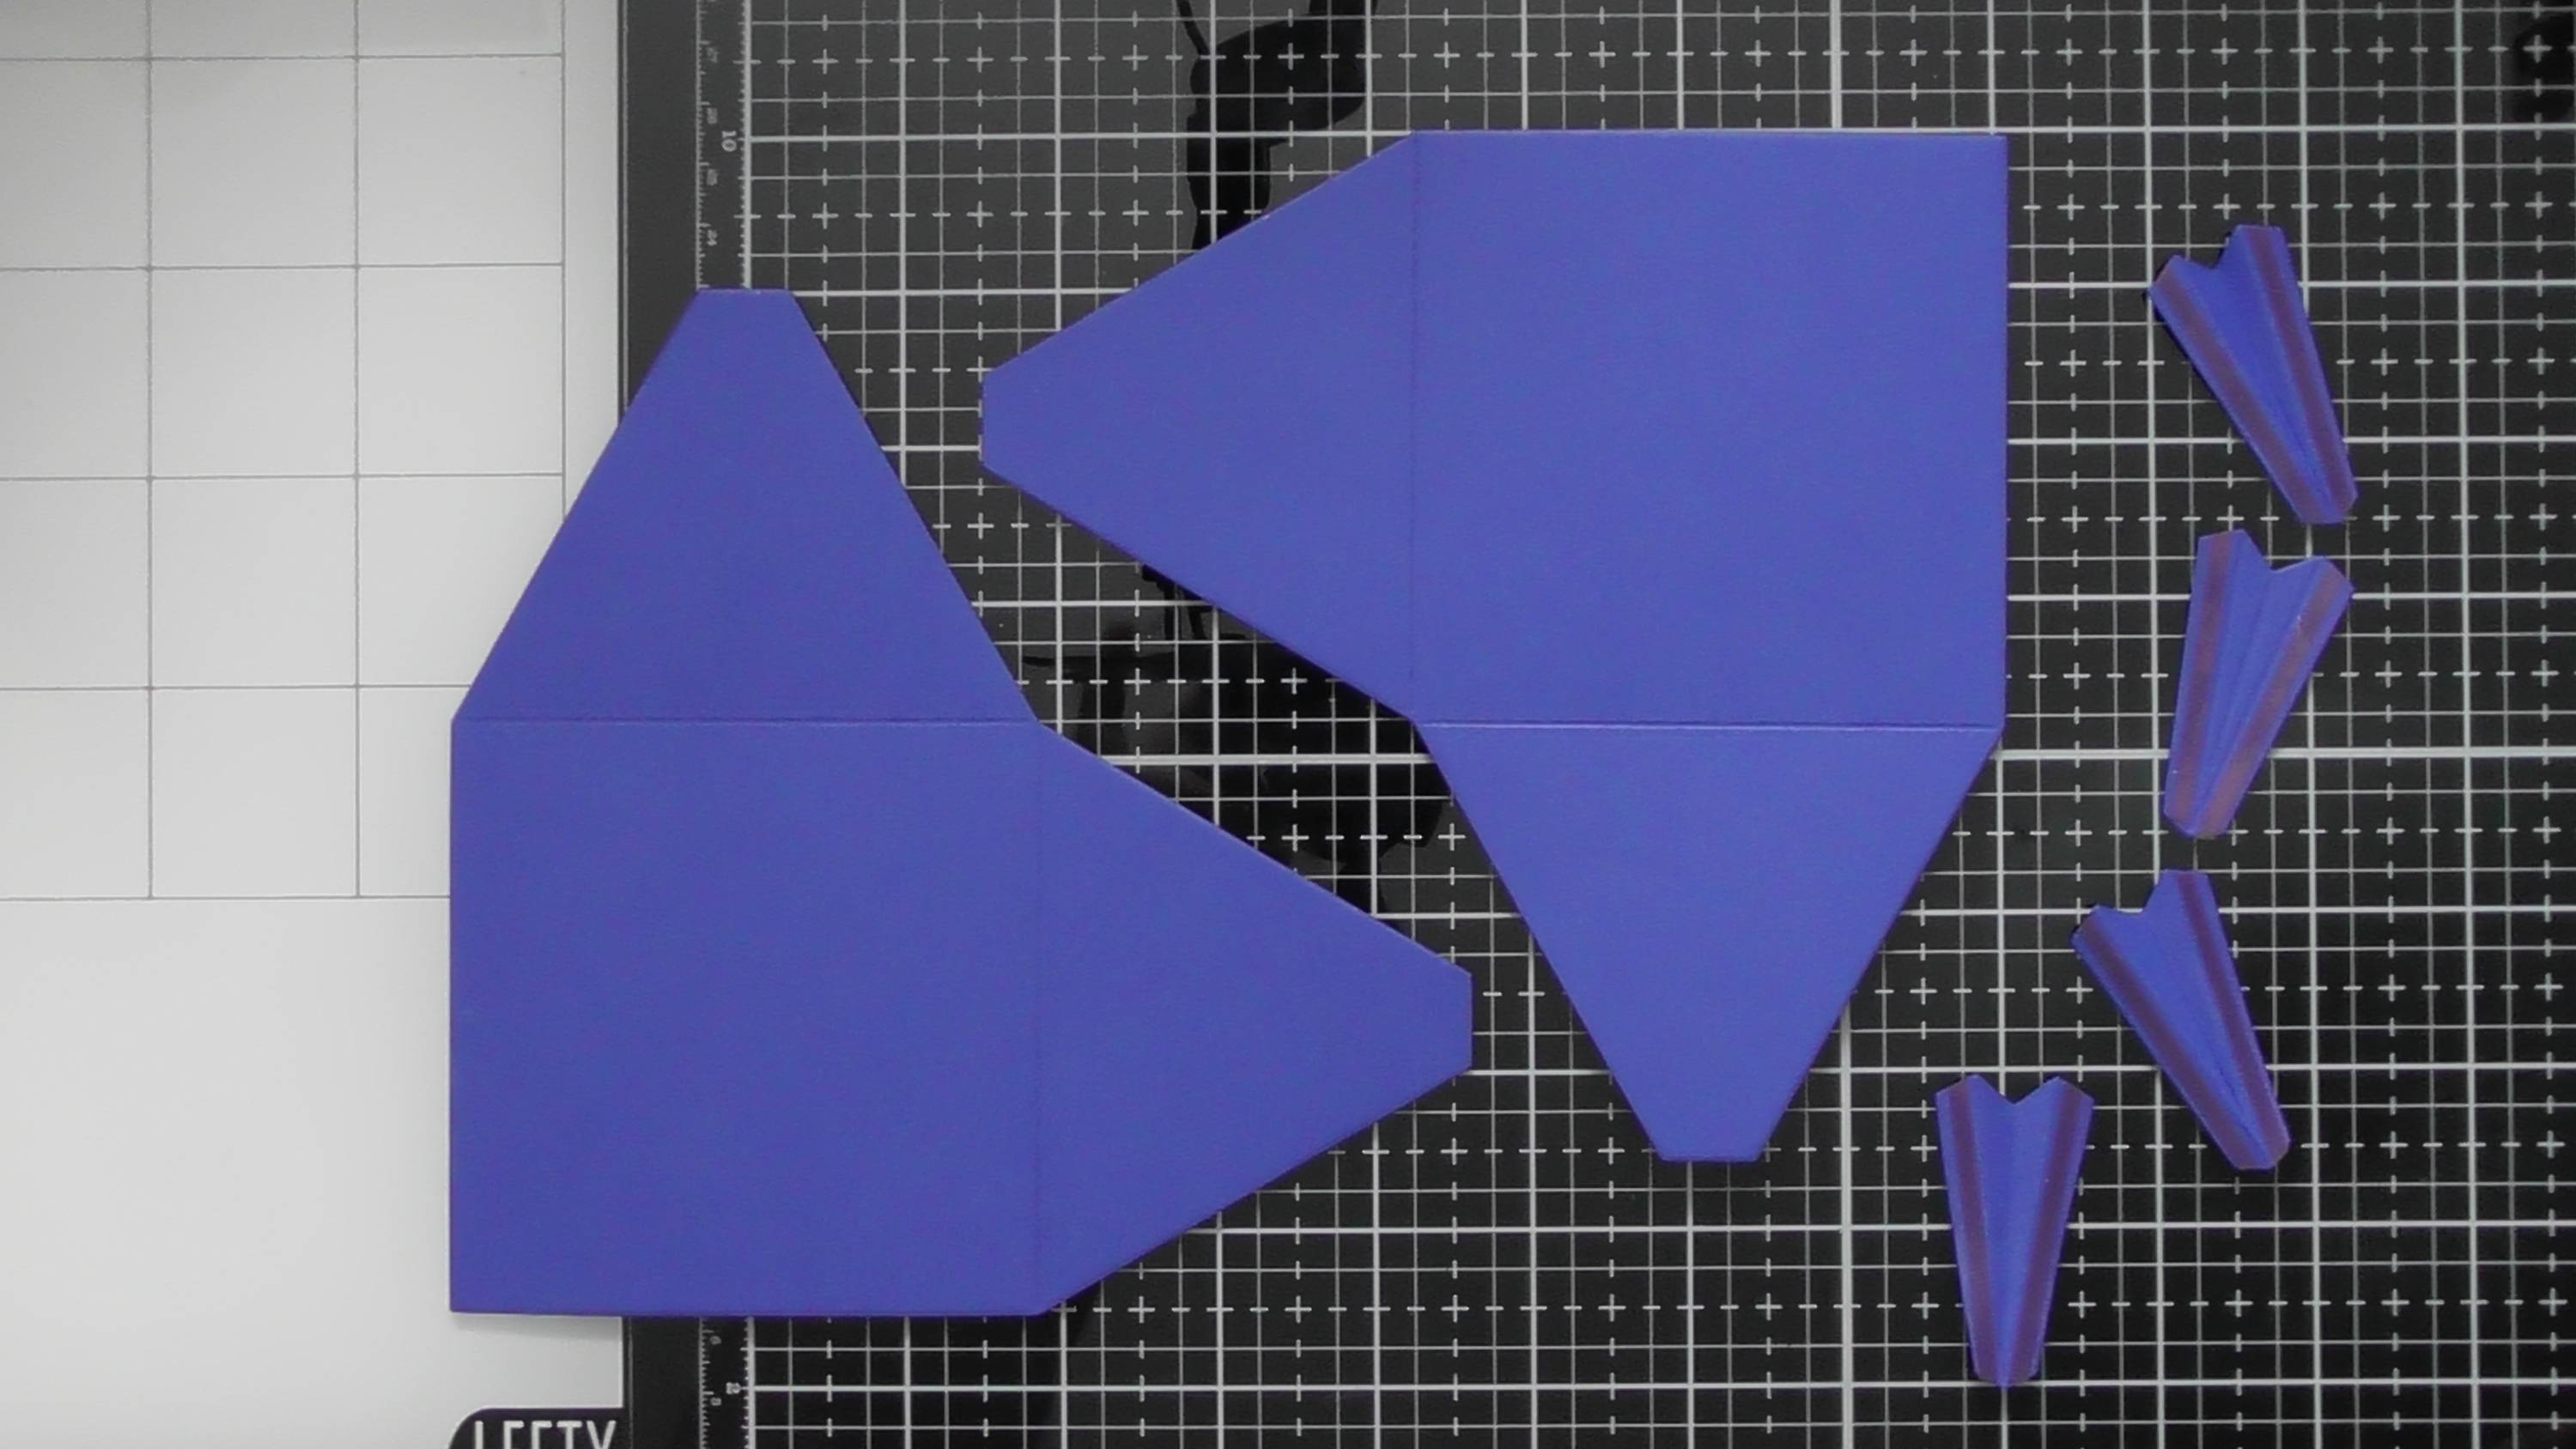
Firstly let’s make the top of the box; these are the basic pieces you’ll need…
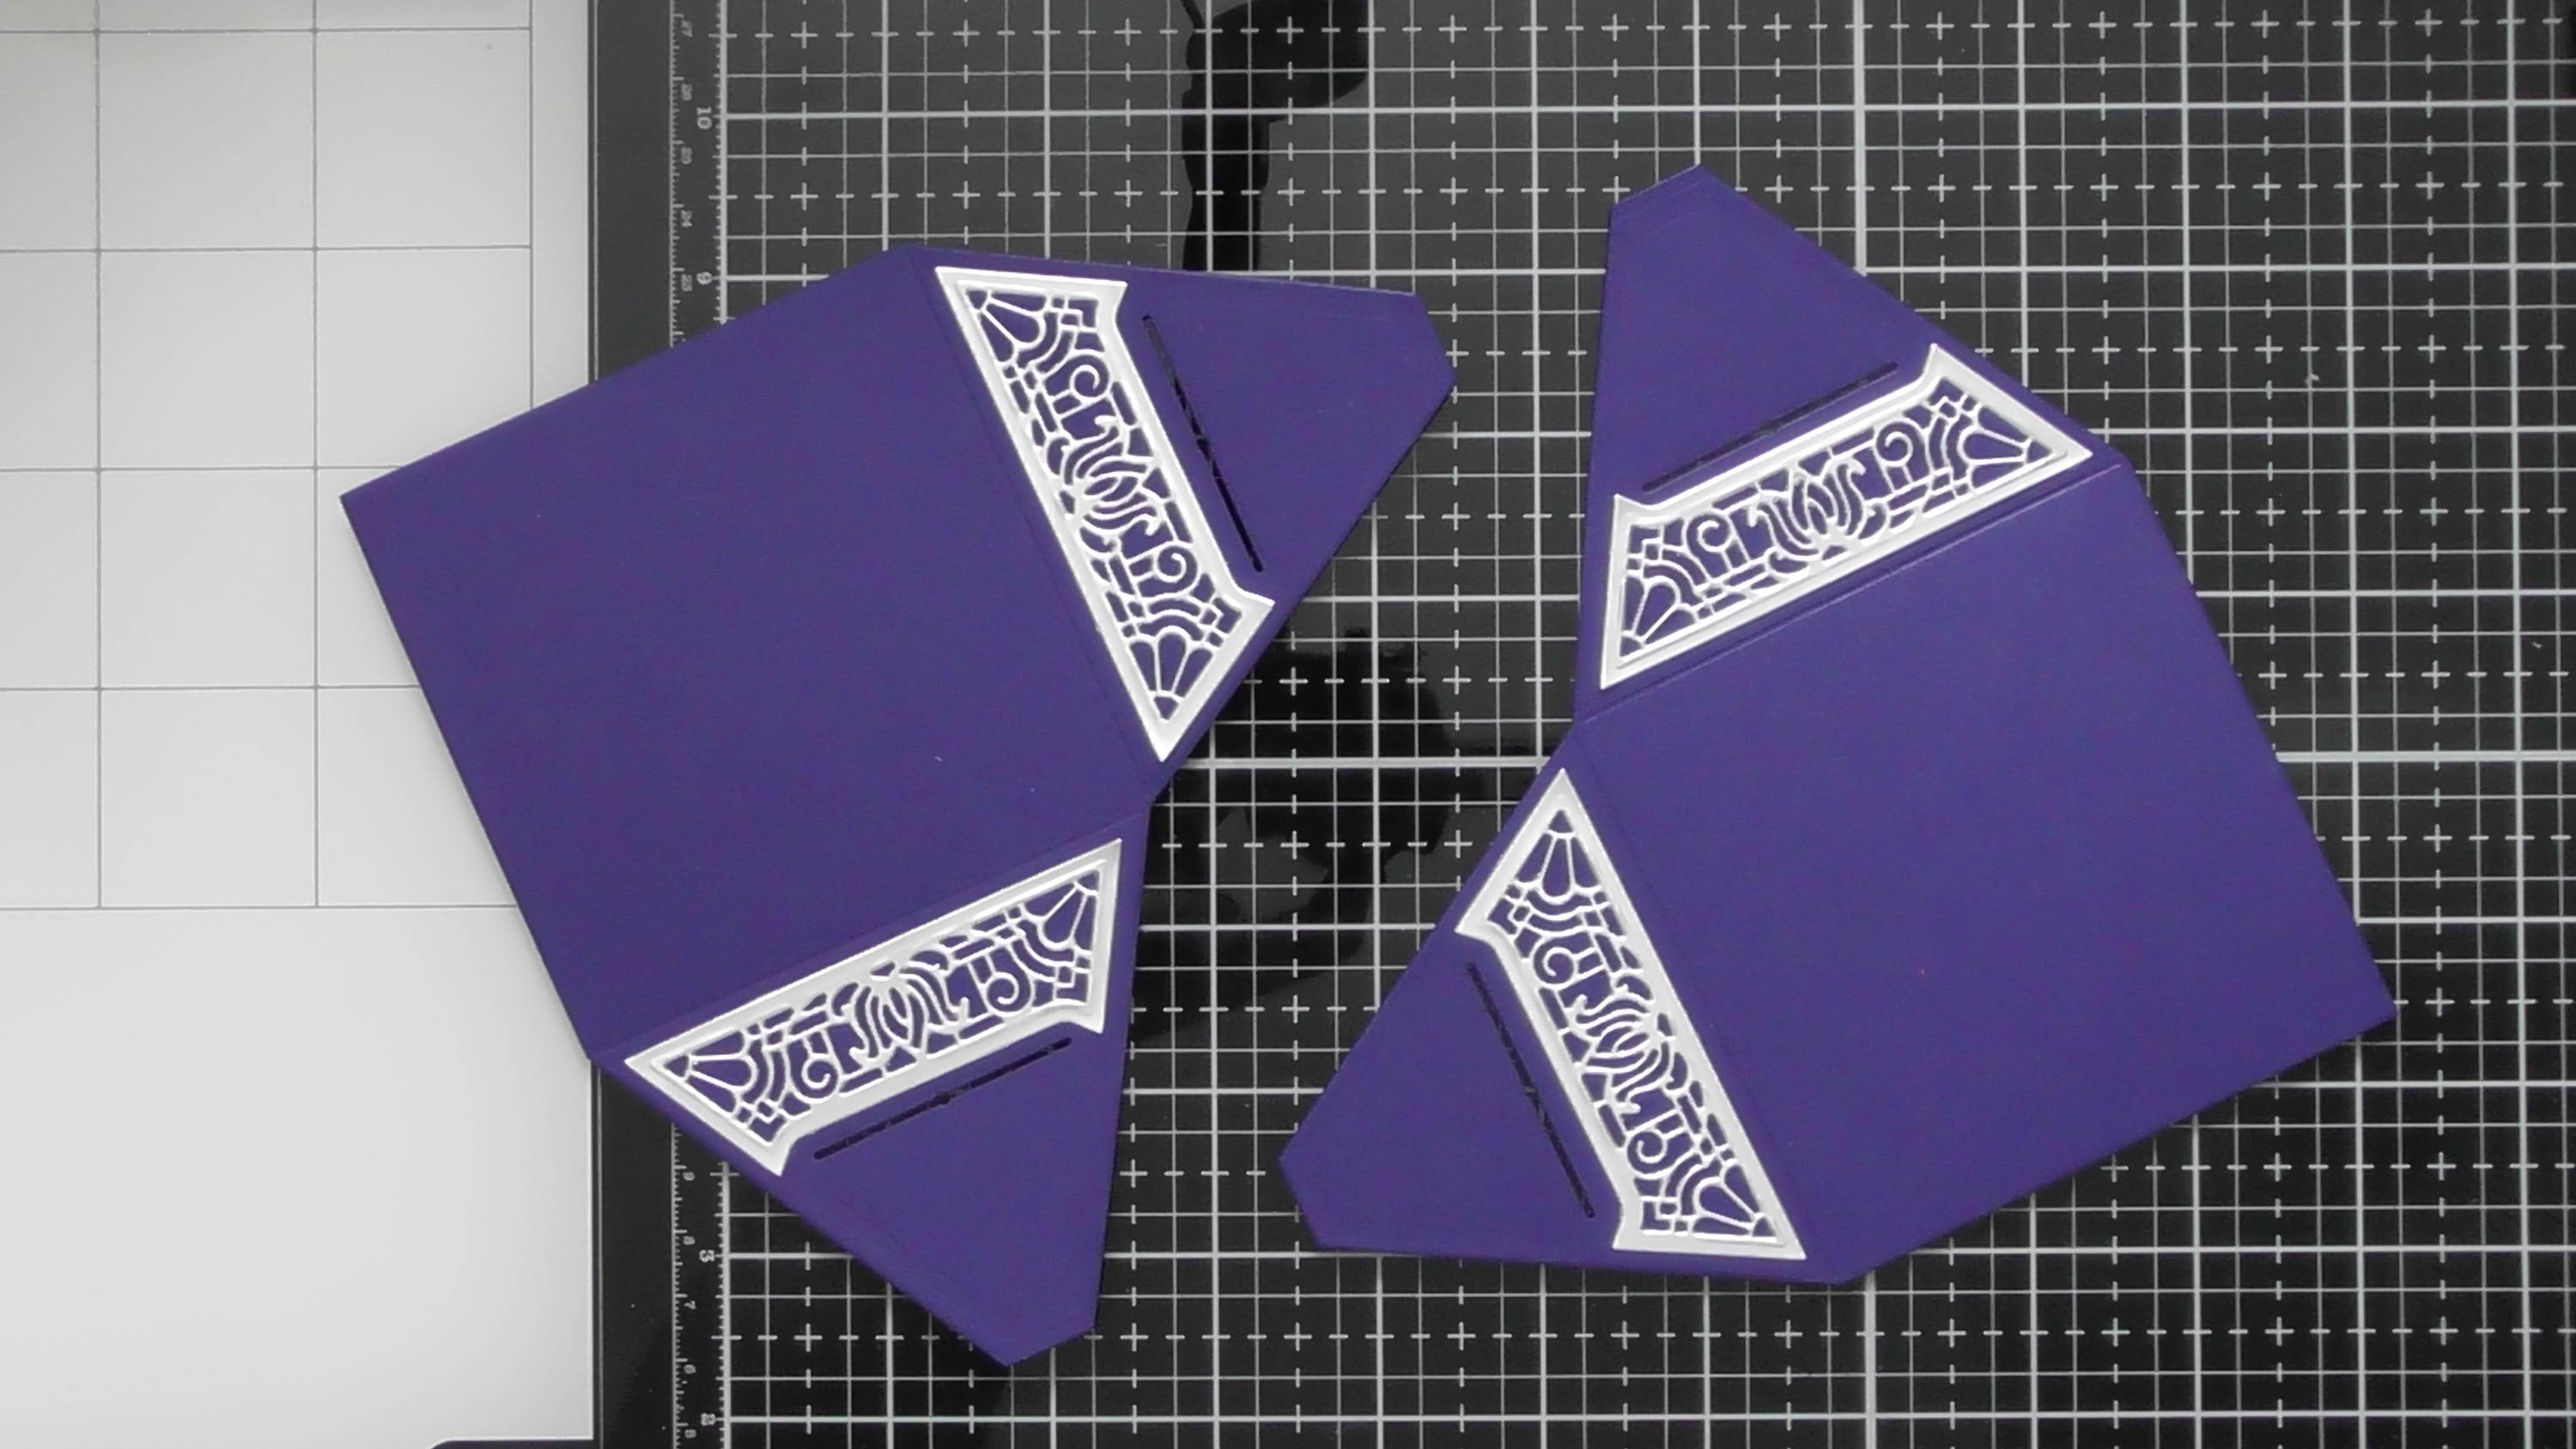
Step 2
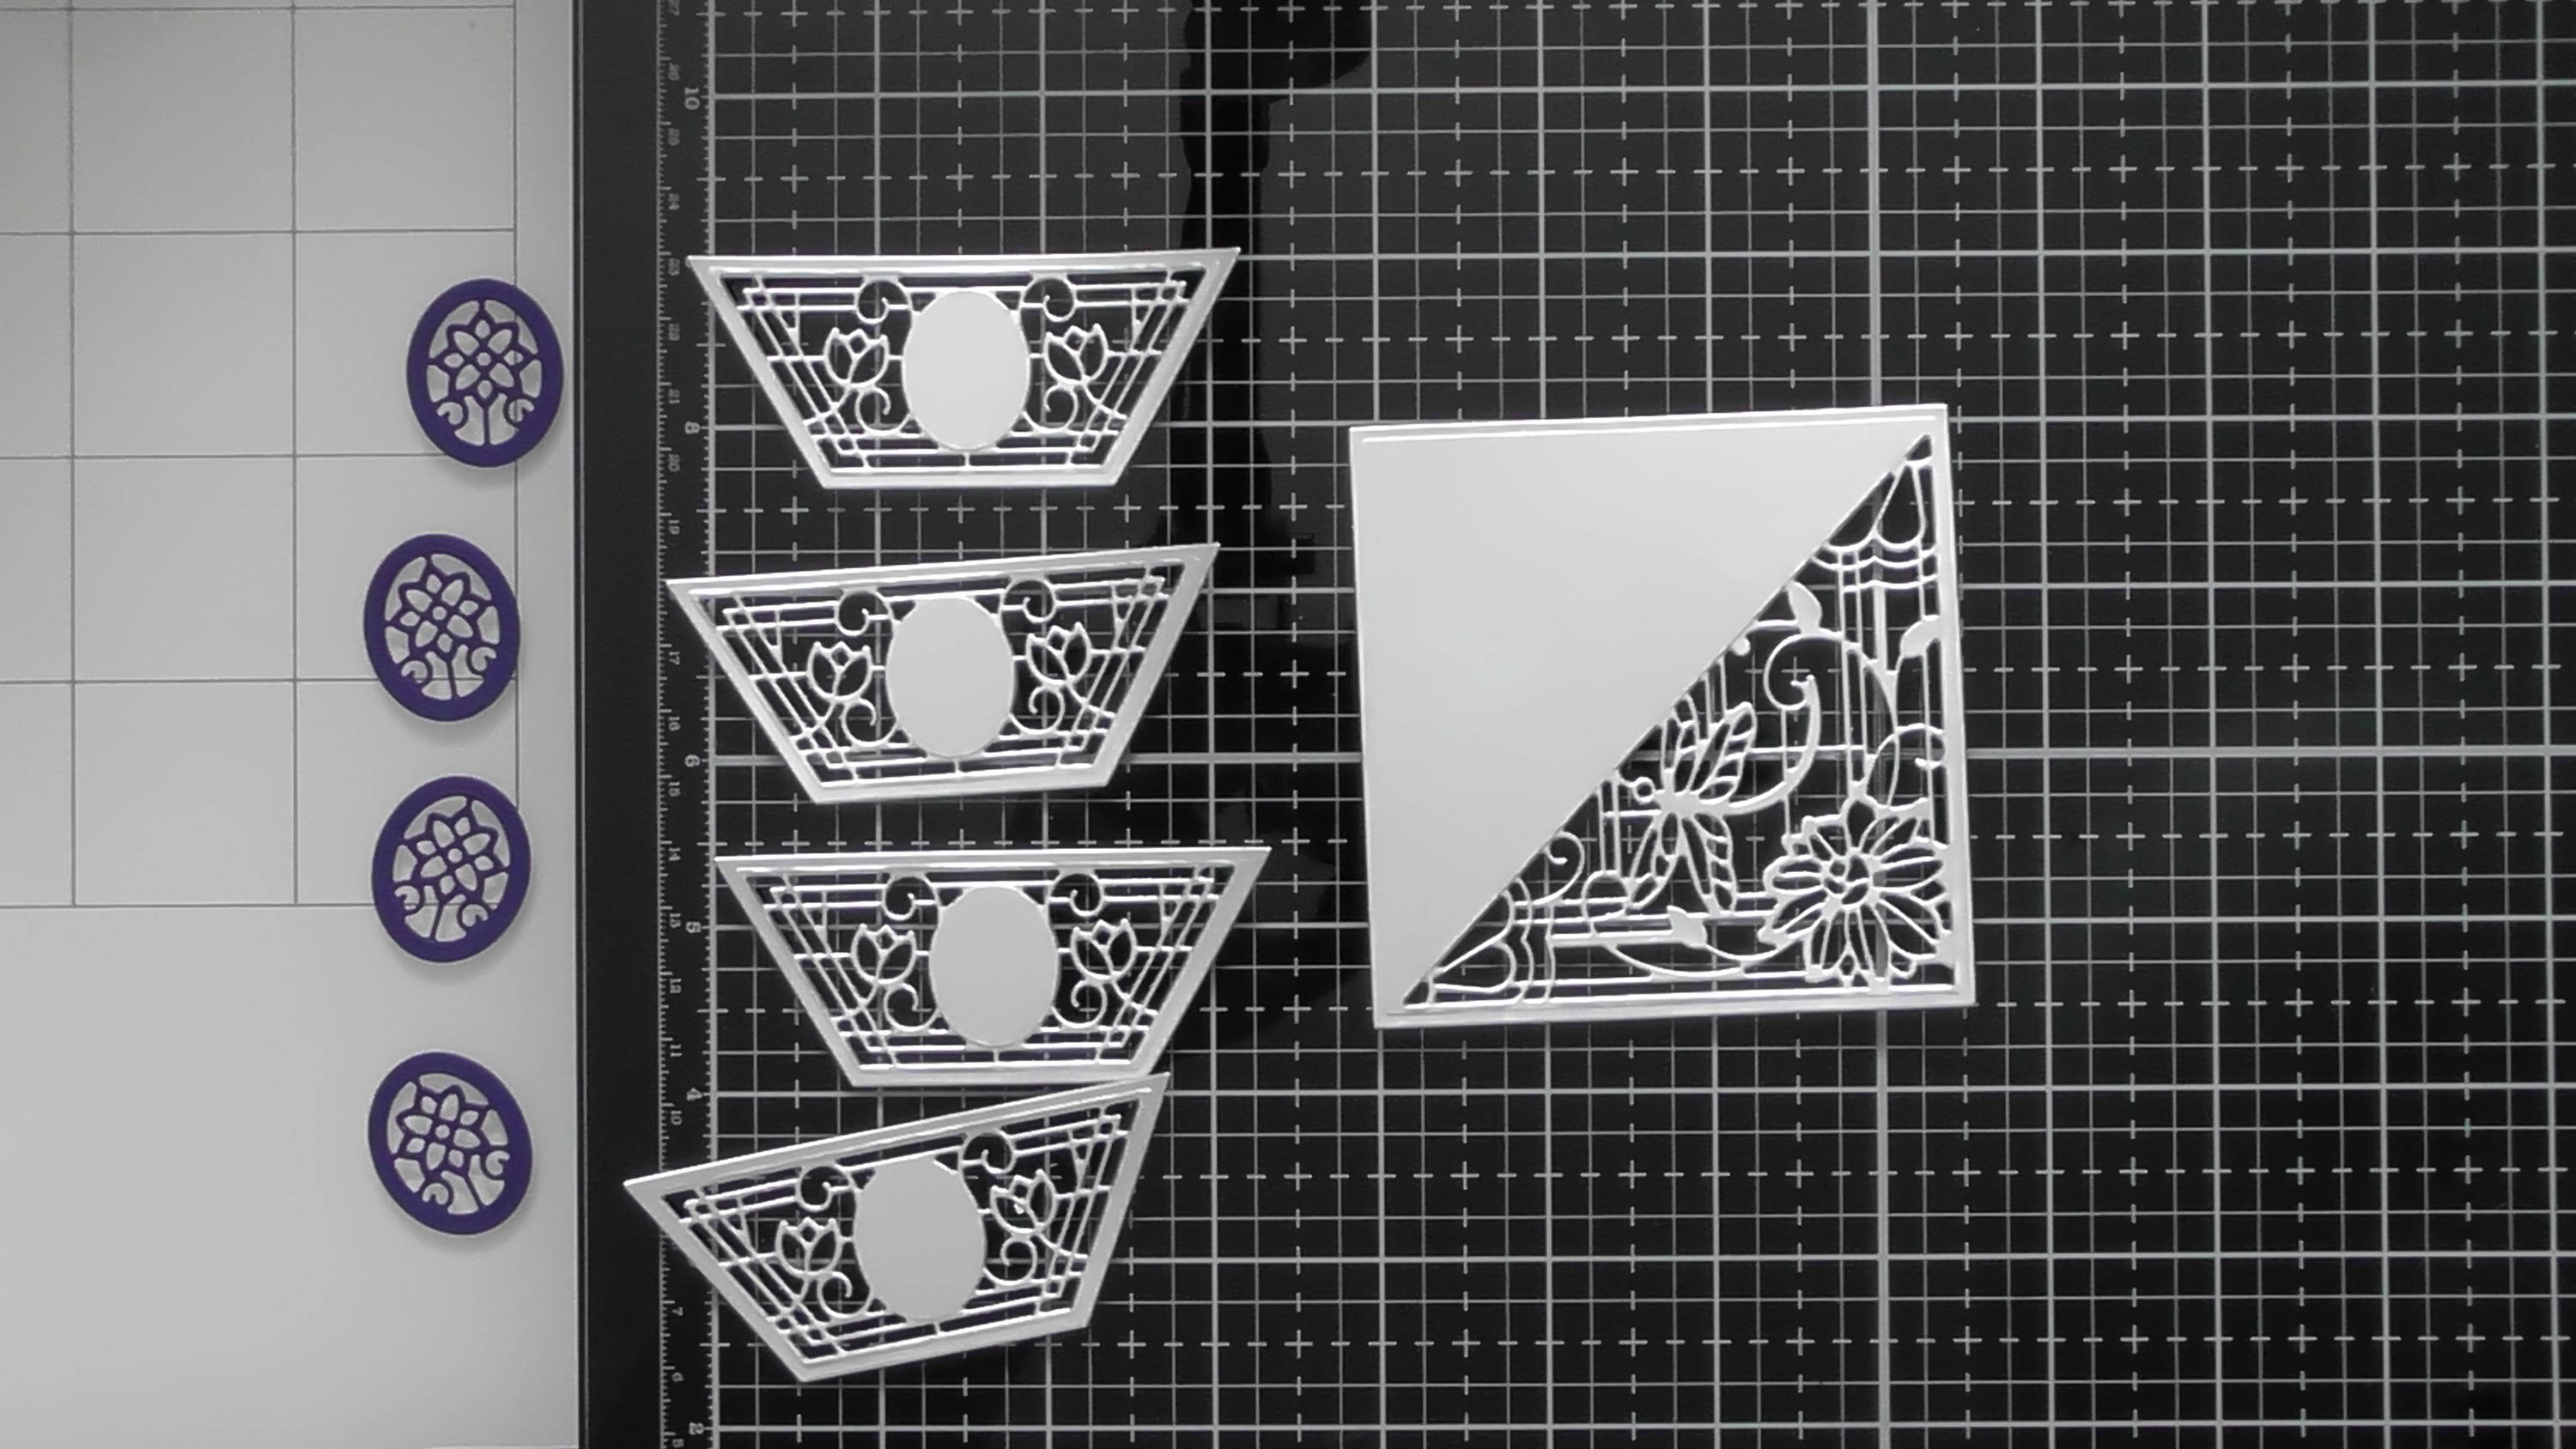
…plus the decorative panels too.
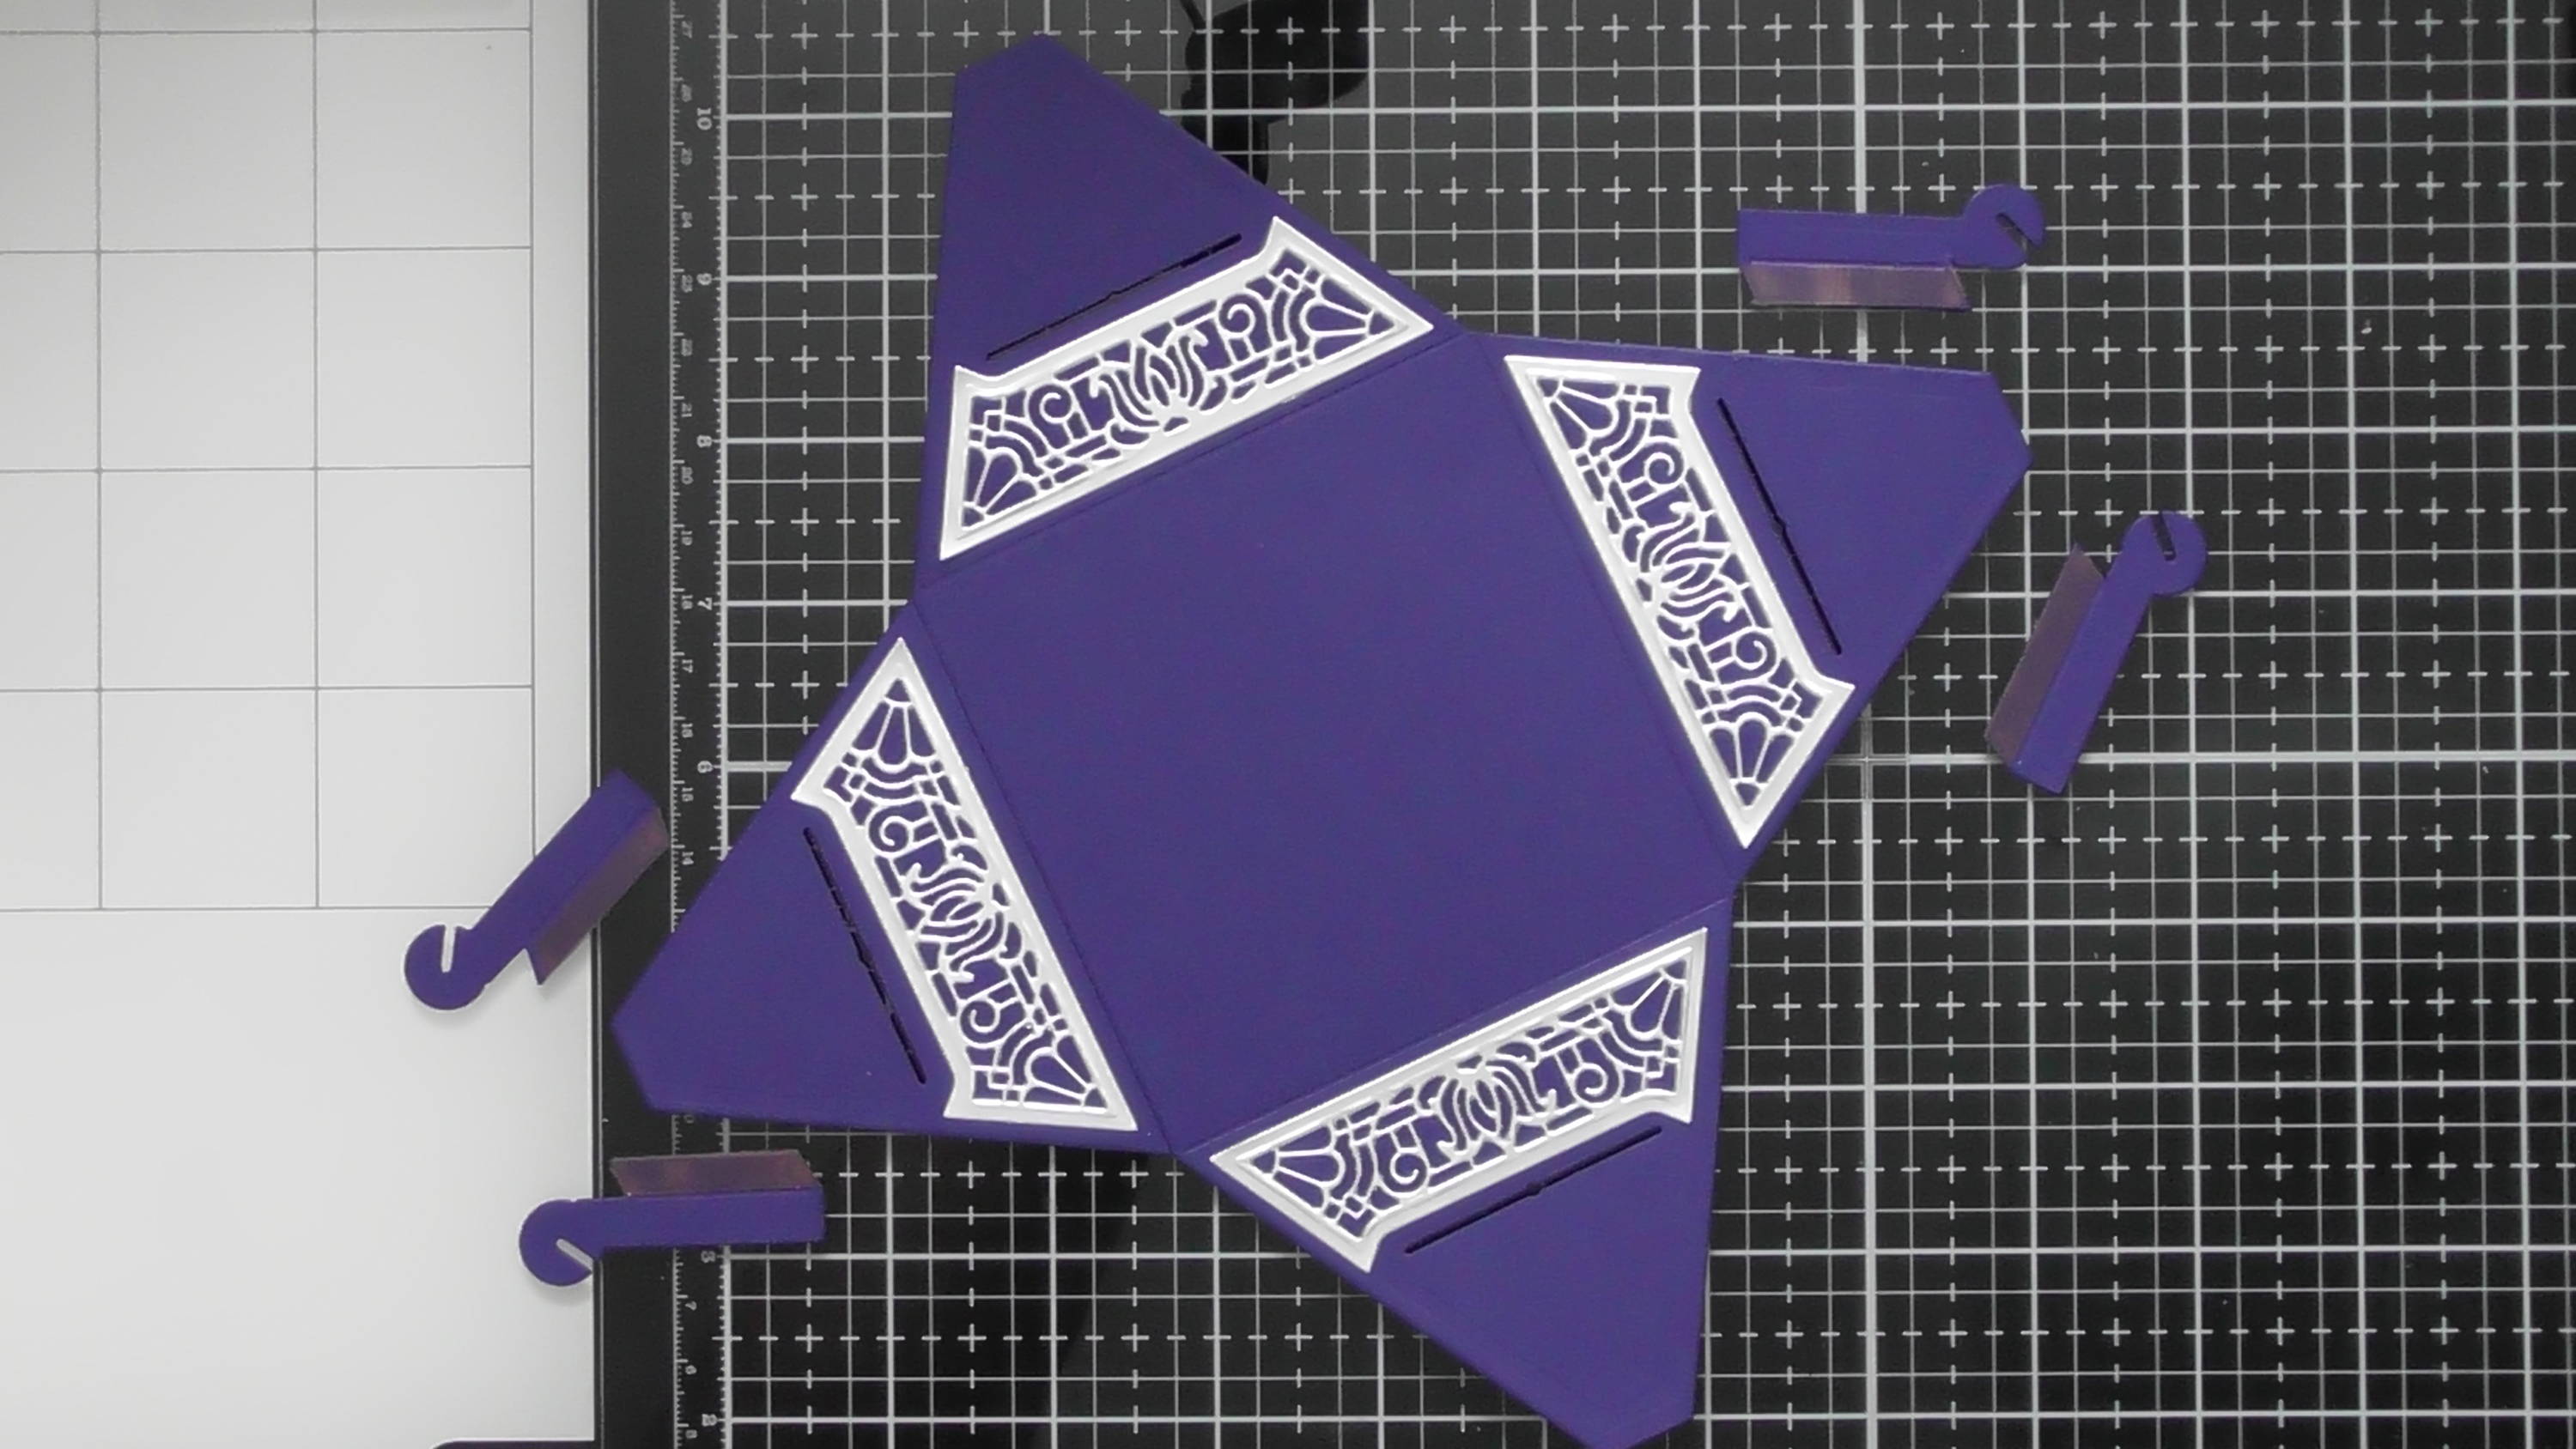
Step 3
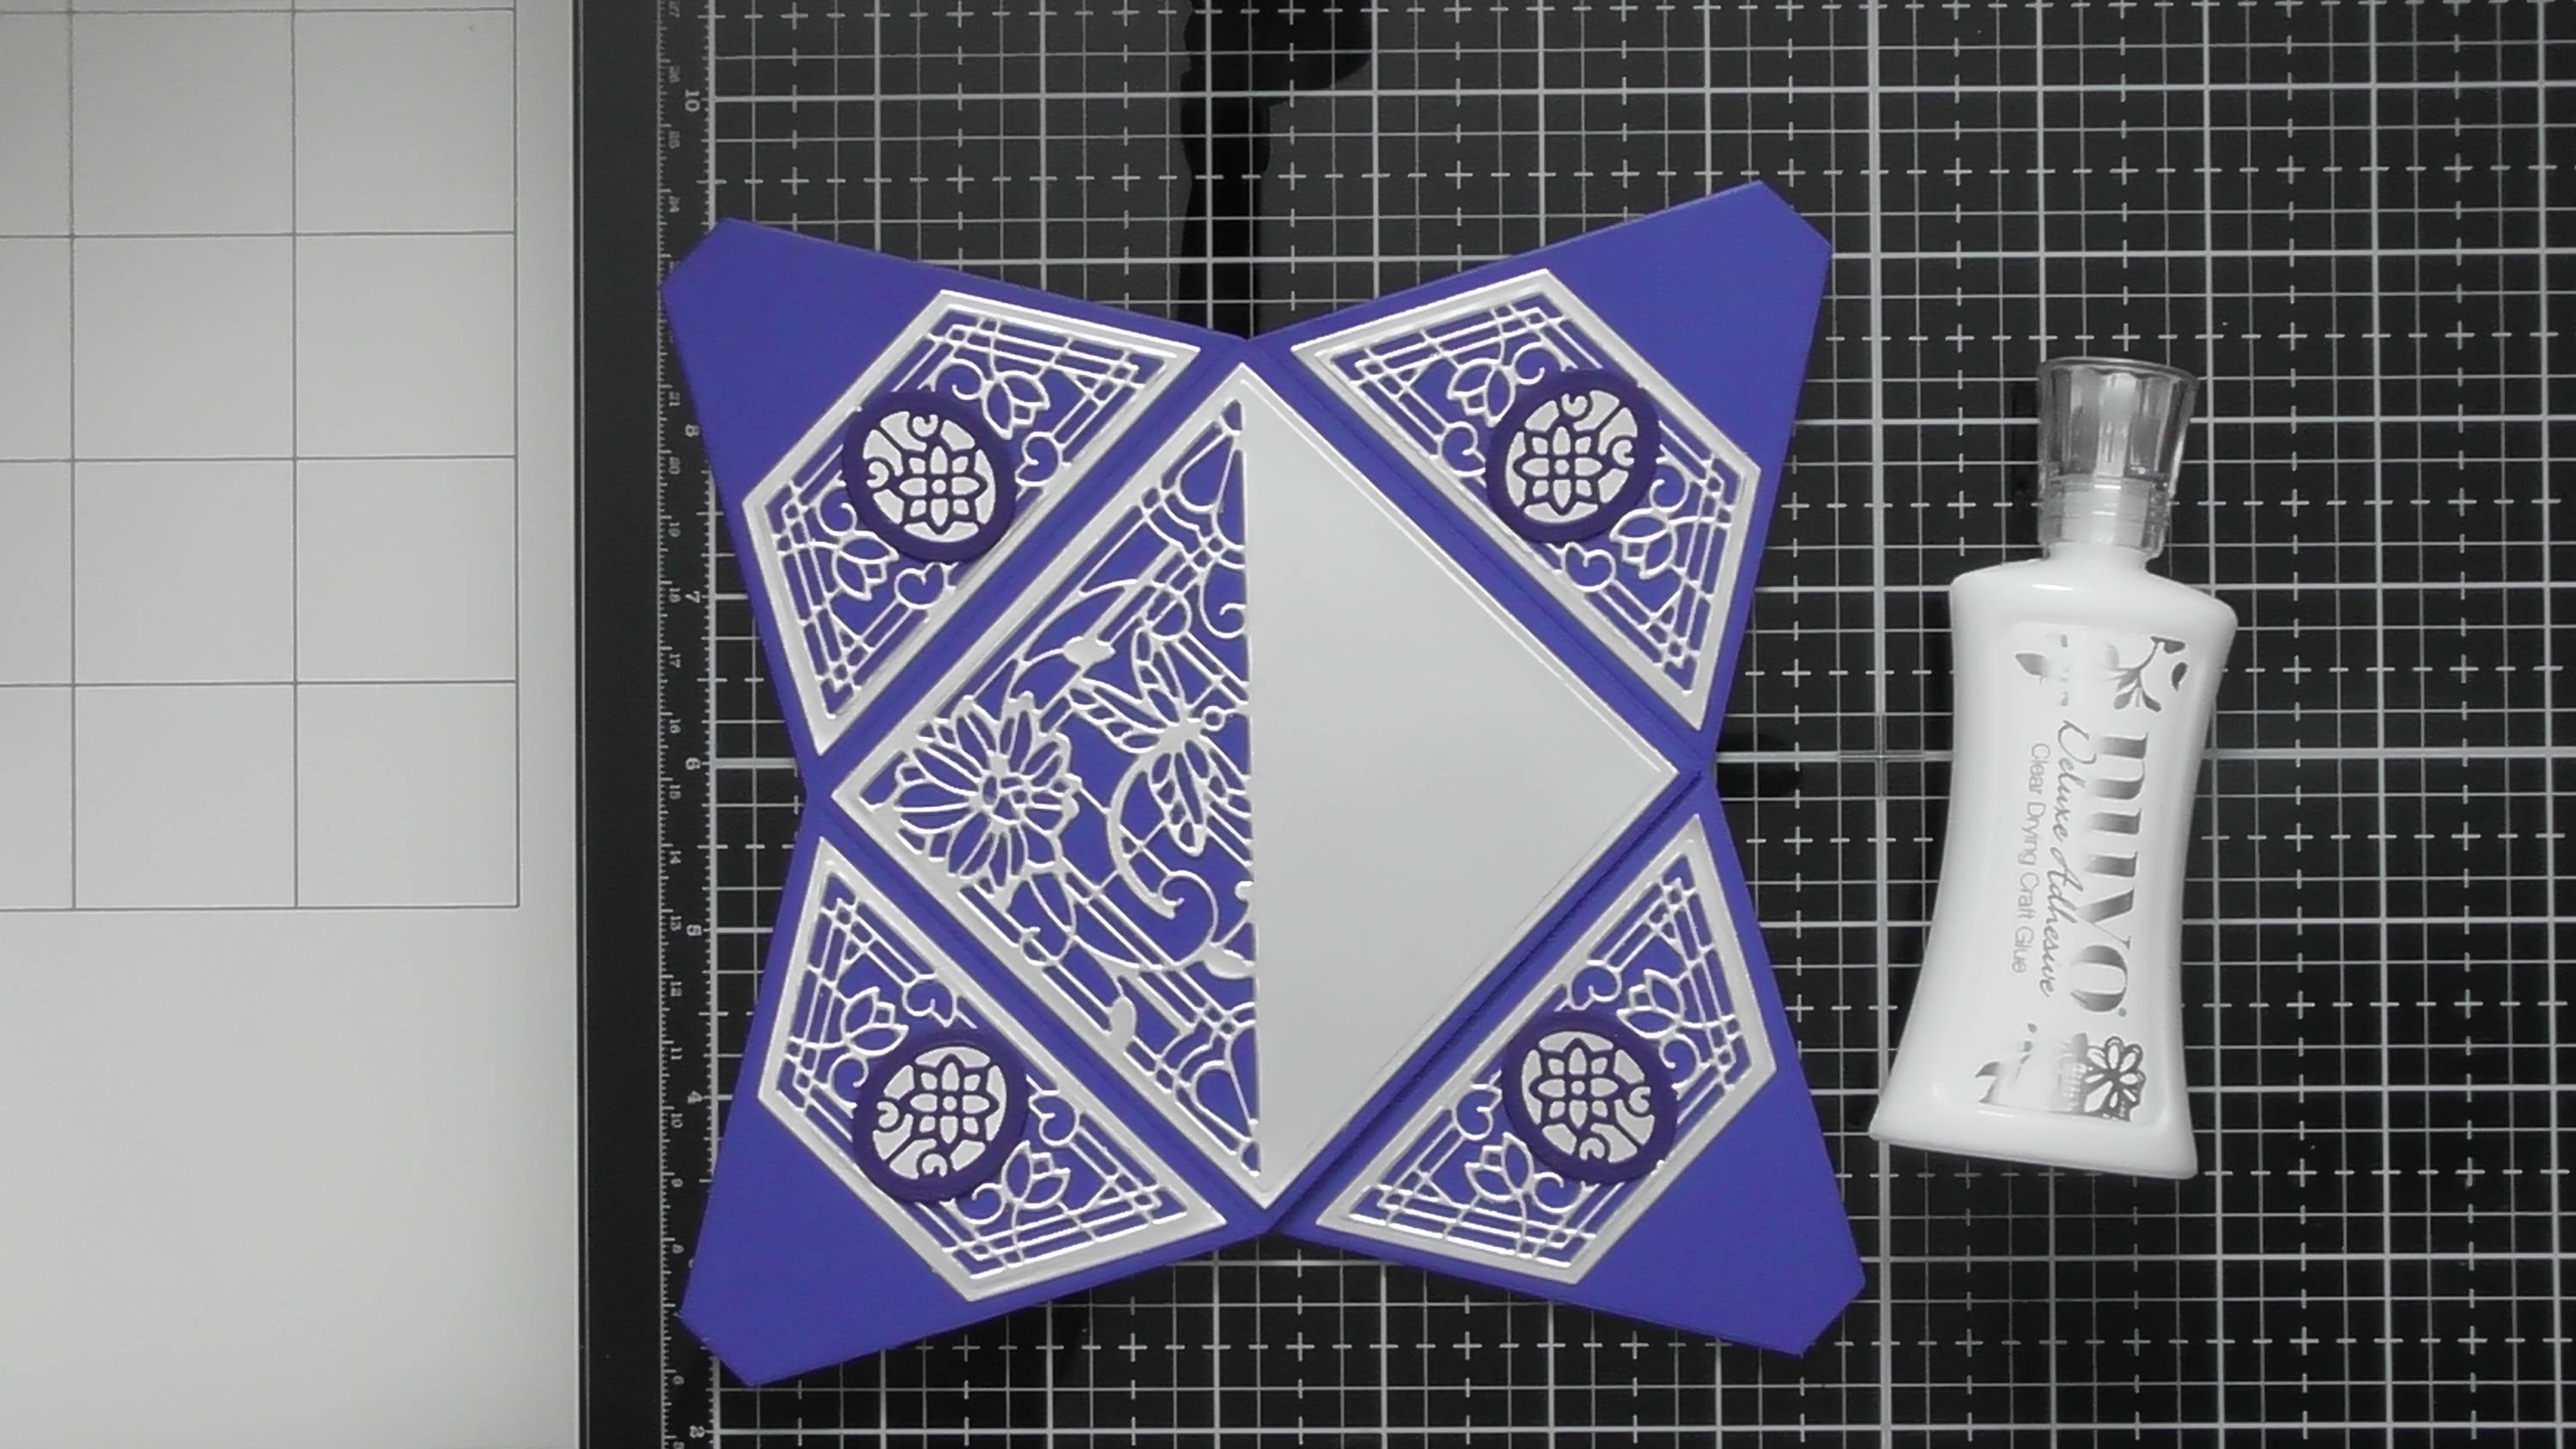
Rotate one of the main blue pieces and stick them together to make the net for the top, then simply add your decorative panels too to give something that looks like this.
Step 4
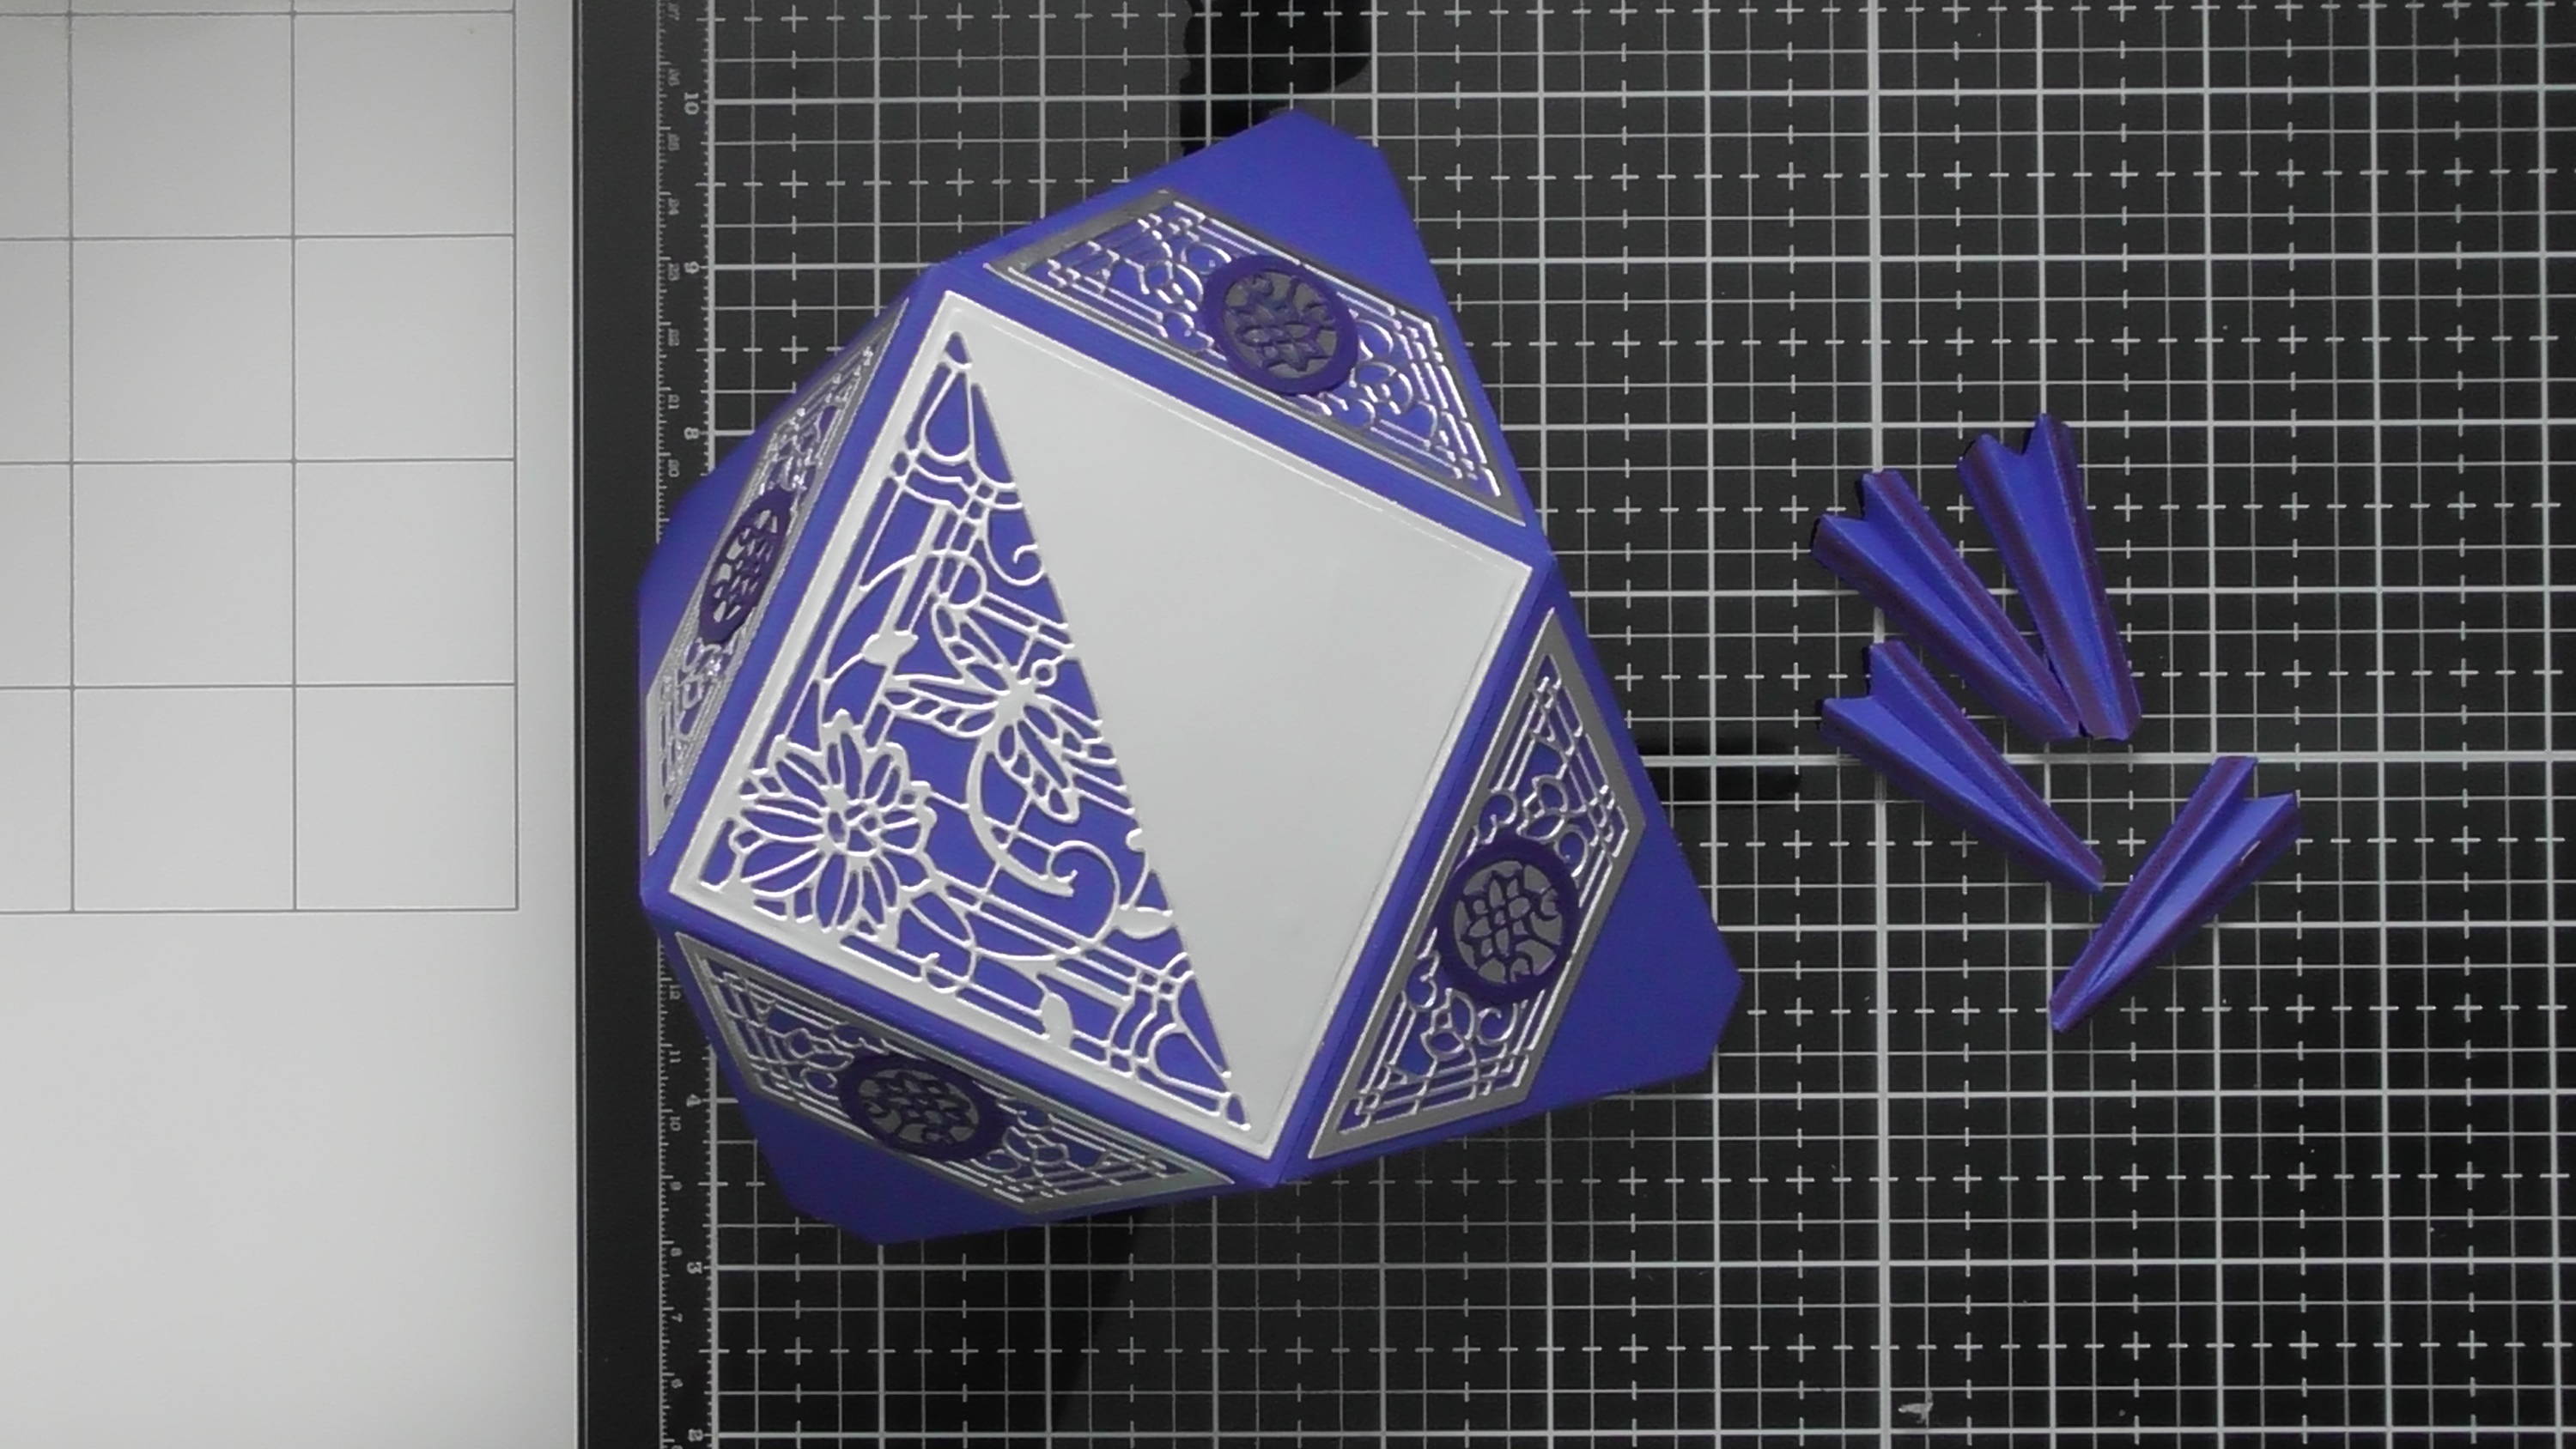
We now need to build the lid, and you’ll notice the main panels don’t have glue tabs (so we can use it differently for the top and bottom) so we need to add those, and in this case they also add a little gusset to the box…
Step 5
… here’s how you add them, stick one side on first, right up to point where the 2 sides meet the top…
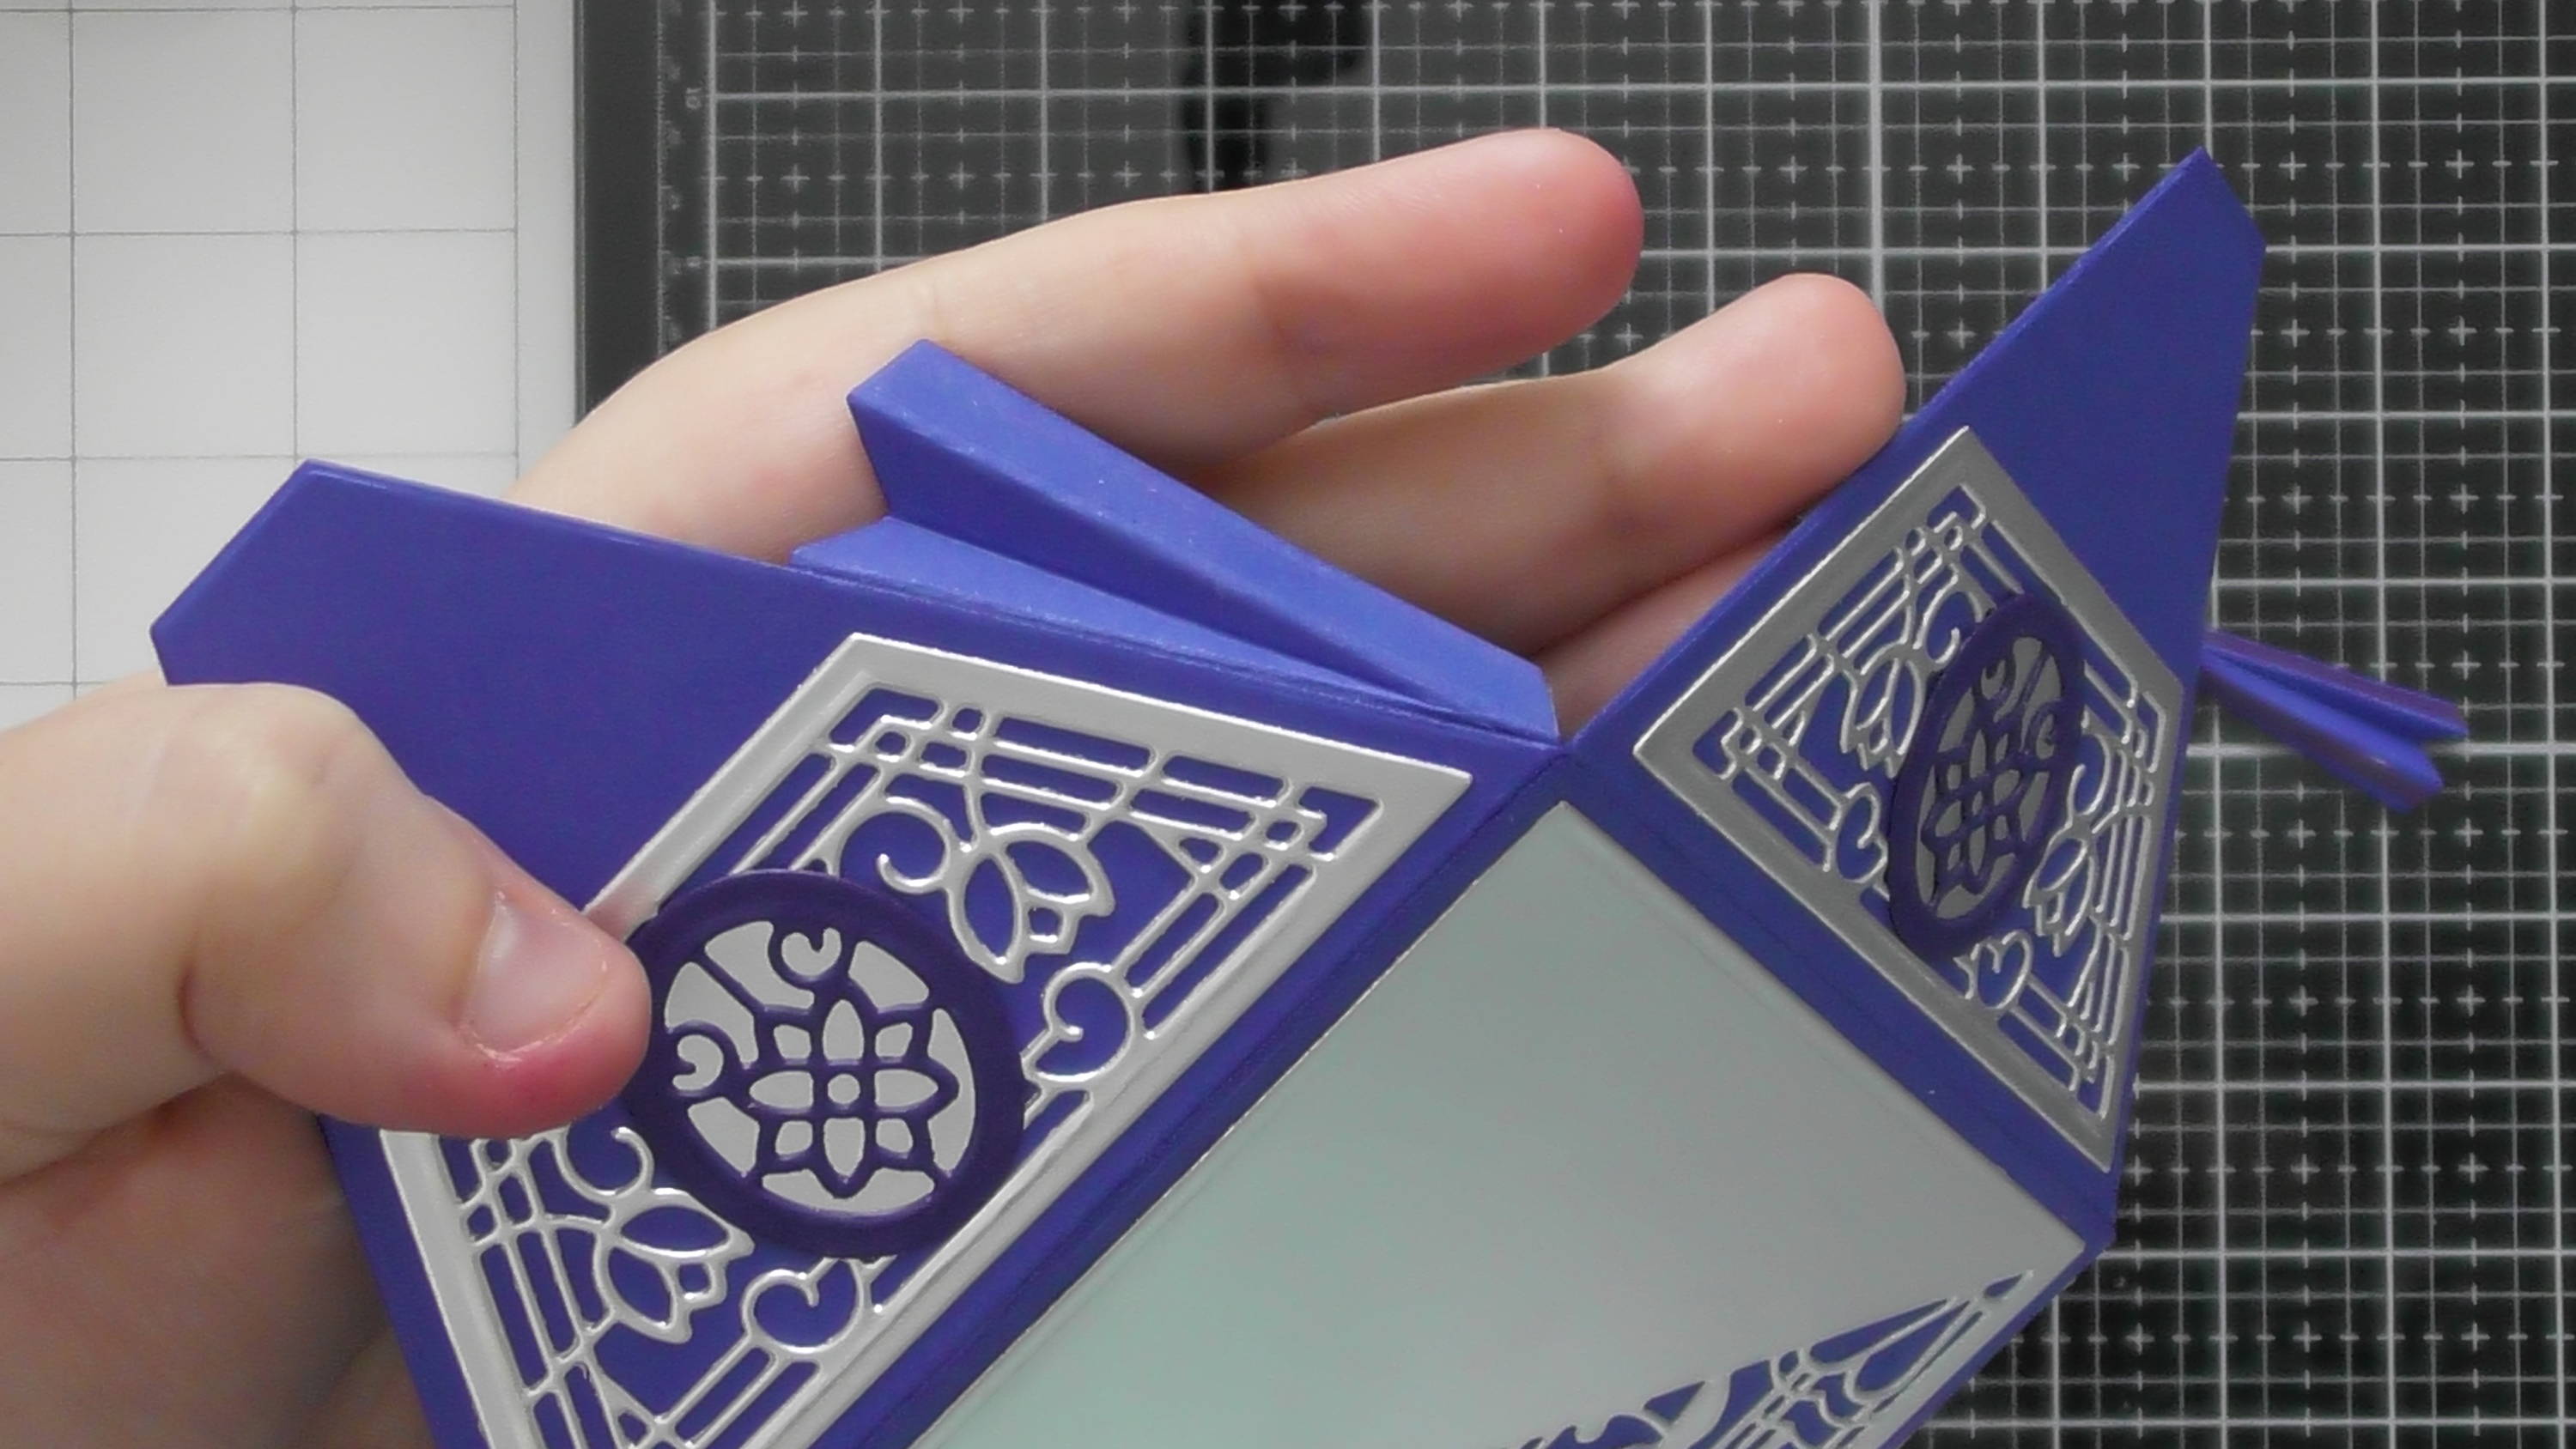
Step 6
…then pull the next side round and adhere as shown
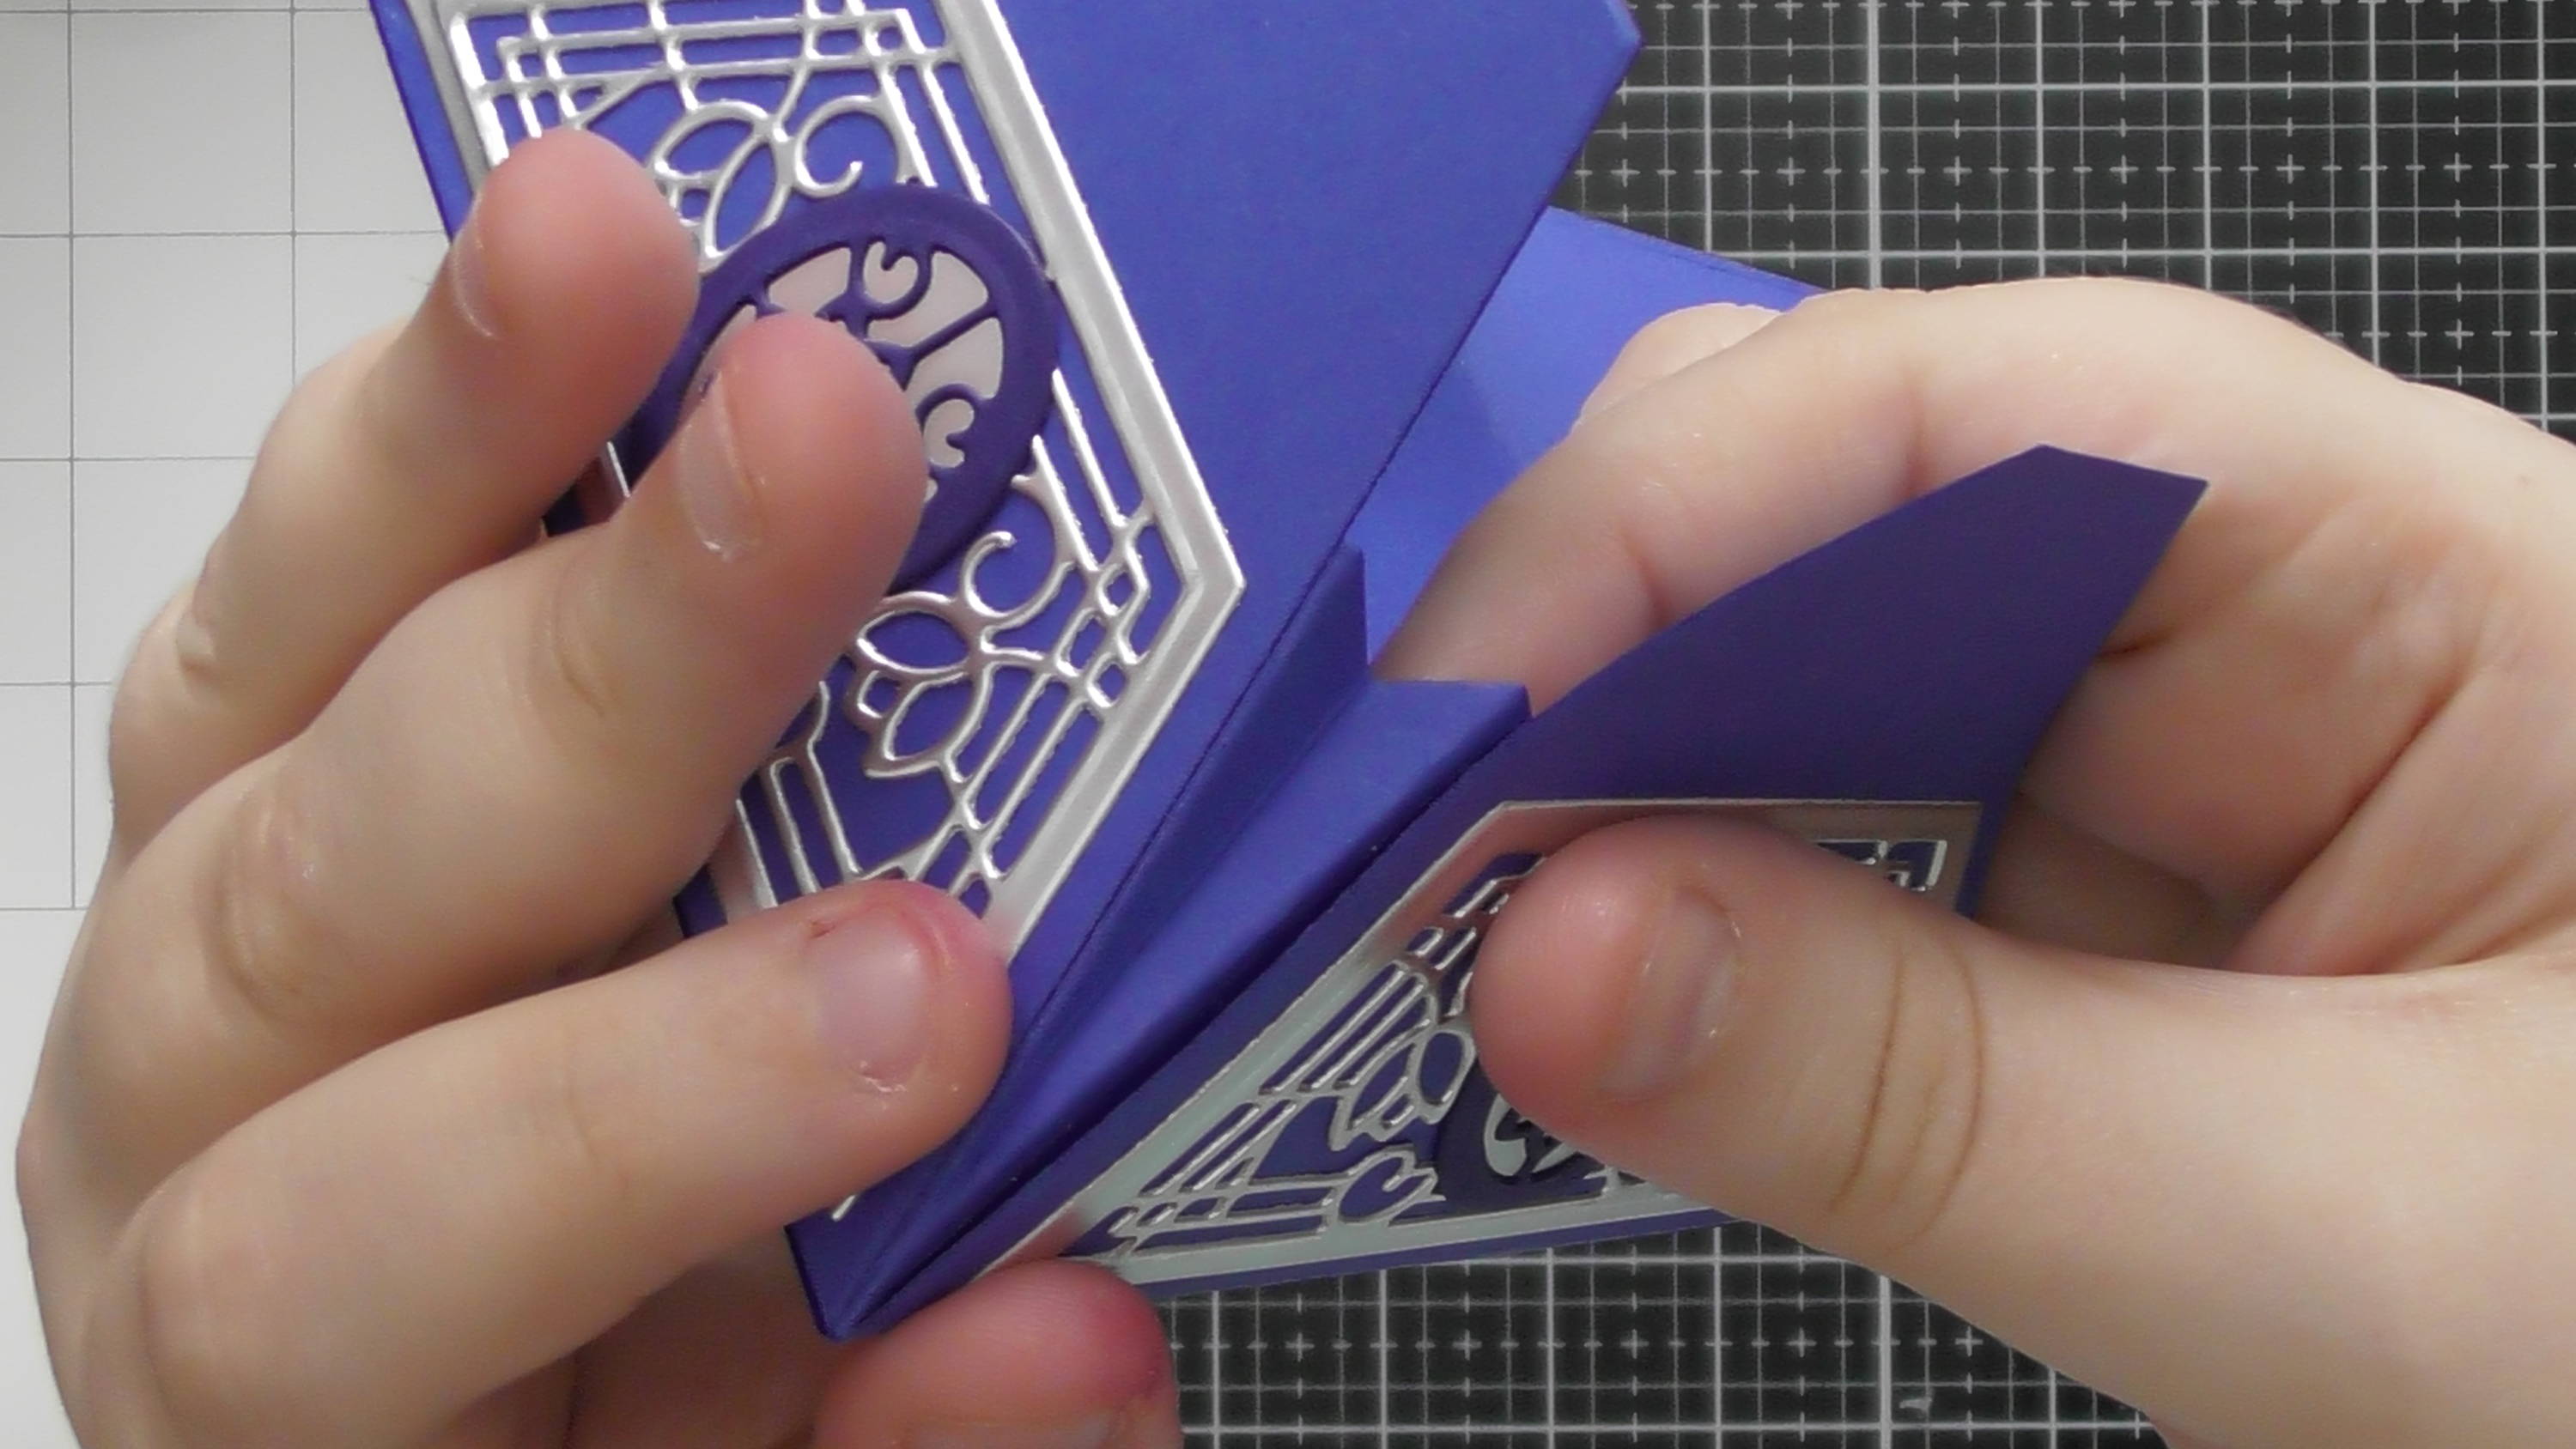
Step 7
Repeat for the other 3 joins and you’ll have the lid portion of your box
Step 8
For the base of the box you’ll need these basic pieces shown, and you’ll notice that they have slits cut into the triangle sides, this die comes in the set and has excess metal so you know exactly how to line it up.
Step 9
You’ll also want to add your decorative panels when it’s flat too
Step 10
For the top of the box we added a small gusset, but for the base, we’re adding some locking mechanisms instead. You get all 4 dies in the set so you only have to cut each one once. I’ve laid them out in the correct orientation on the photo, but you should also have this instruction in your packaging
Step 11
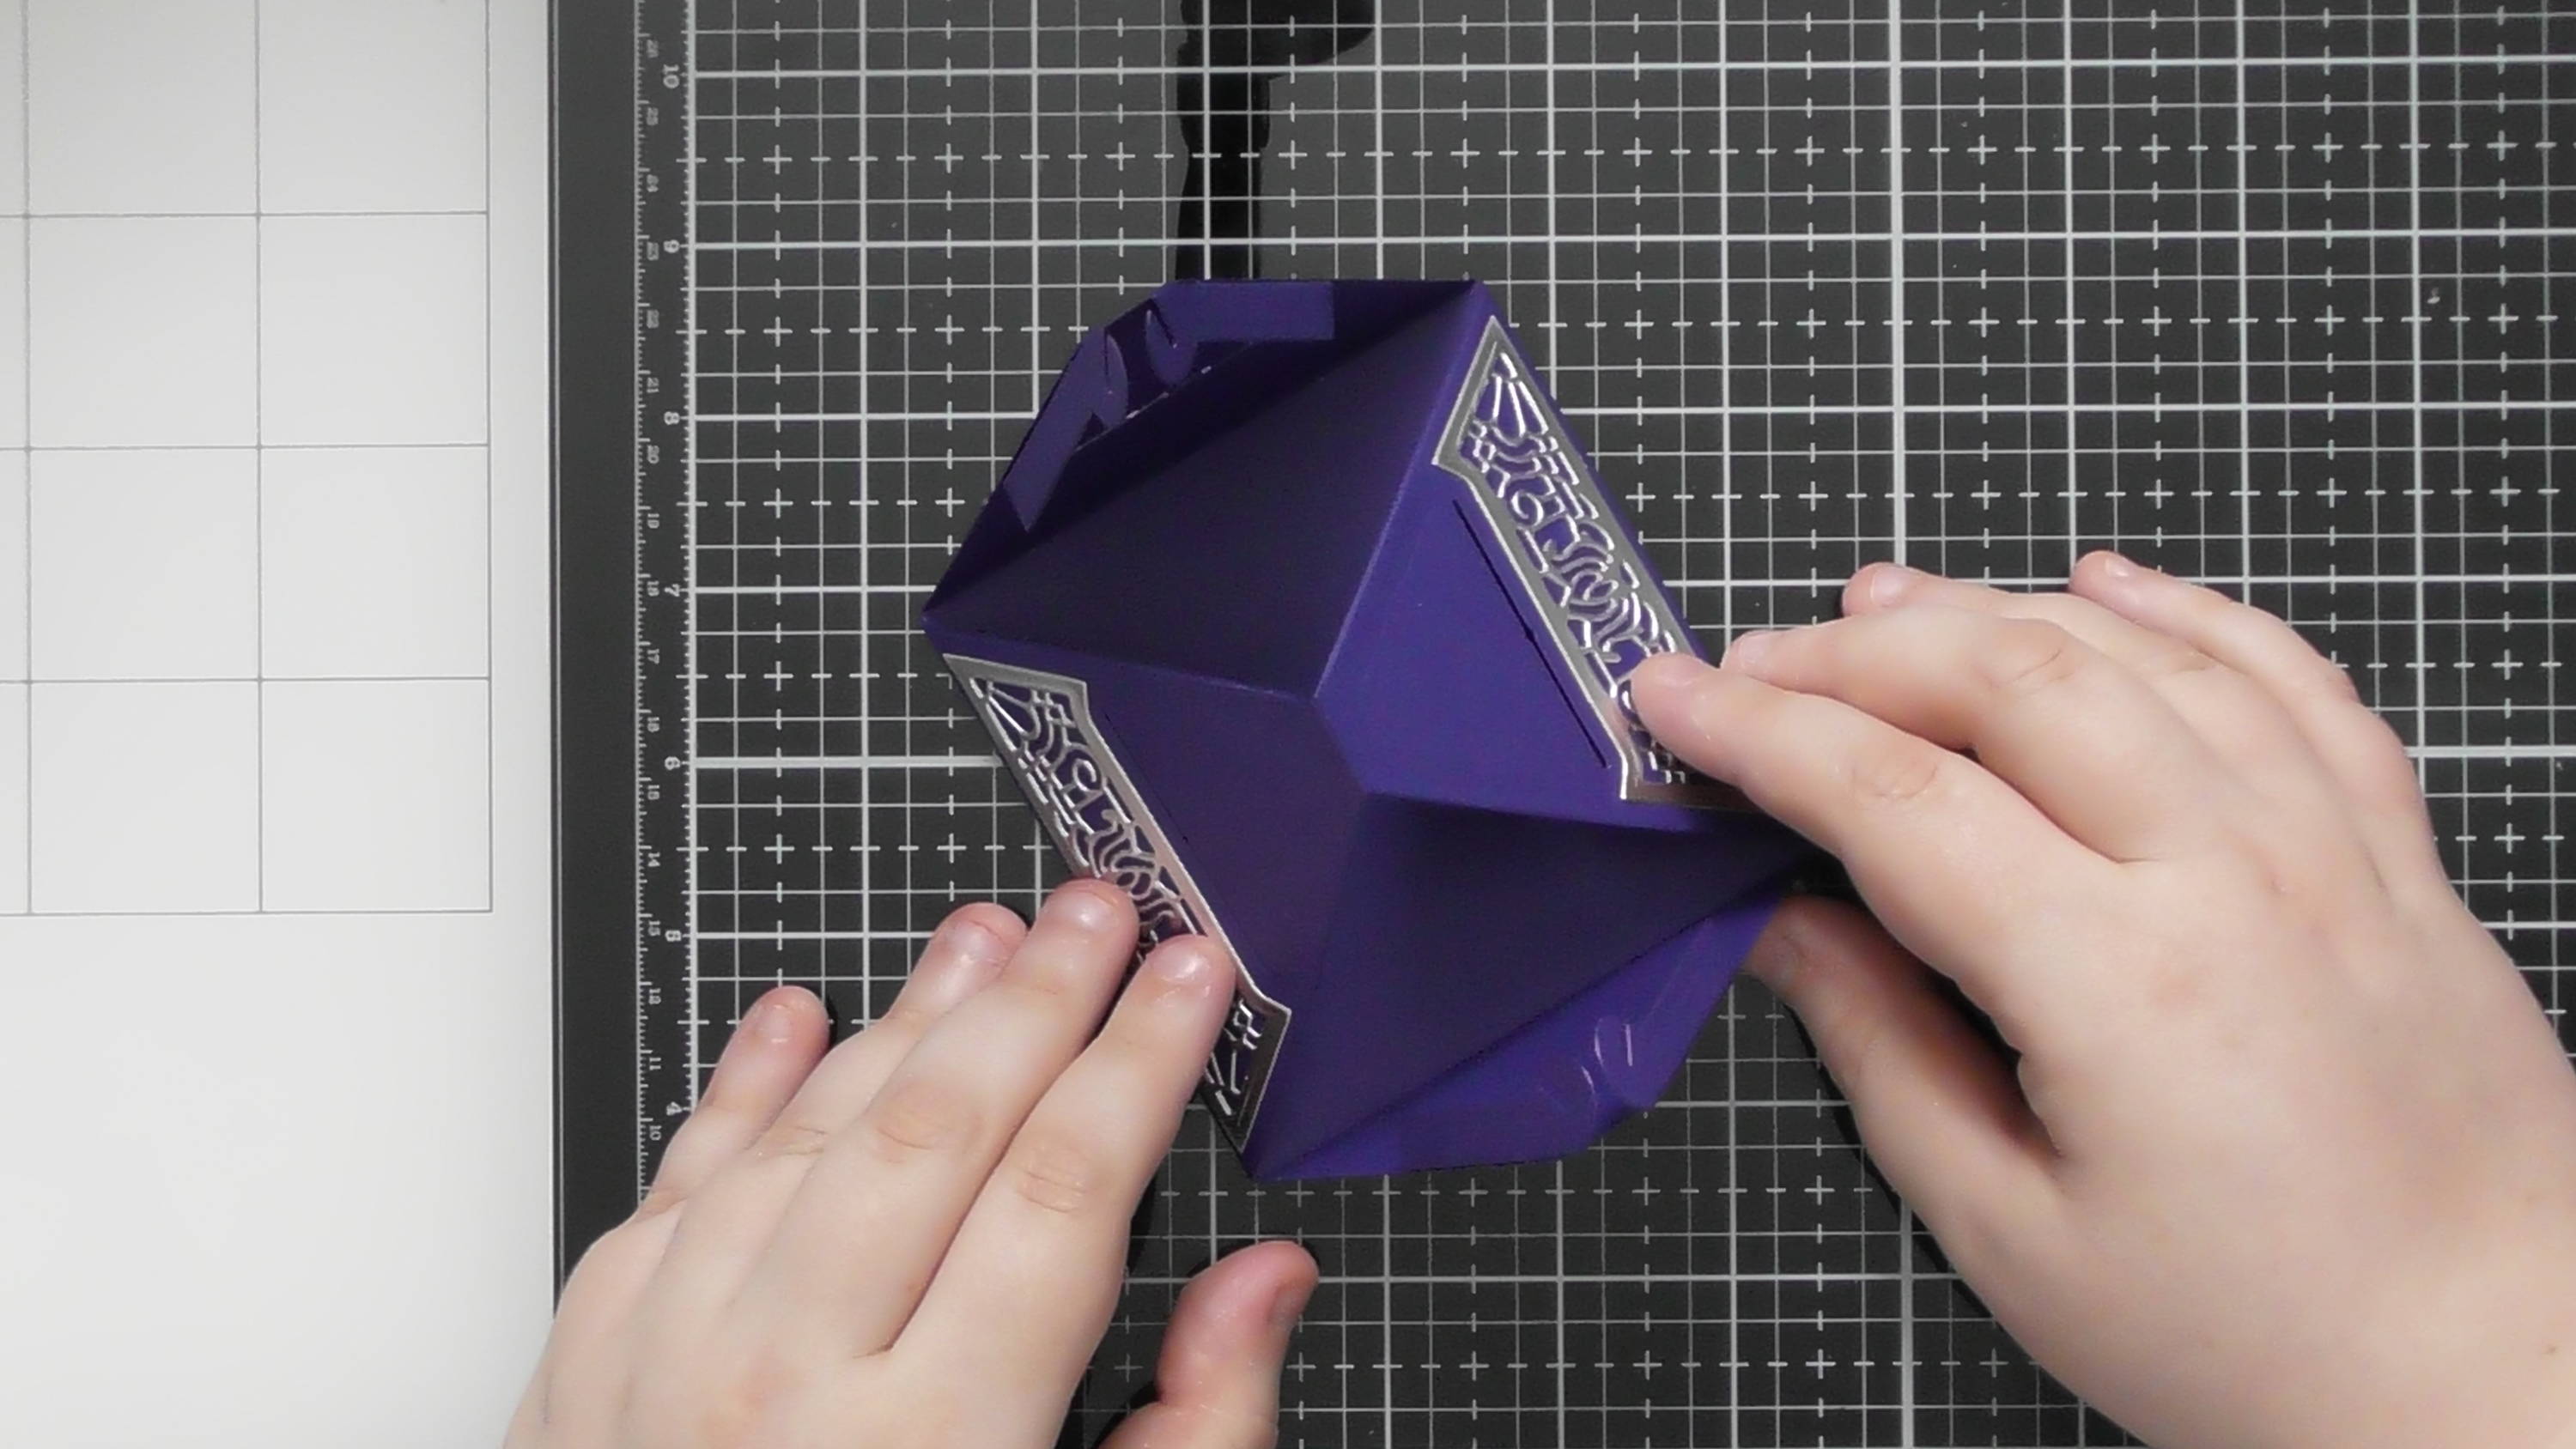
Once you’ve stuck them on, lining up the notches (again the instructions in the packaging are great for that part!) you can push the 2 sides without pieces on in…
Step 12
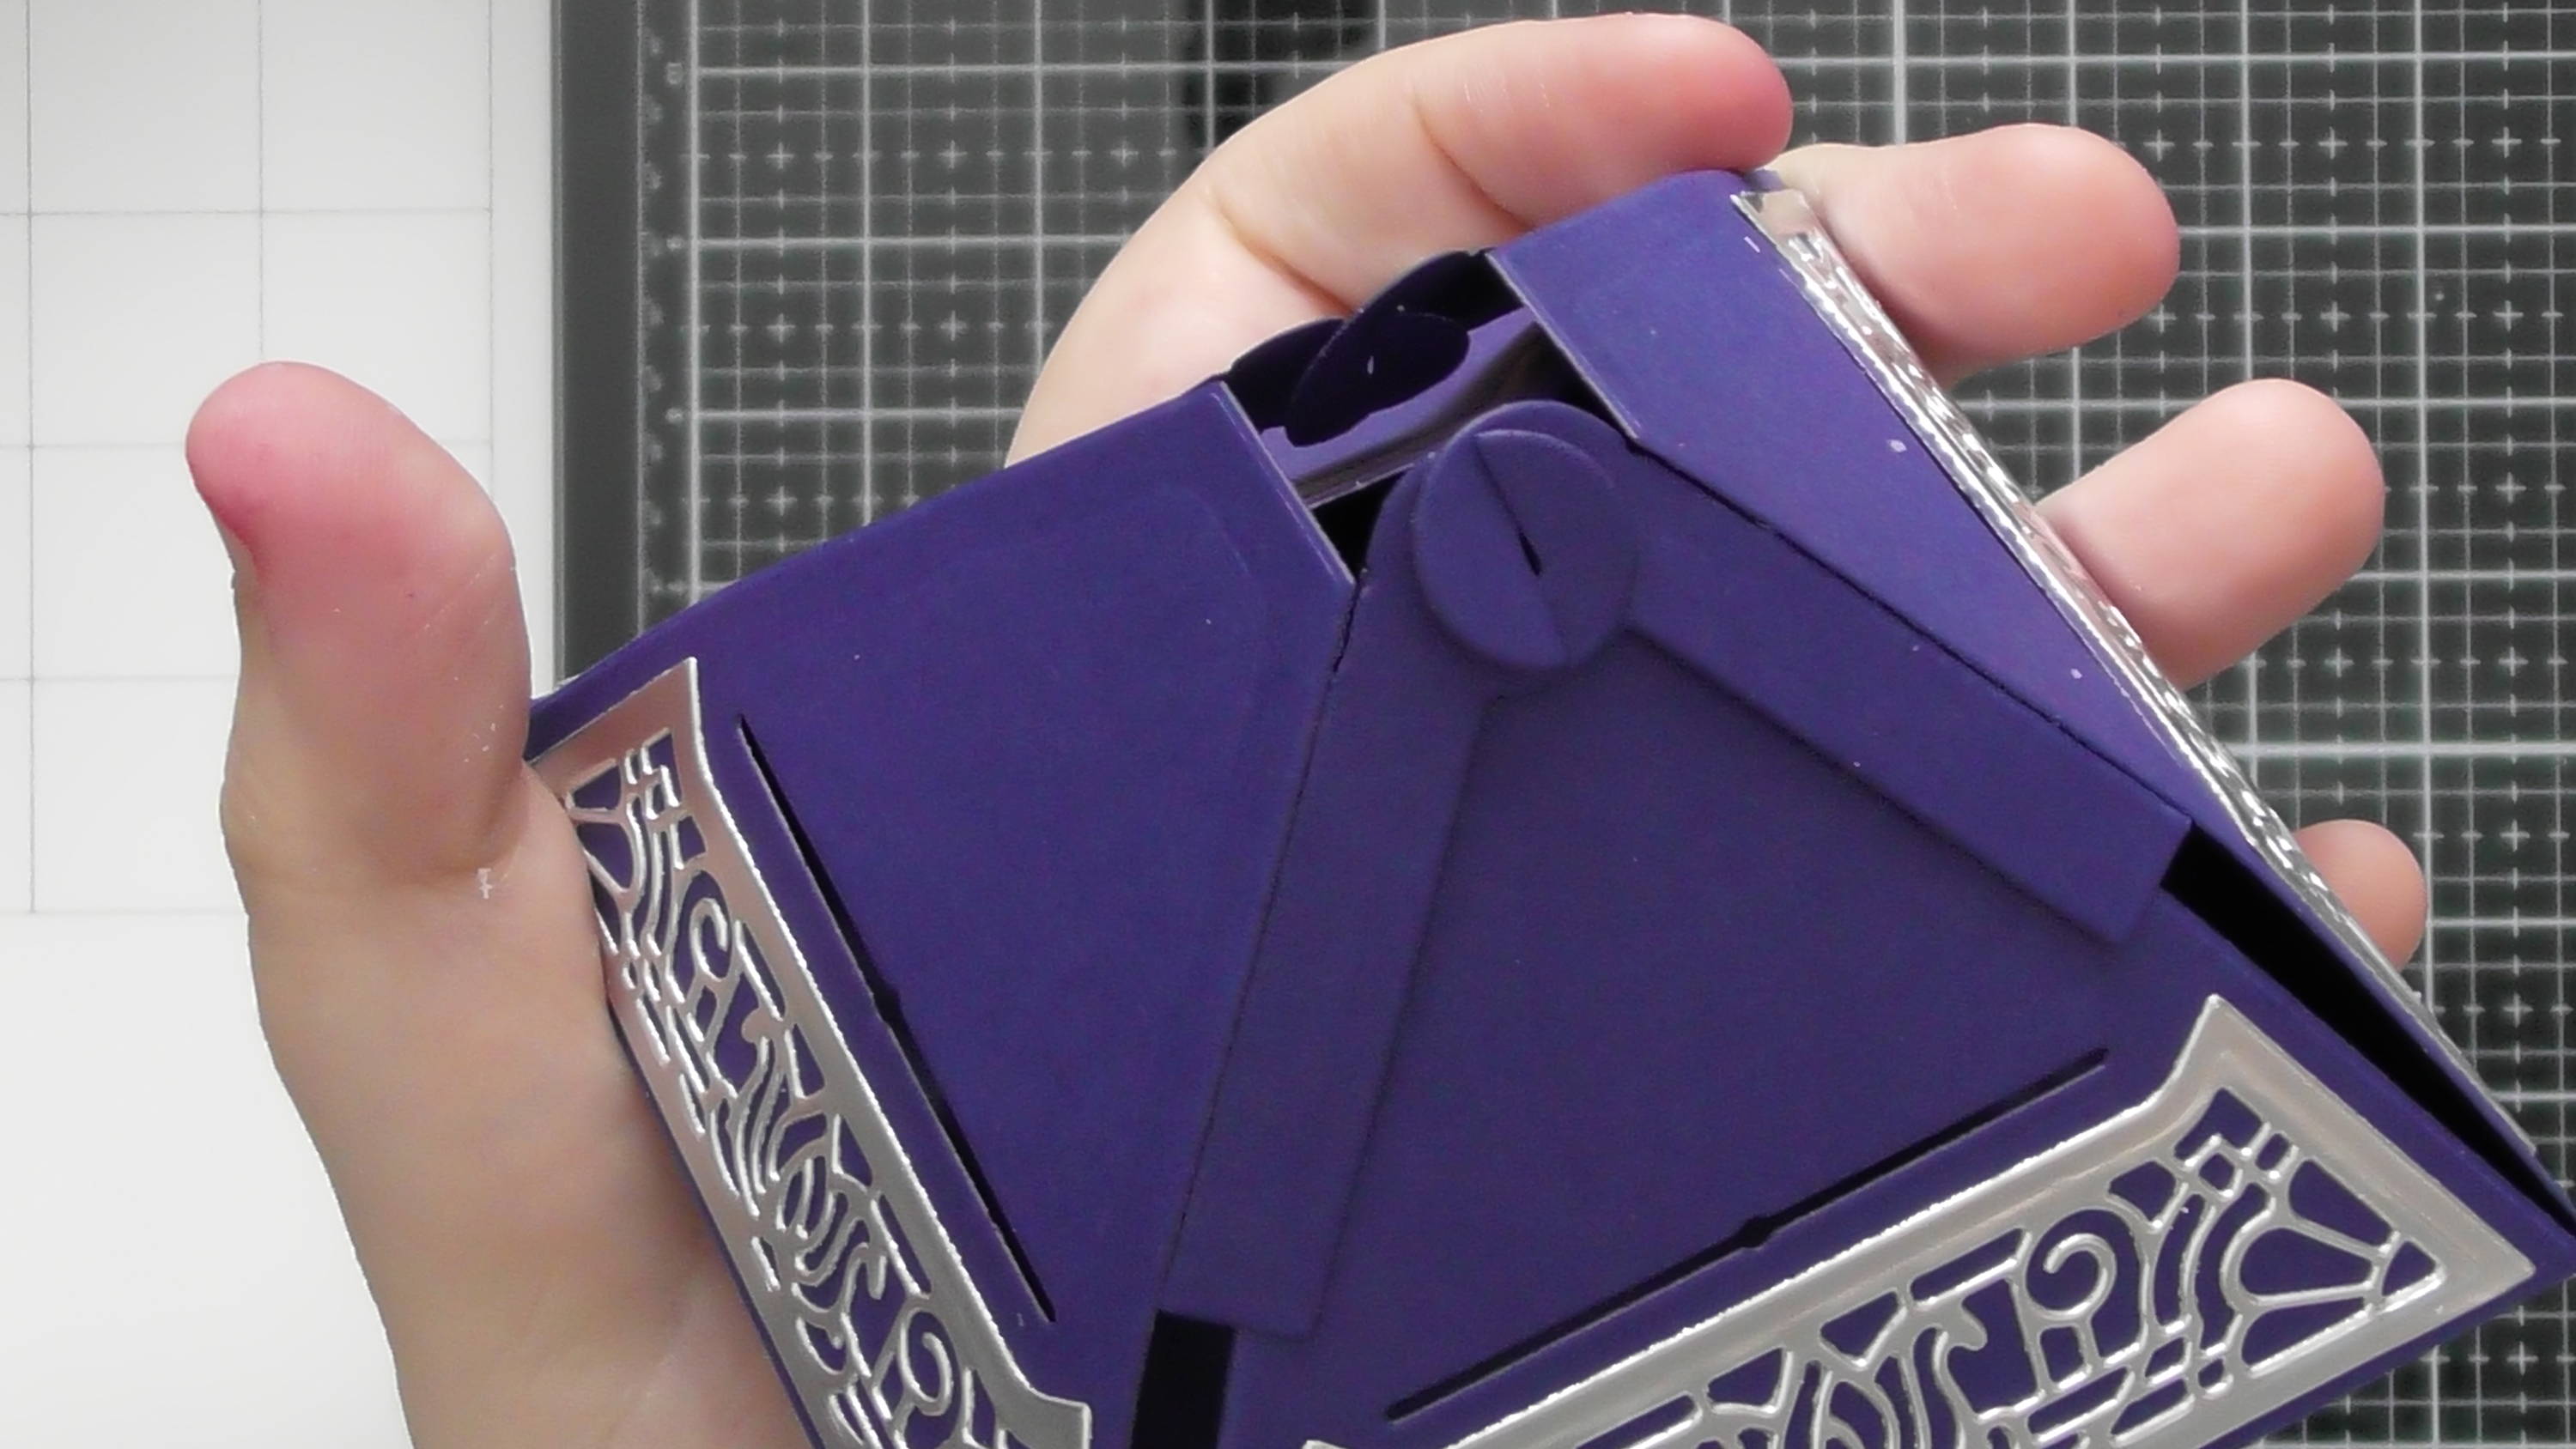
…then push the other 2 sides in and lock the pieces together as shown, this will hold the base of the box together and keep your gift inside.
Step 13
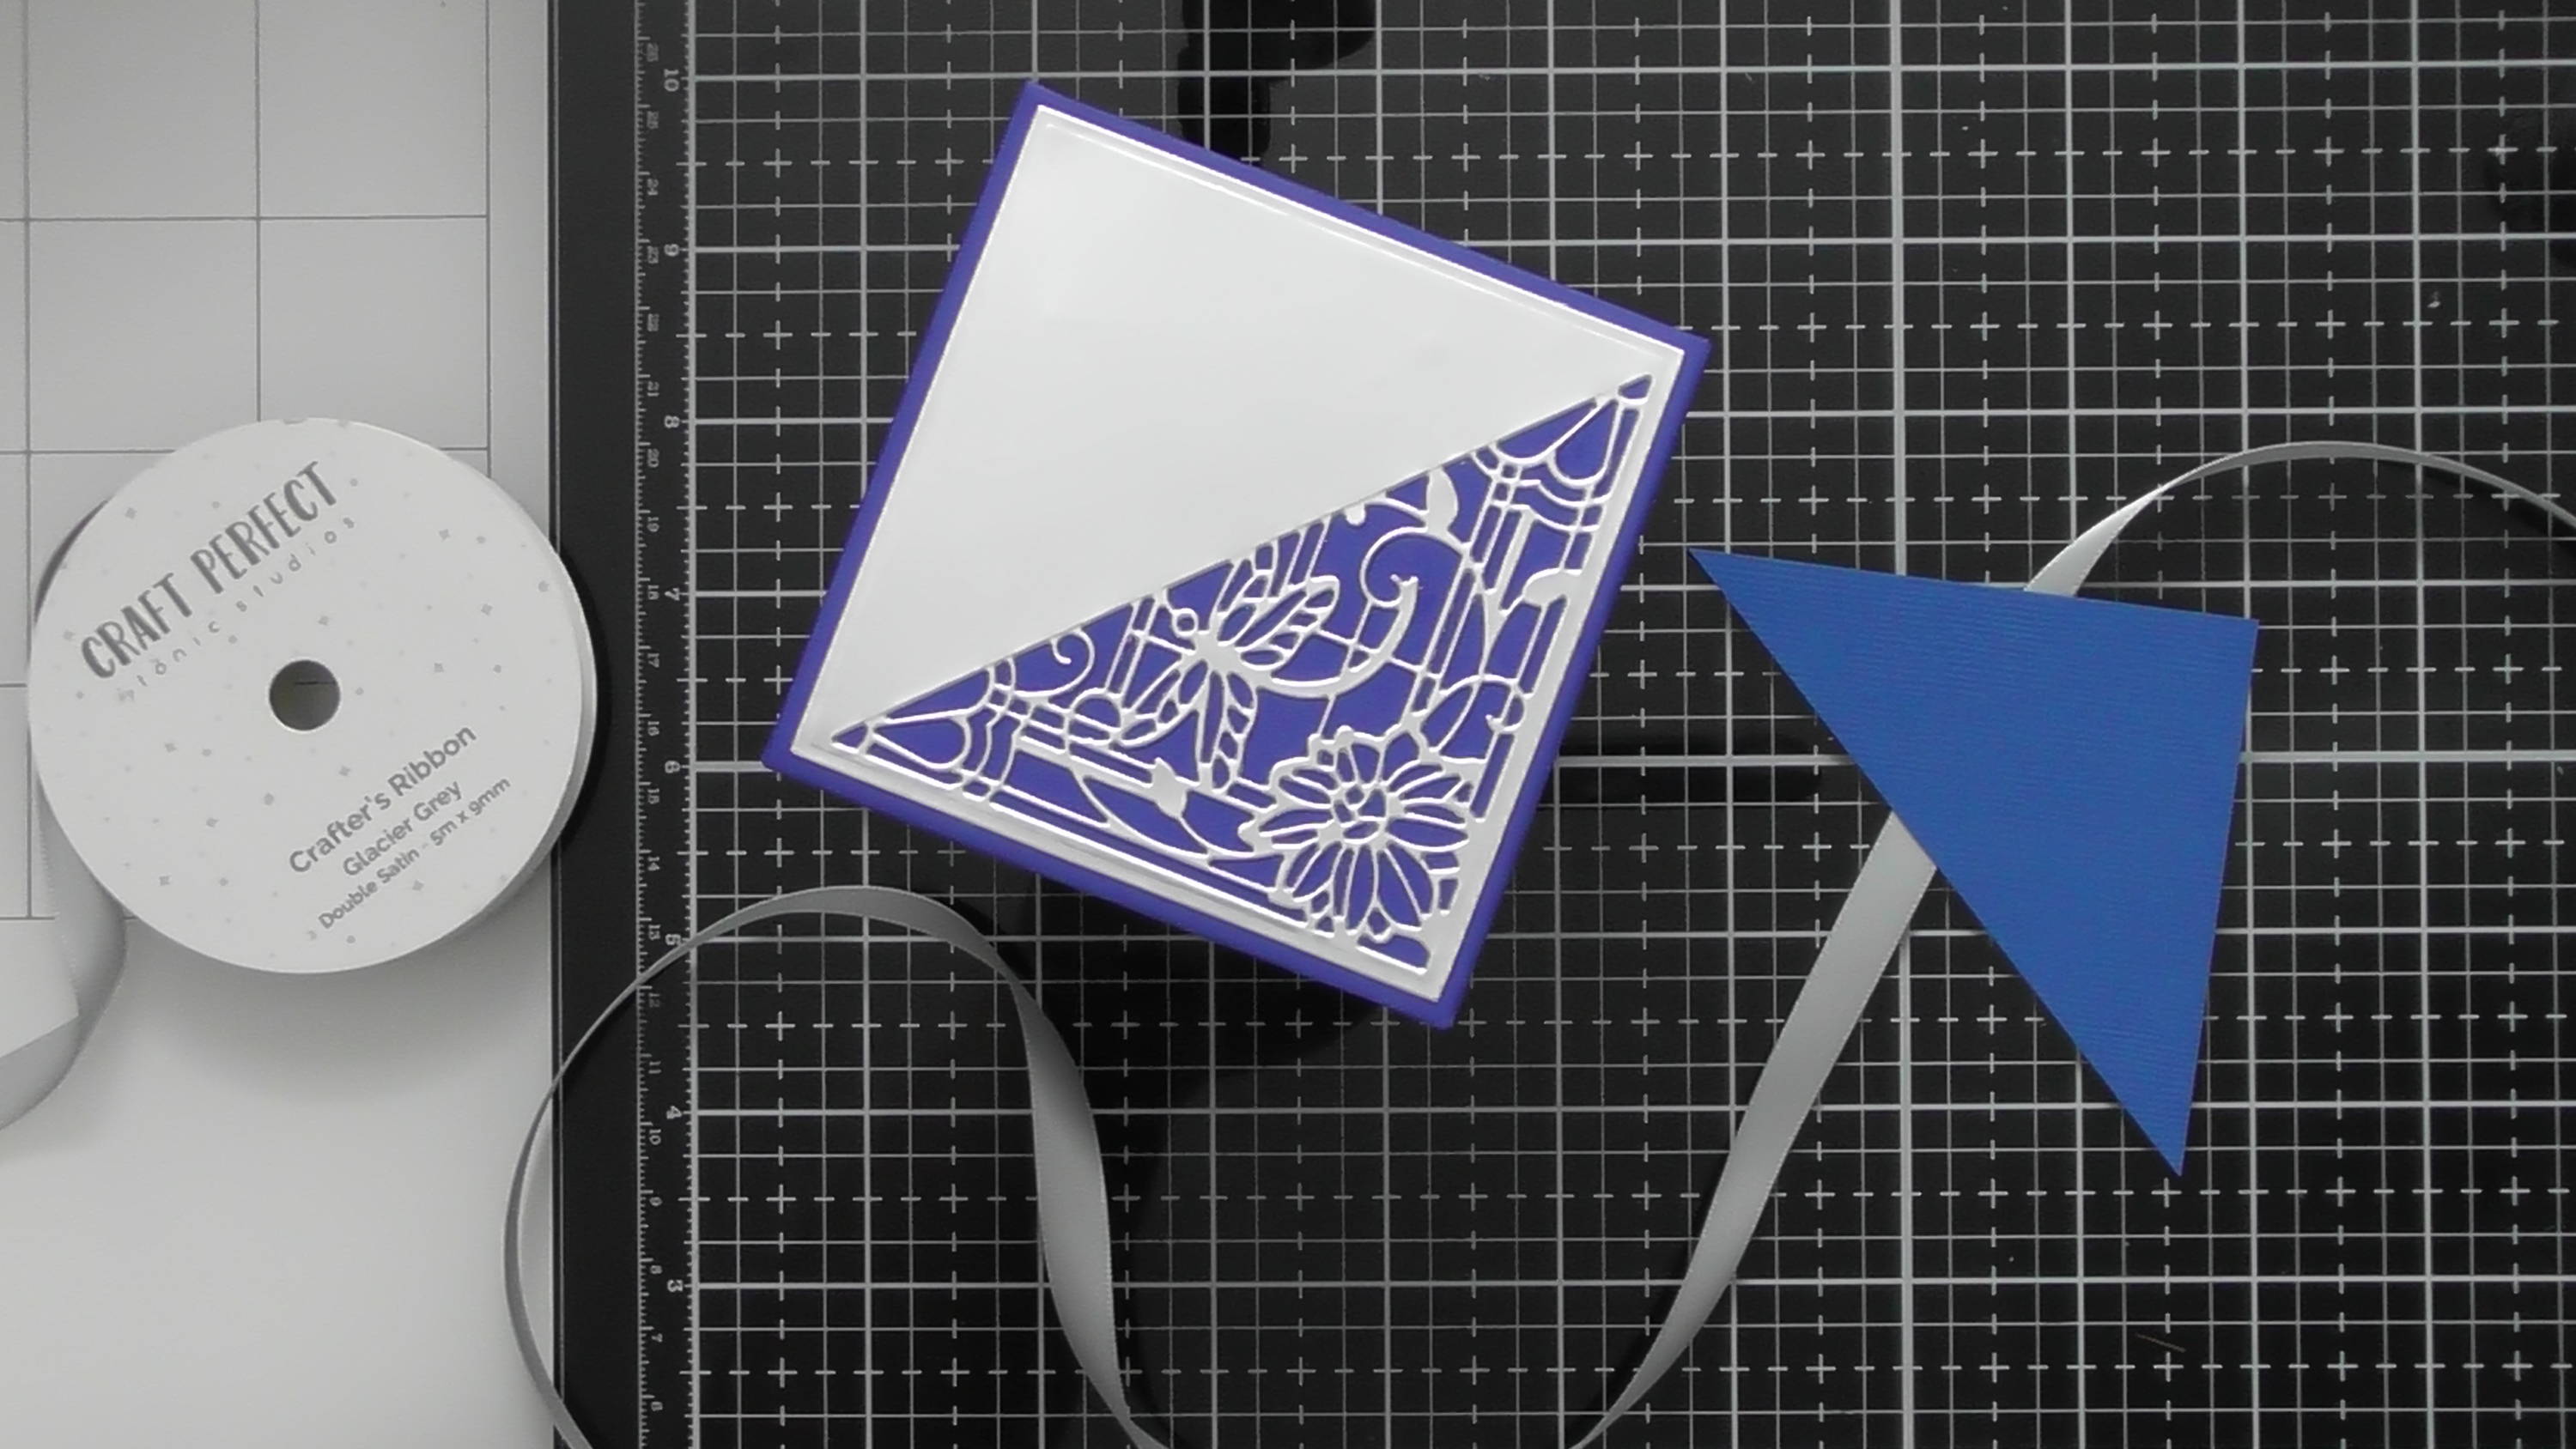
To add extra decoration to the top of the box, I cut a triangle from blue card and used some of Tonic’s new 9mm grey ribbon to tie a bow on top, and then I stuck this on with 3D foam…
Step 14
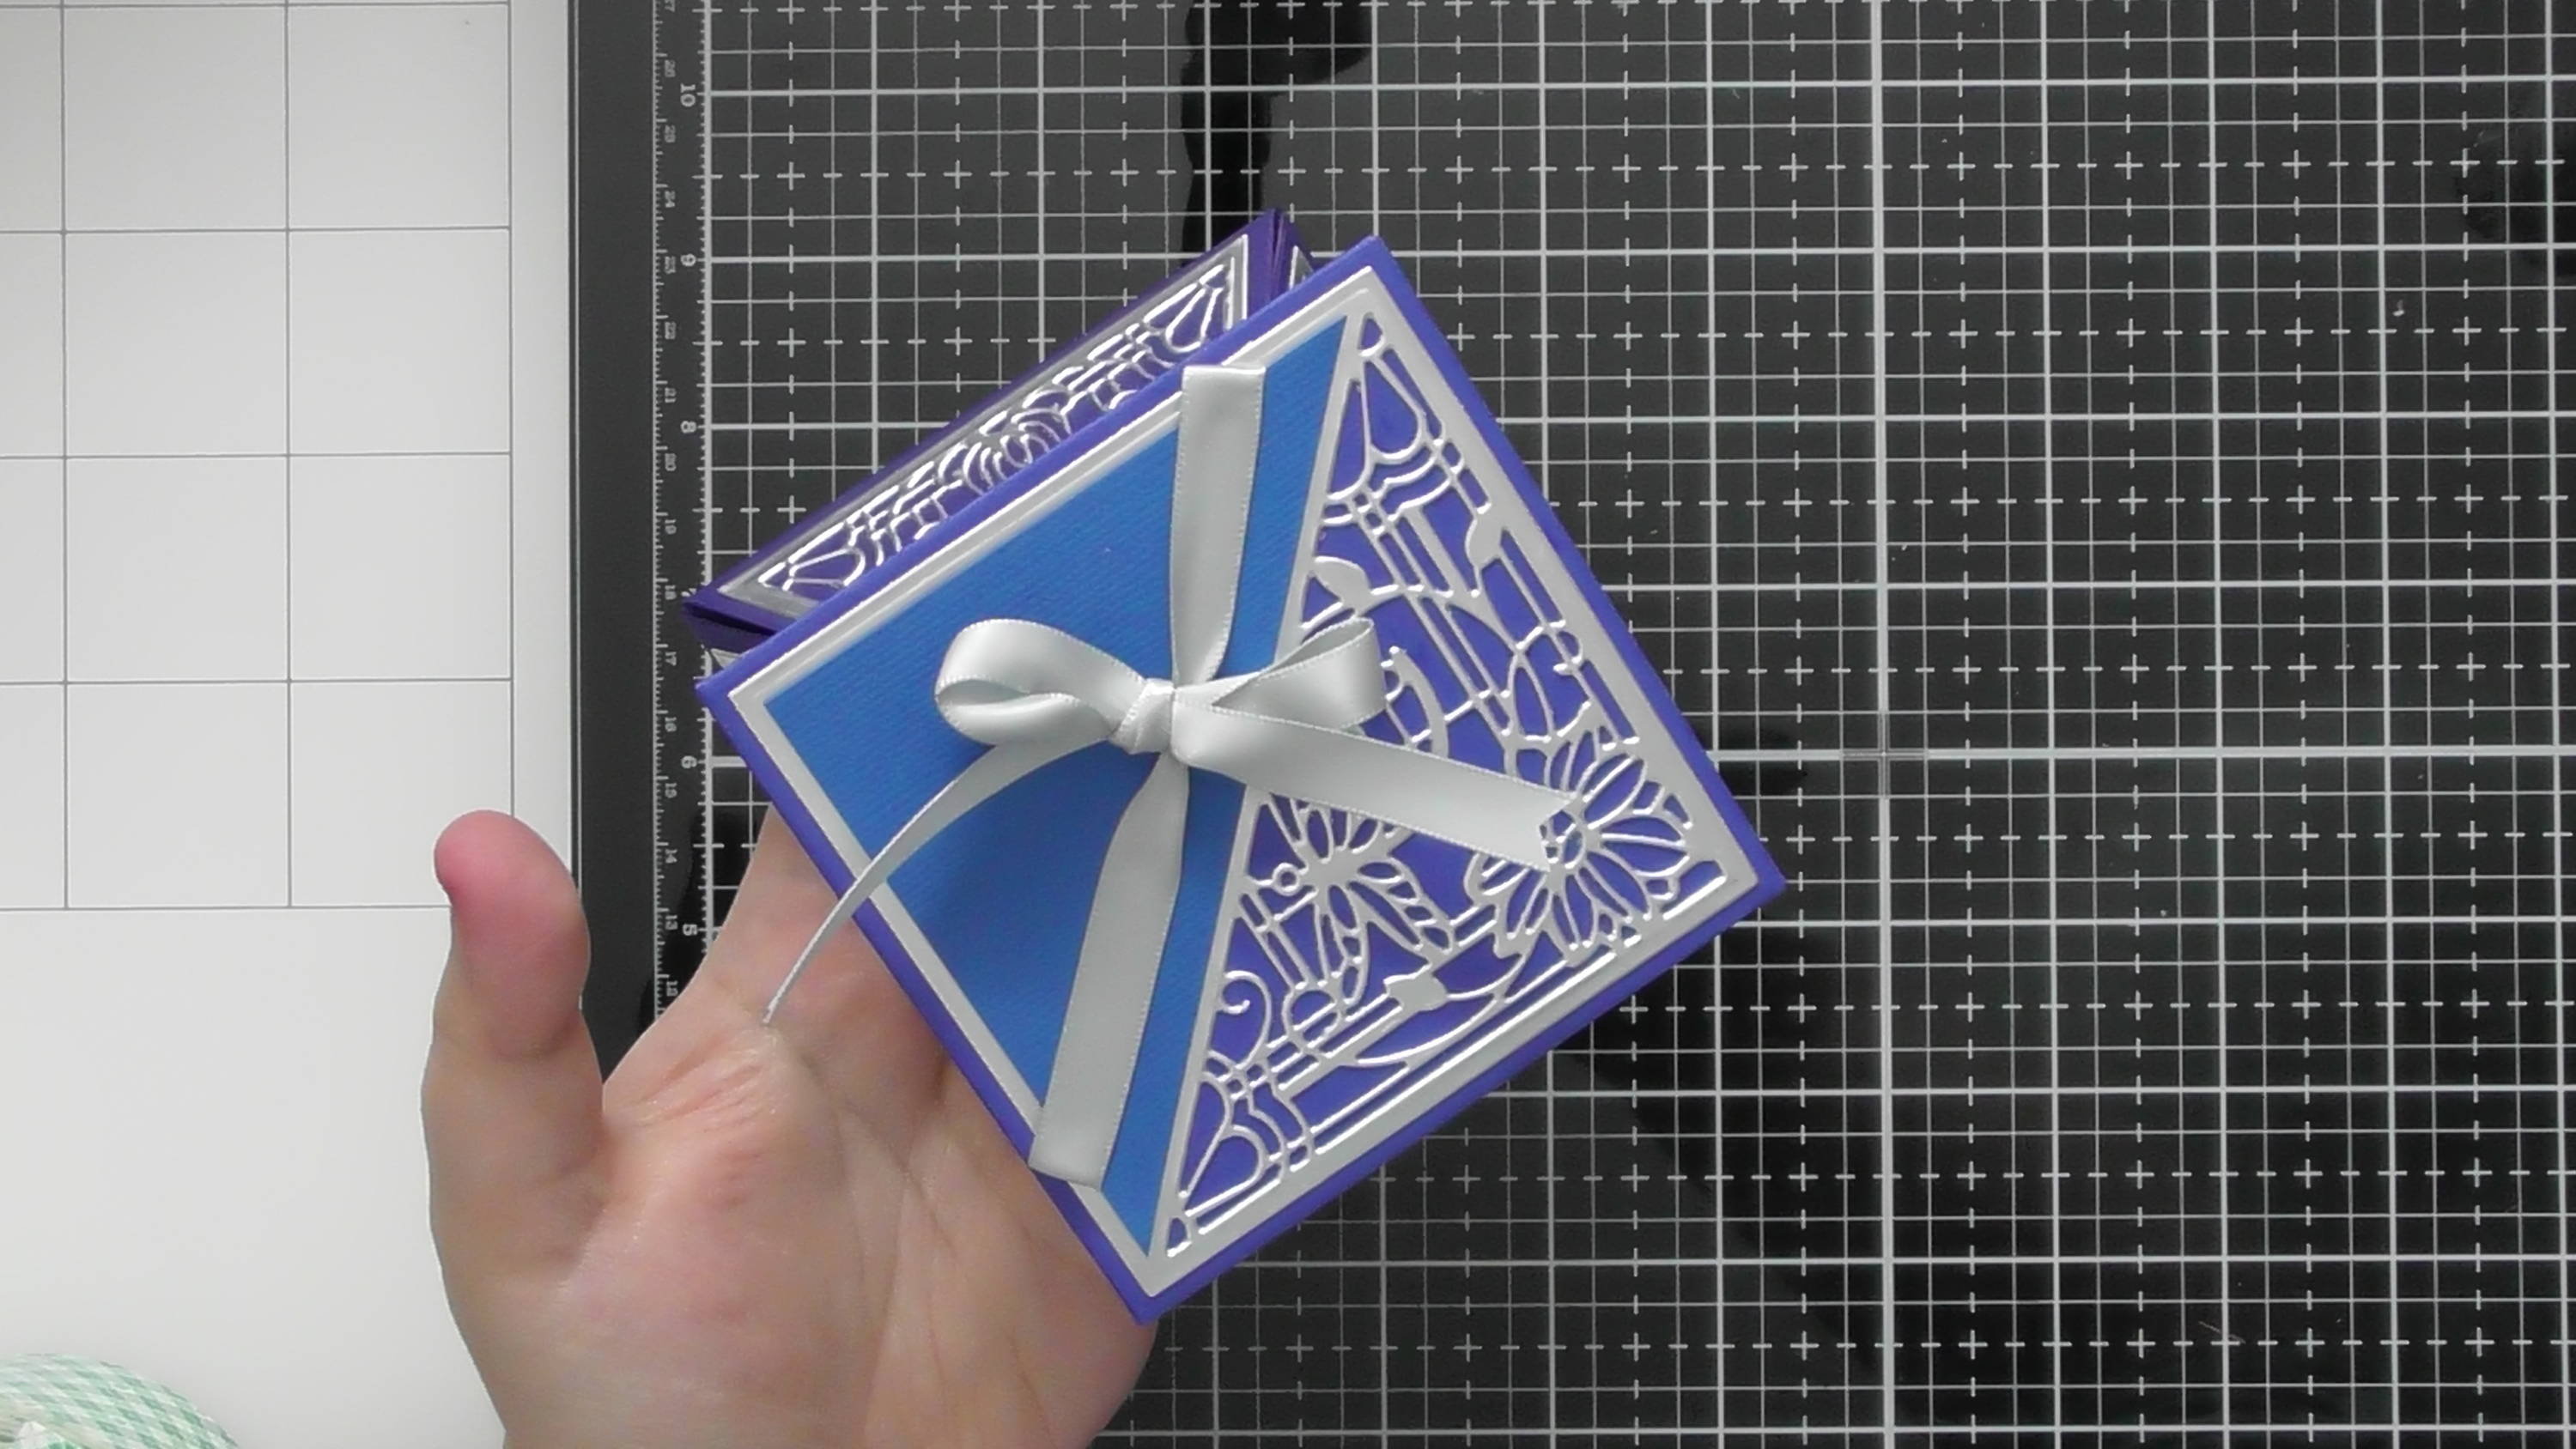
…like so :D This is just one way to decorate the top, you get different die options, and you can cut them twice to fill the whole square too to give a different look.
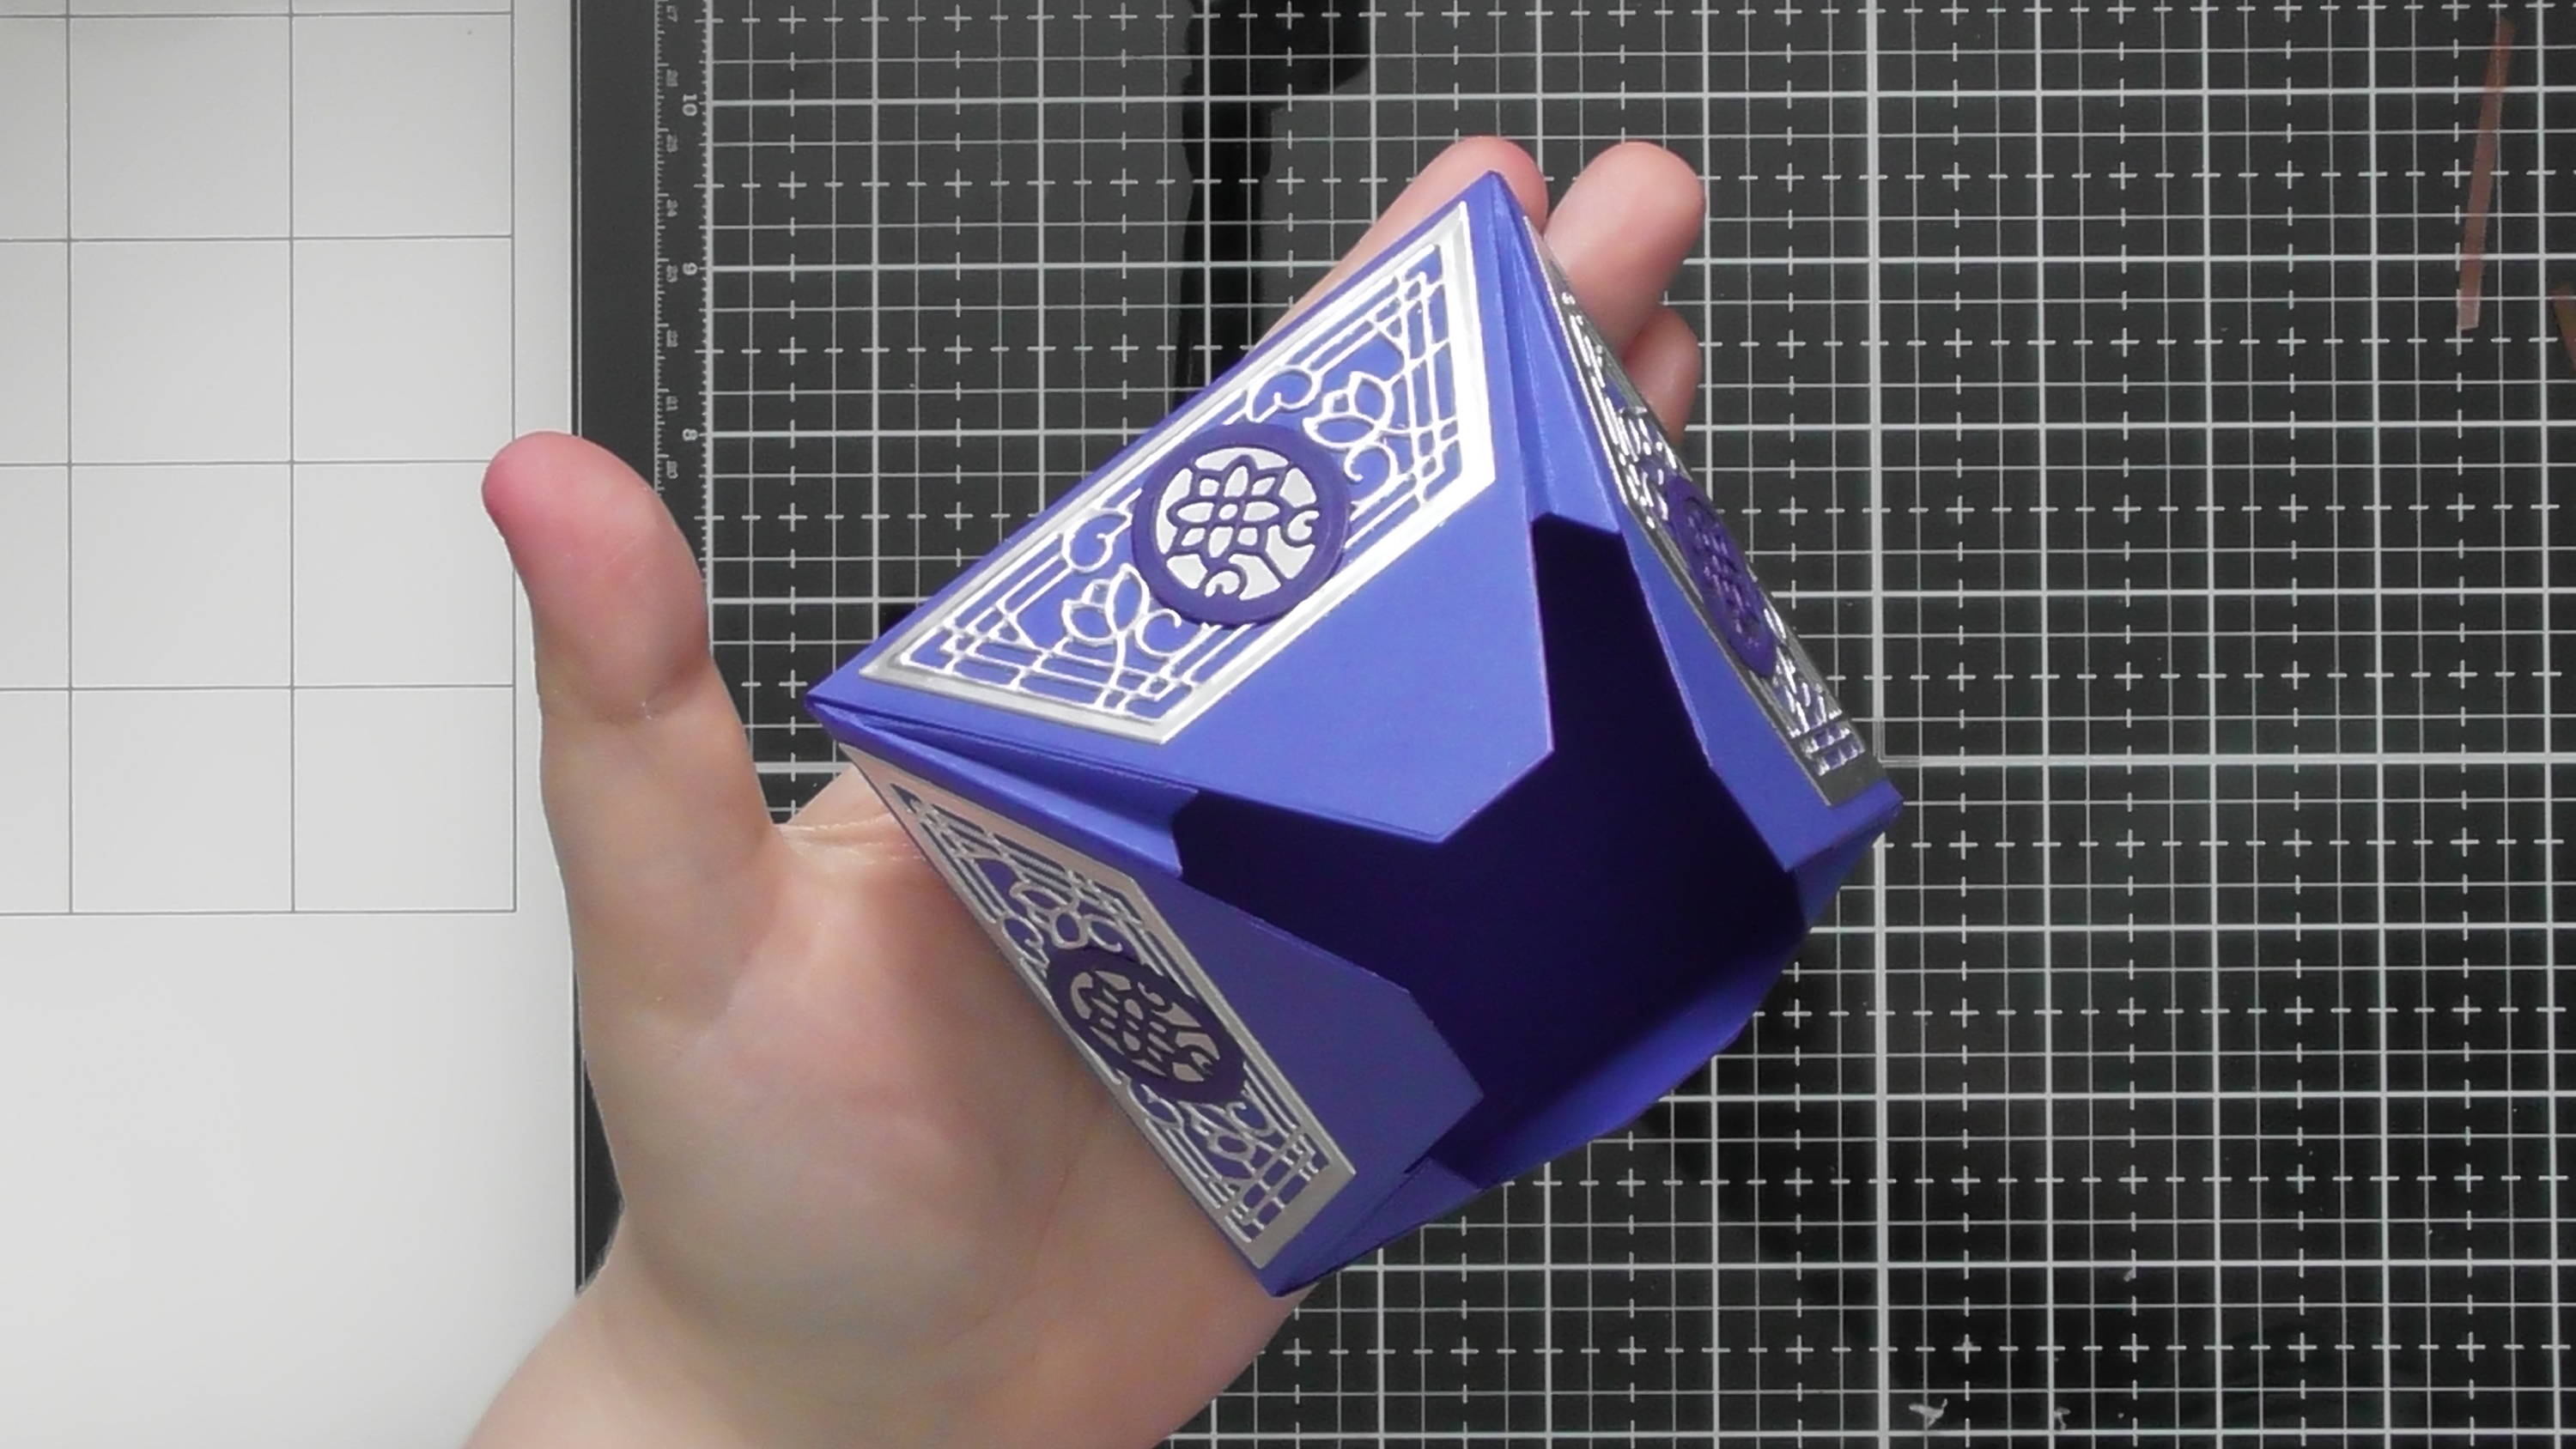
Step 15
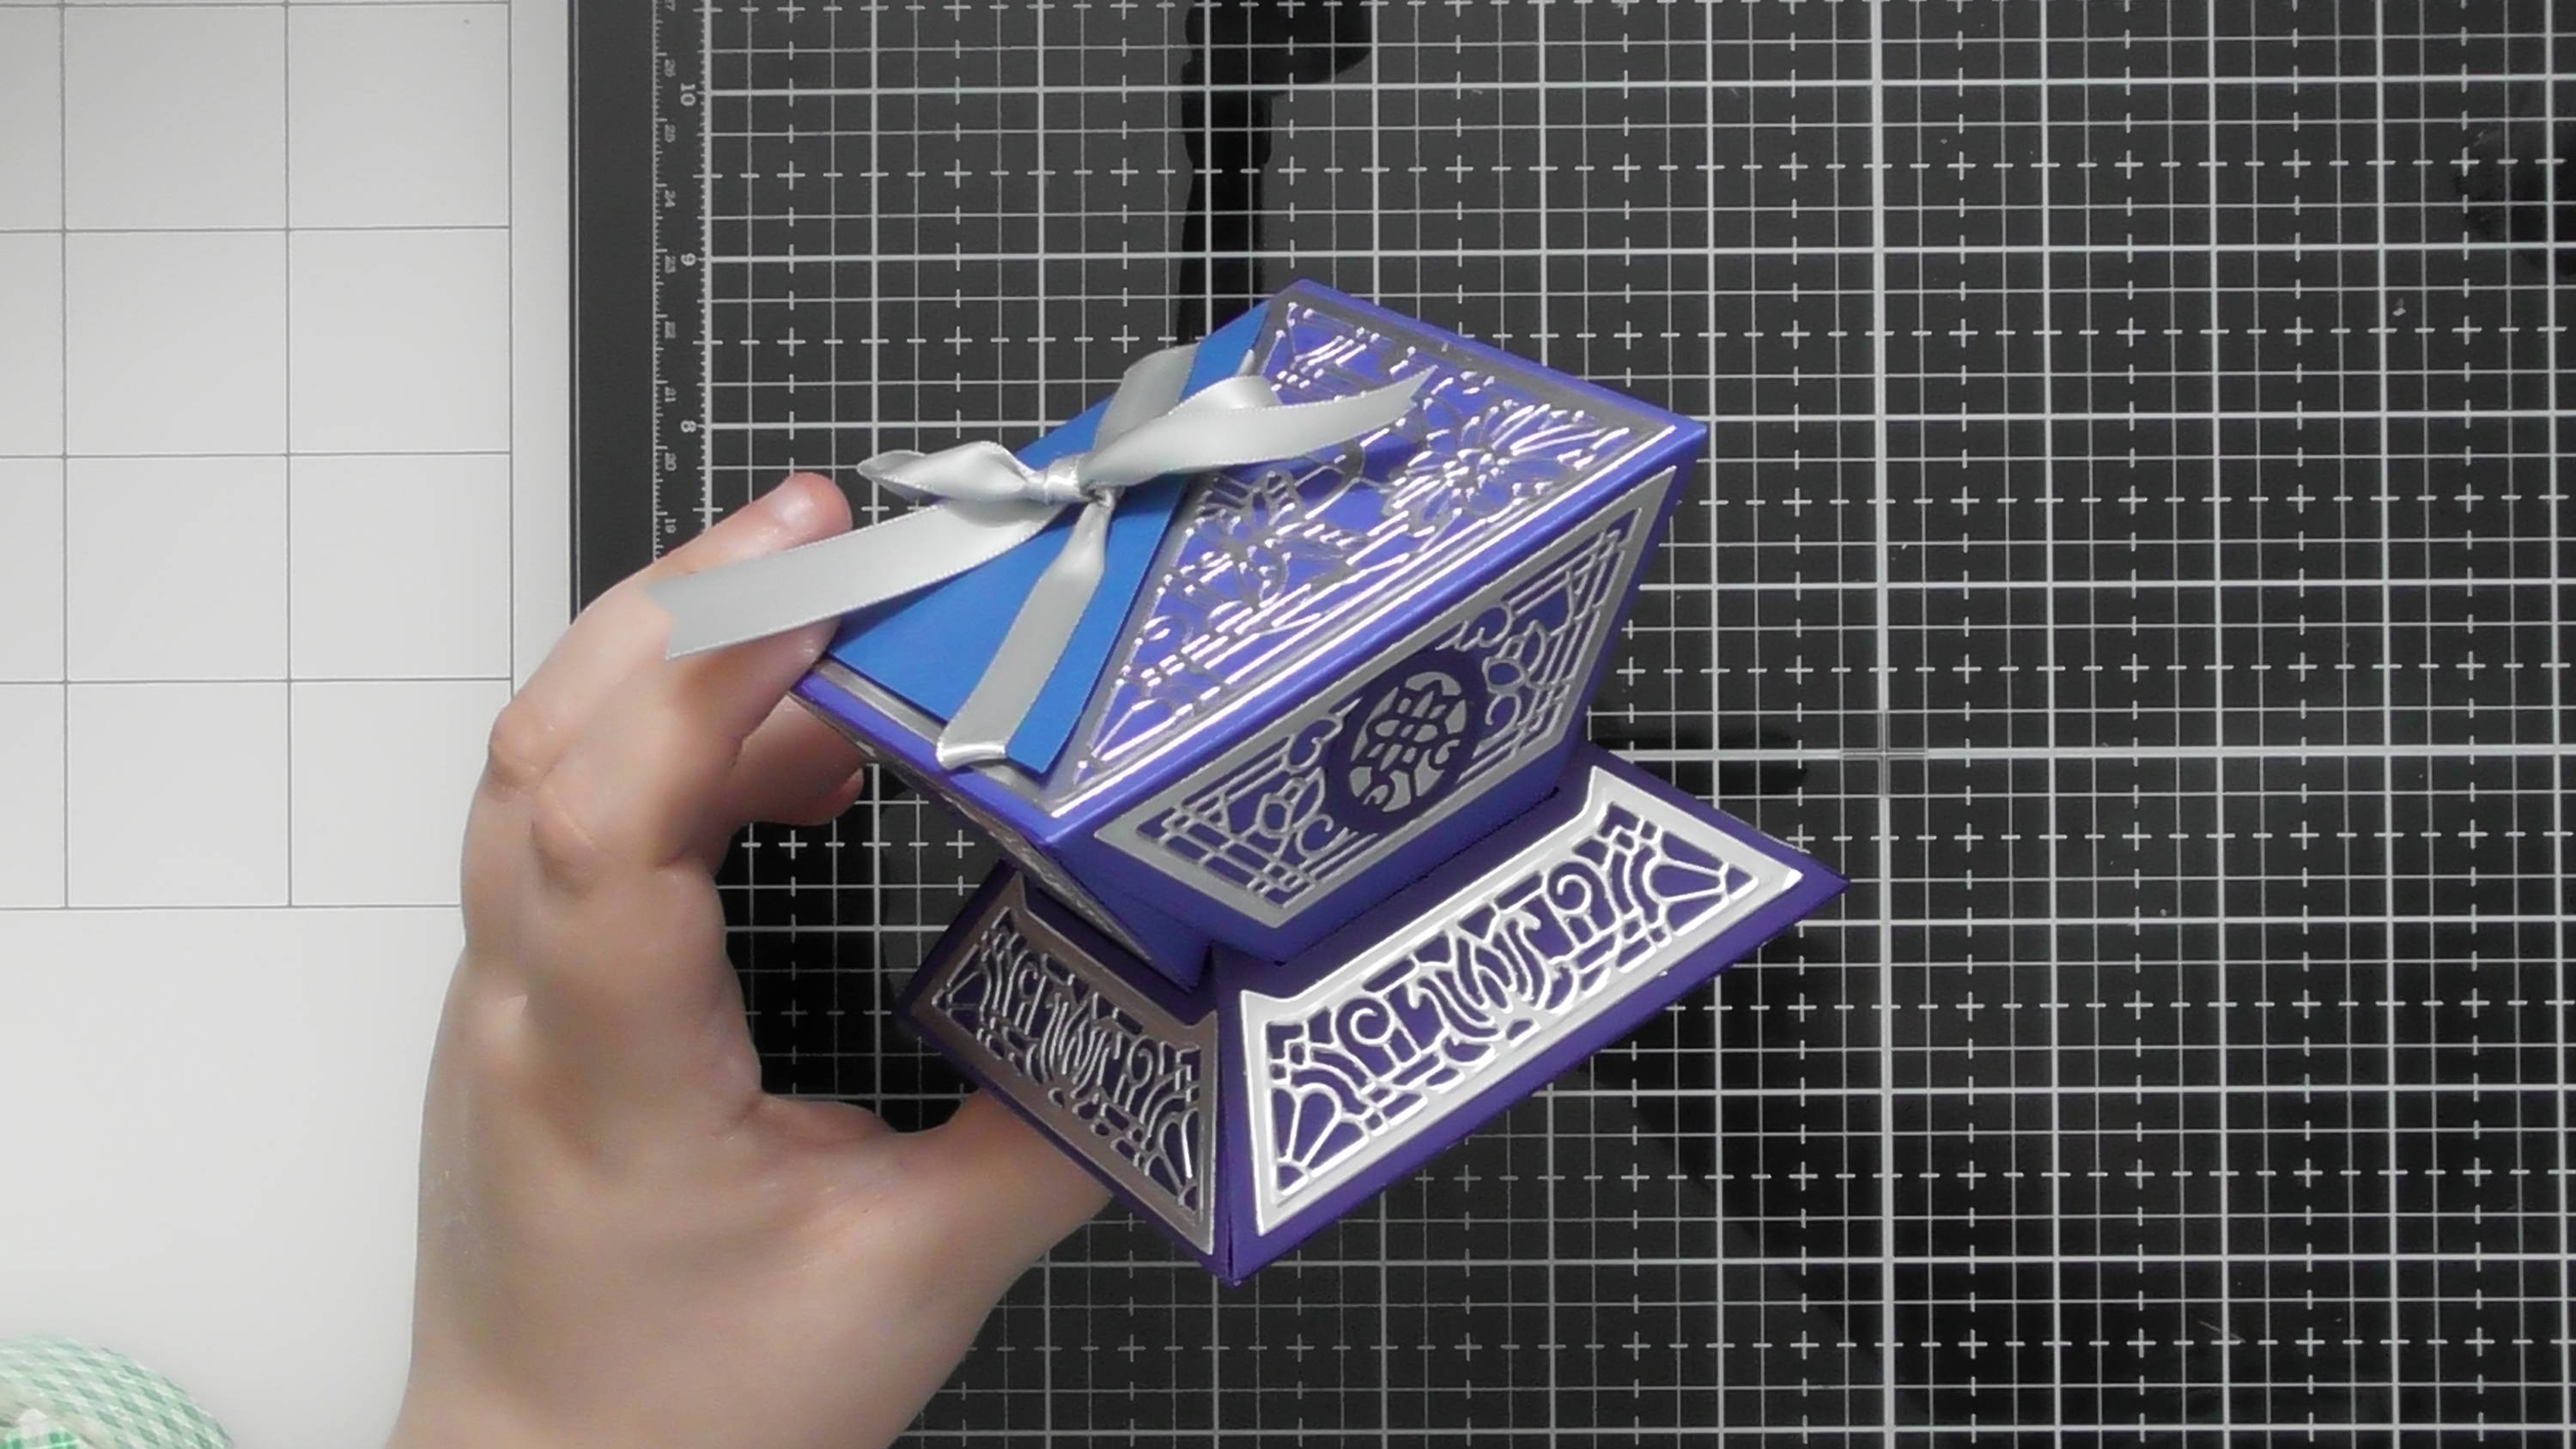
Then you can simply slot the top of the box into the bottom, to give your completed box, it really is a fascinating box and so simple to construct too.
Buy The Craft Project
