


Hello everyone,
Aya here and I am sharing ten beautiful mixed media tags tutorial.


Step 1: Prep With Gesso
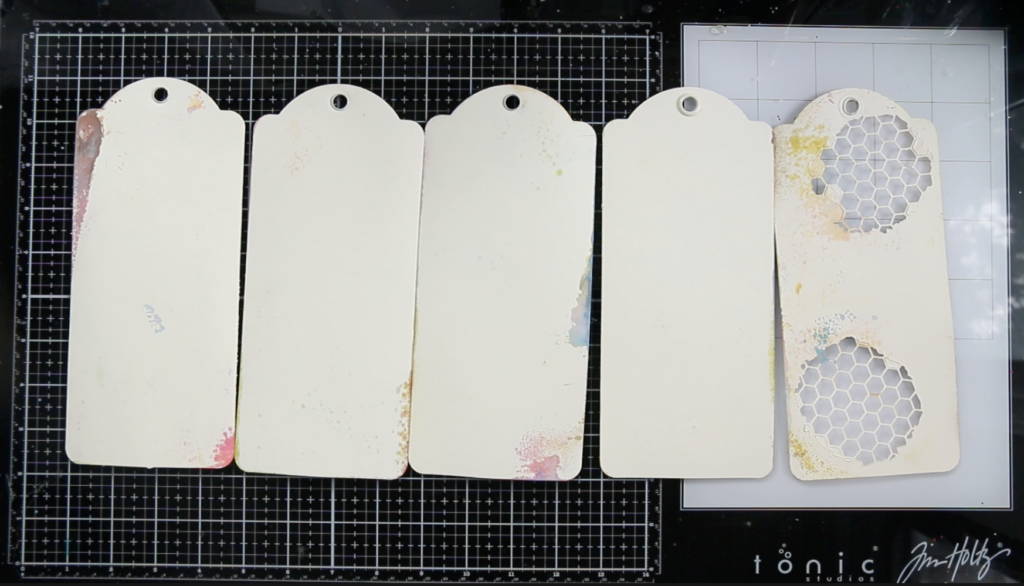
The first step is to prepare the tags for painting. Make sure you have covered up your work surface as this stage can get messy. It's a really good idea to apply gesso and leave the tags overnight. If you do not do this, so the surface will be a little bit soft when it came to the later stages. Since I am using premiered tags, I did not use gesso.
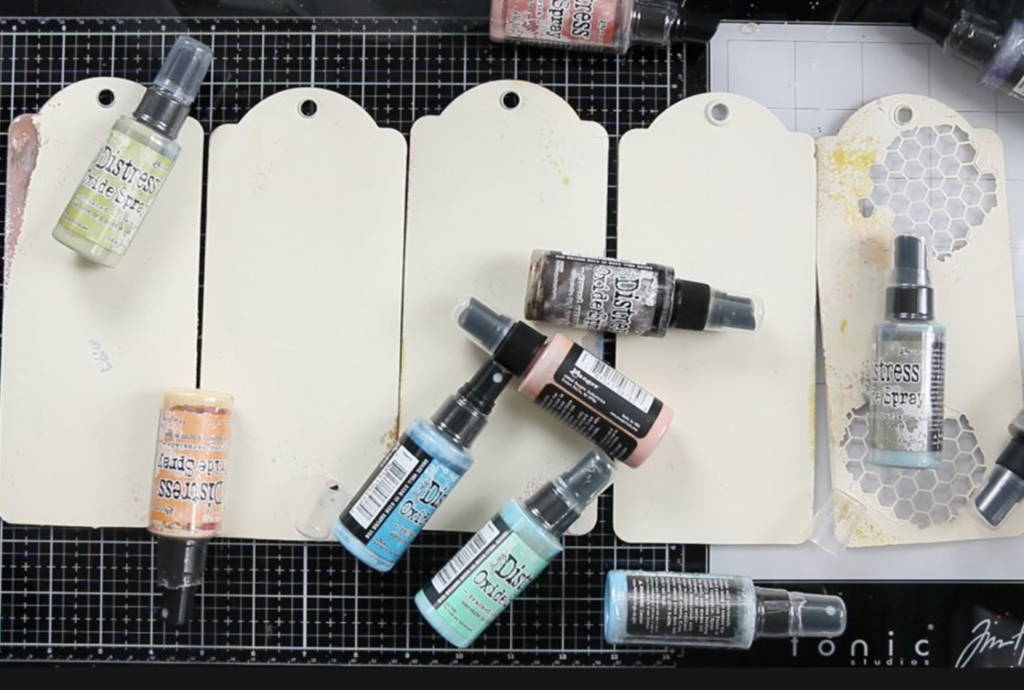
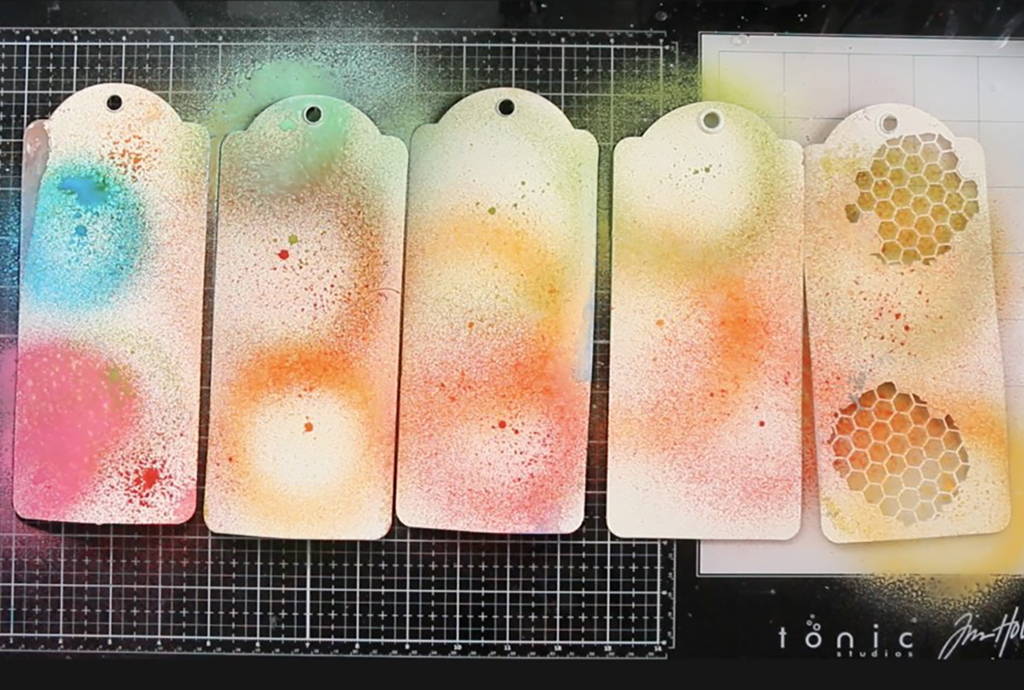
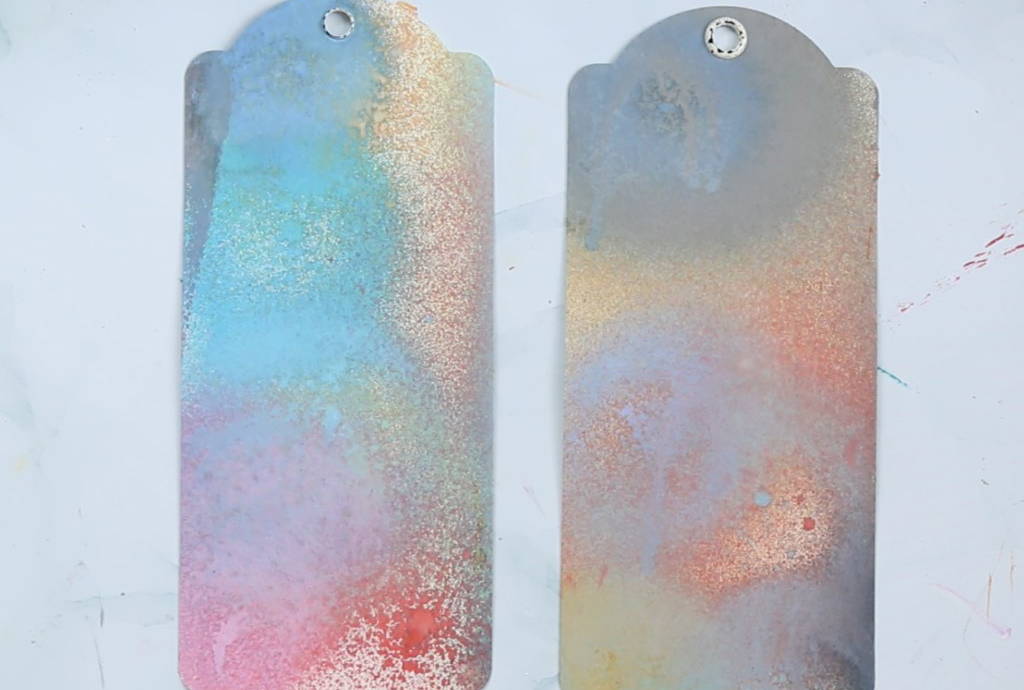
Step 2: Color with Oxide Spray
Step 3: Stamping
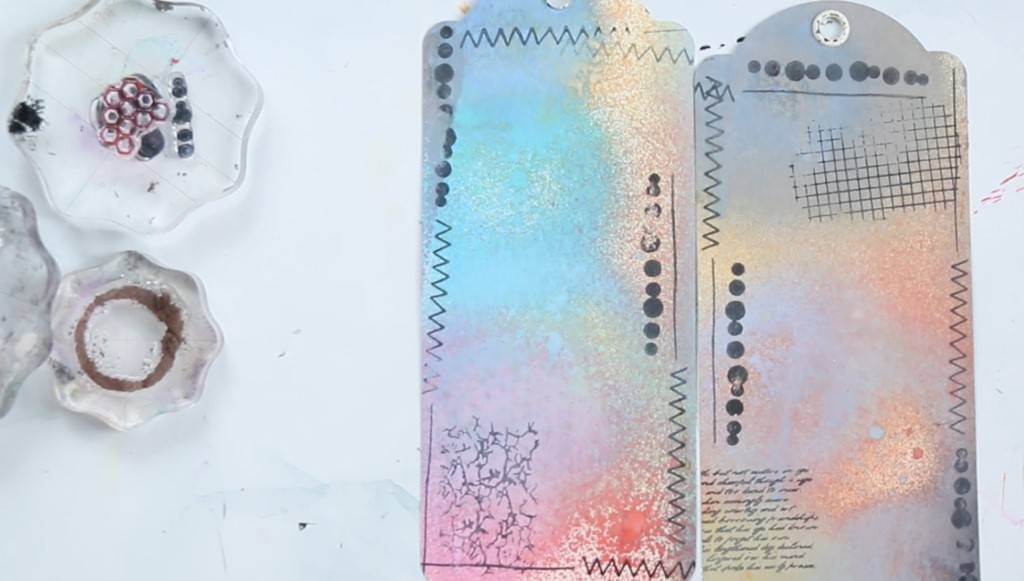
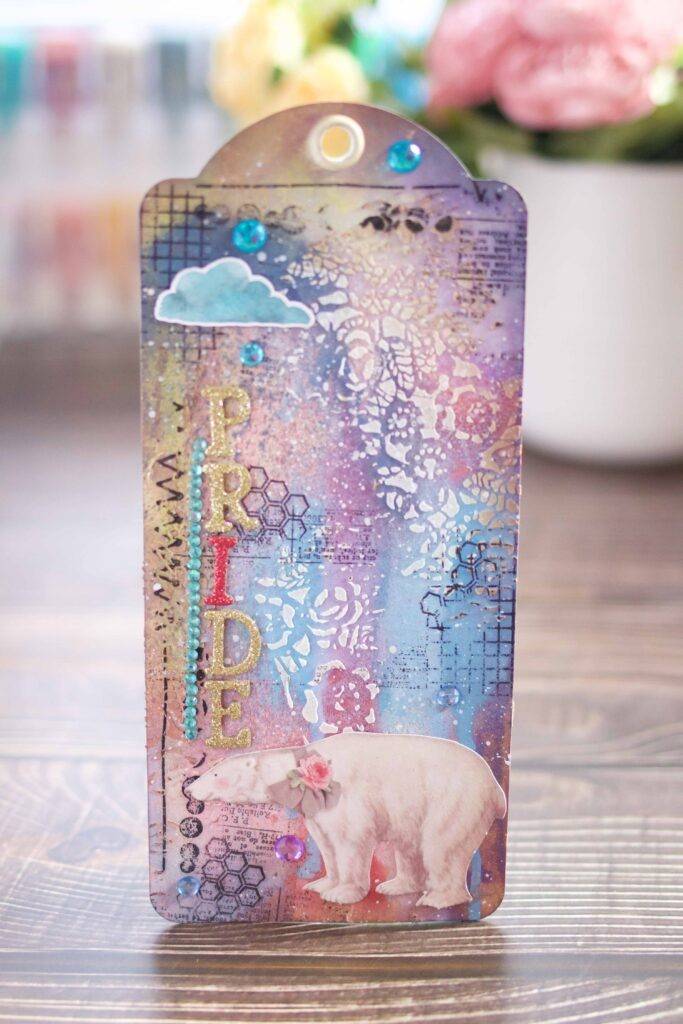
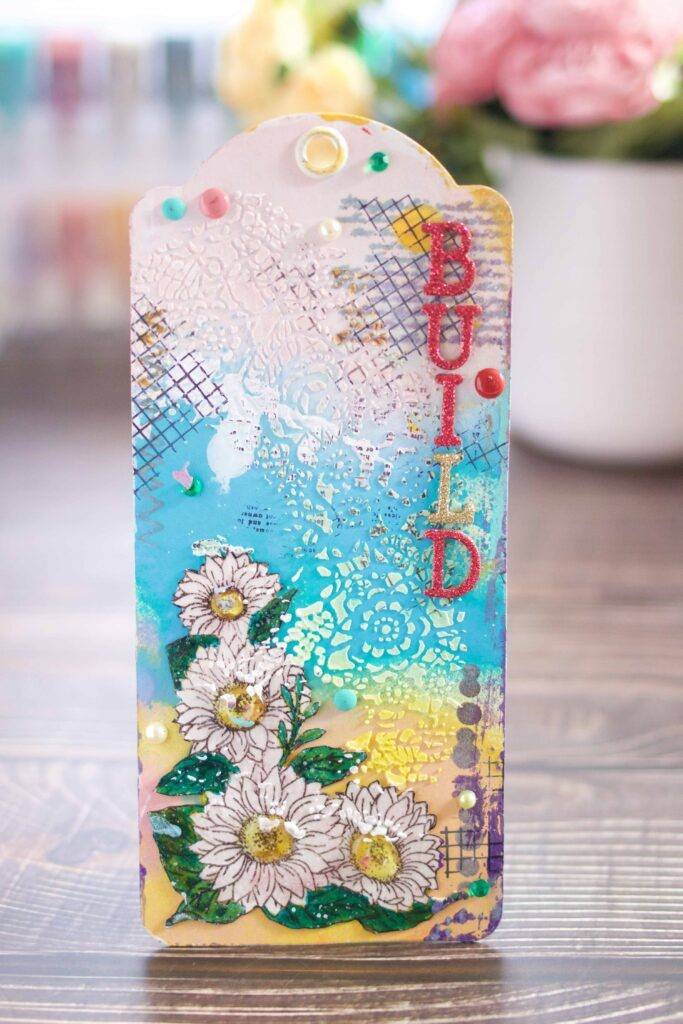
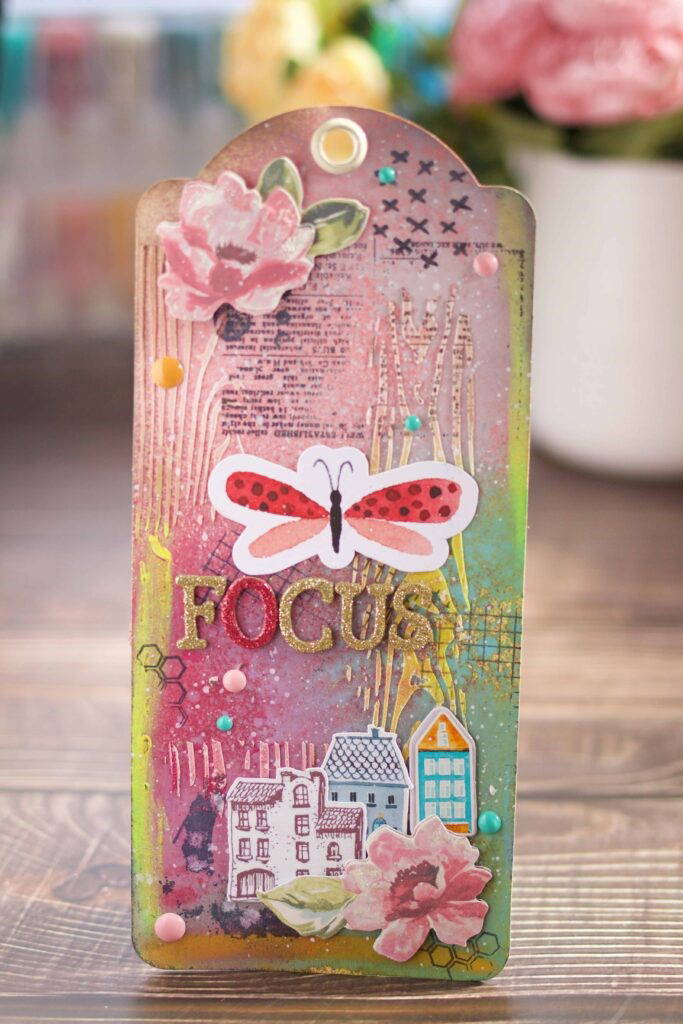
Once the background is dry, you can start to play. I used Stamp Club - Patterns & Prints - Stamp & Die Set, and black ink to add a little more to the background.
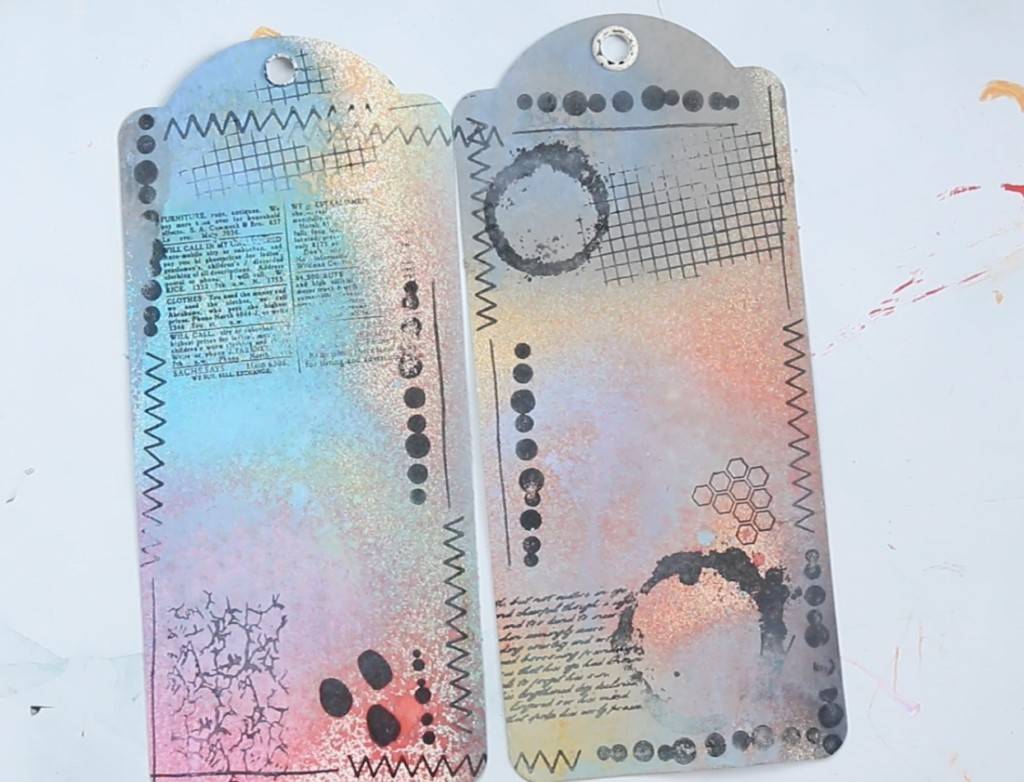
Step 4: Stencil the Tags
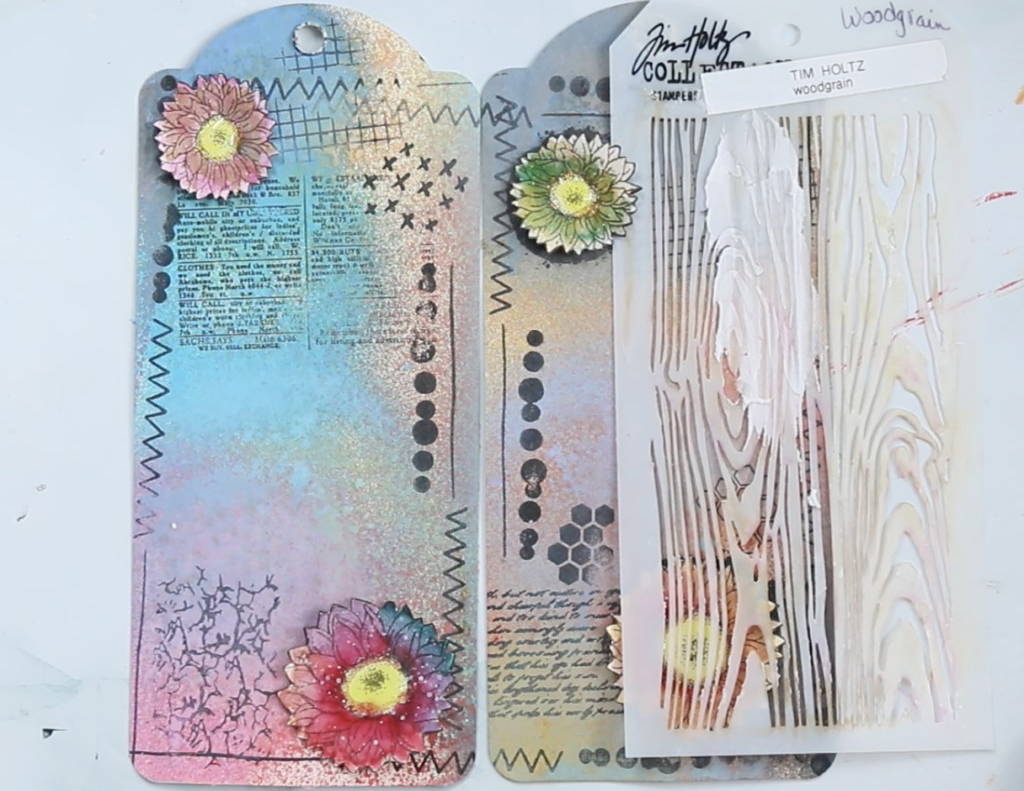
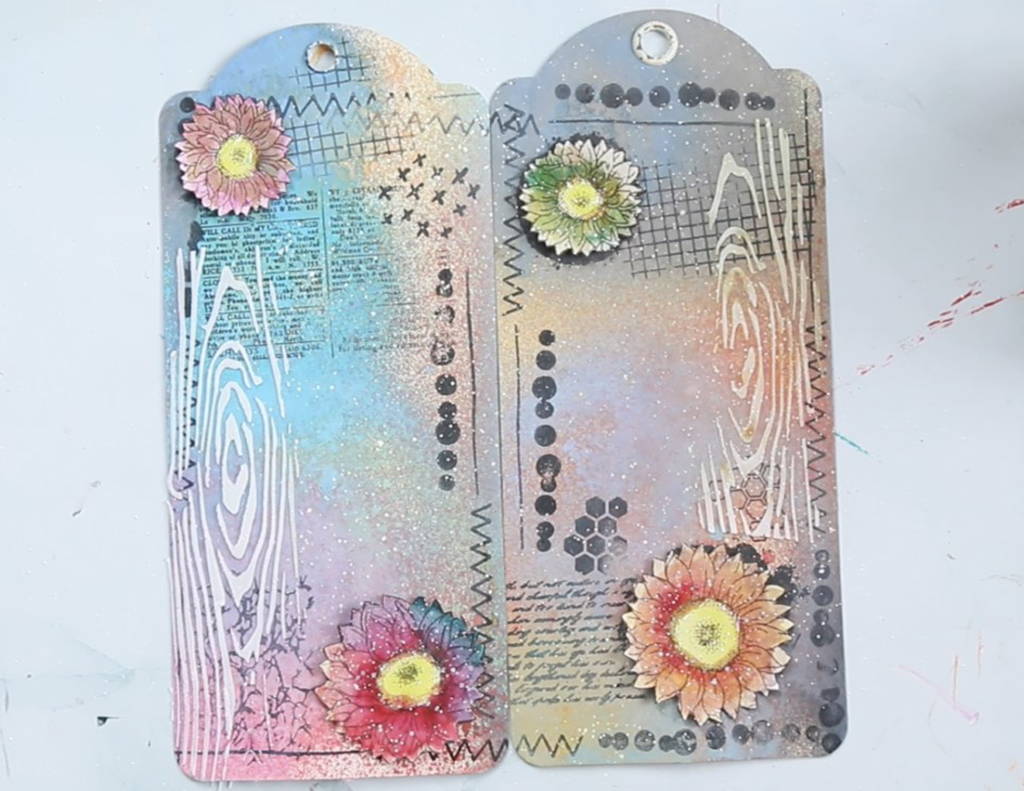
Step 5: Embellishments and die cuts
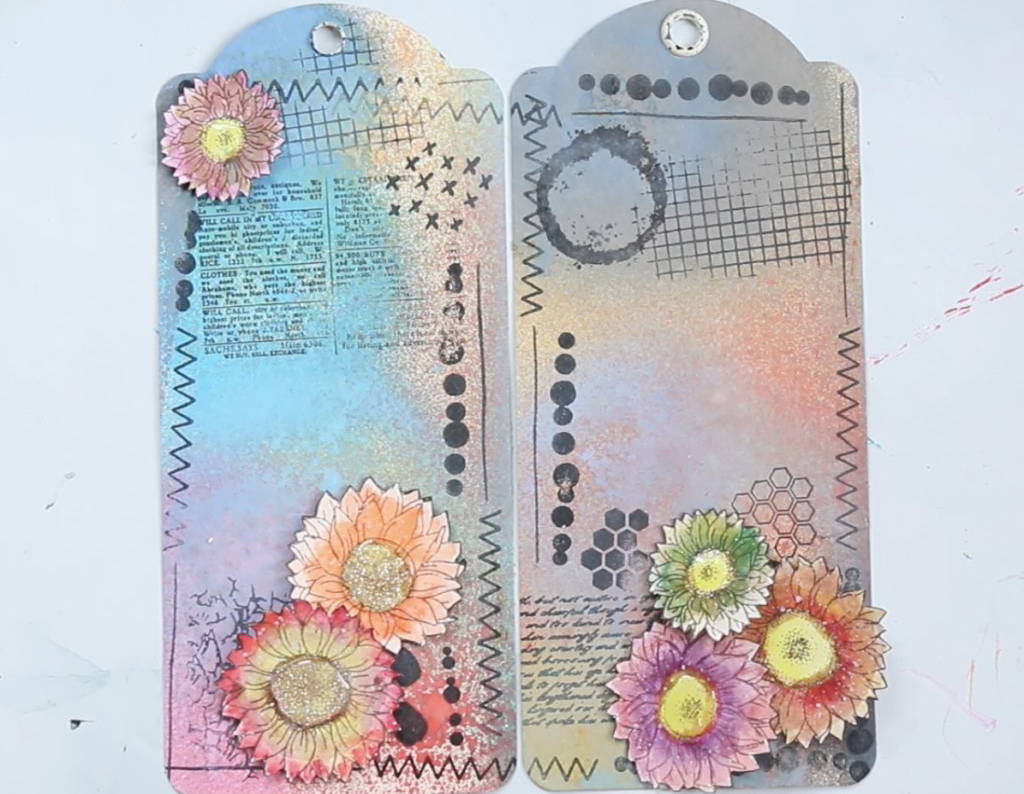
Now it's time to use your scraps and die cuts to decorate your tags.
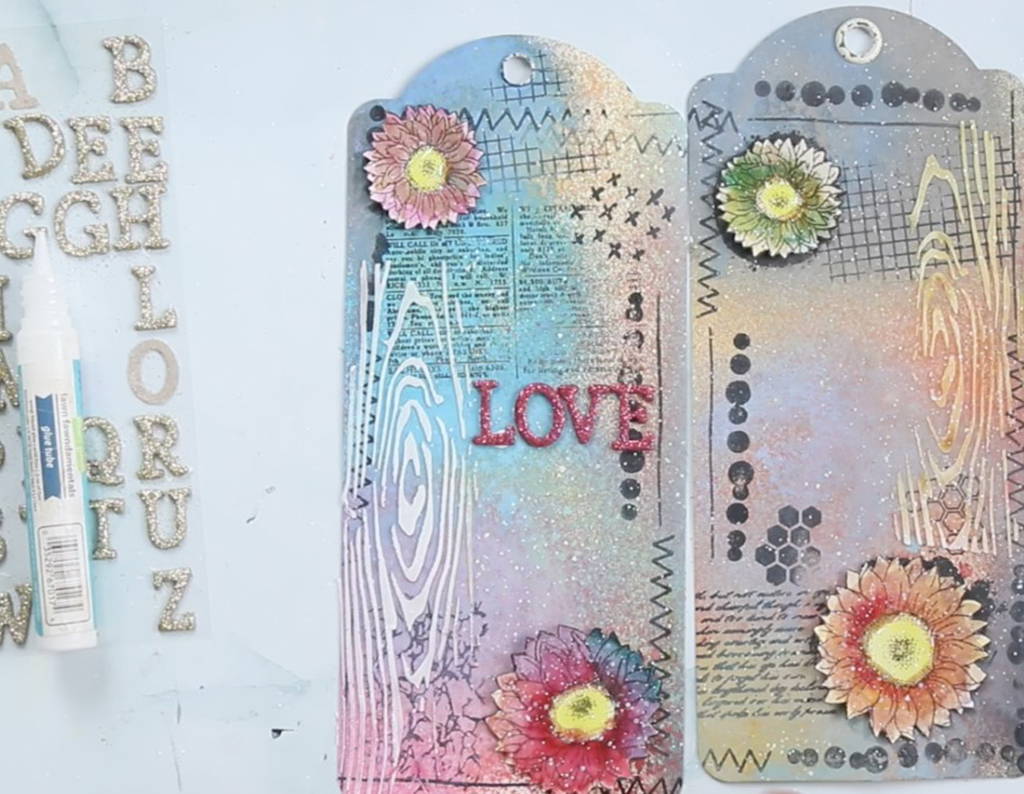
Step 6: Add your sentiment or a word
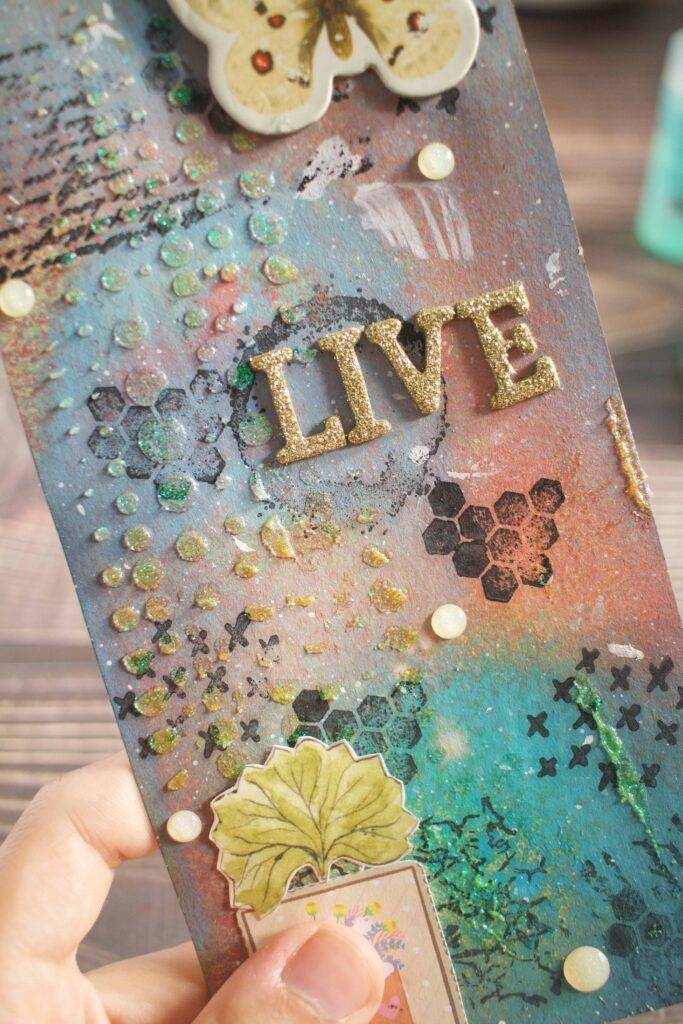
Tip for a different type of texture
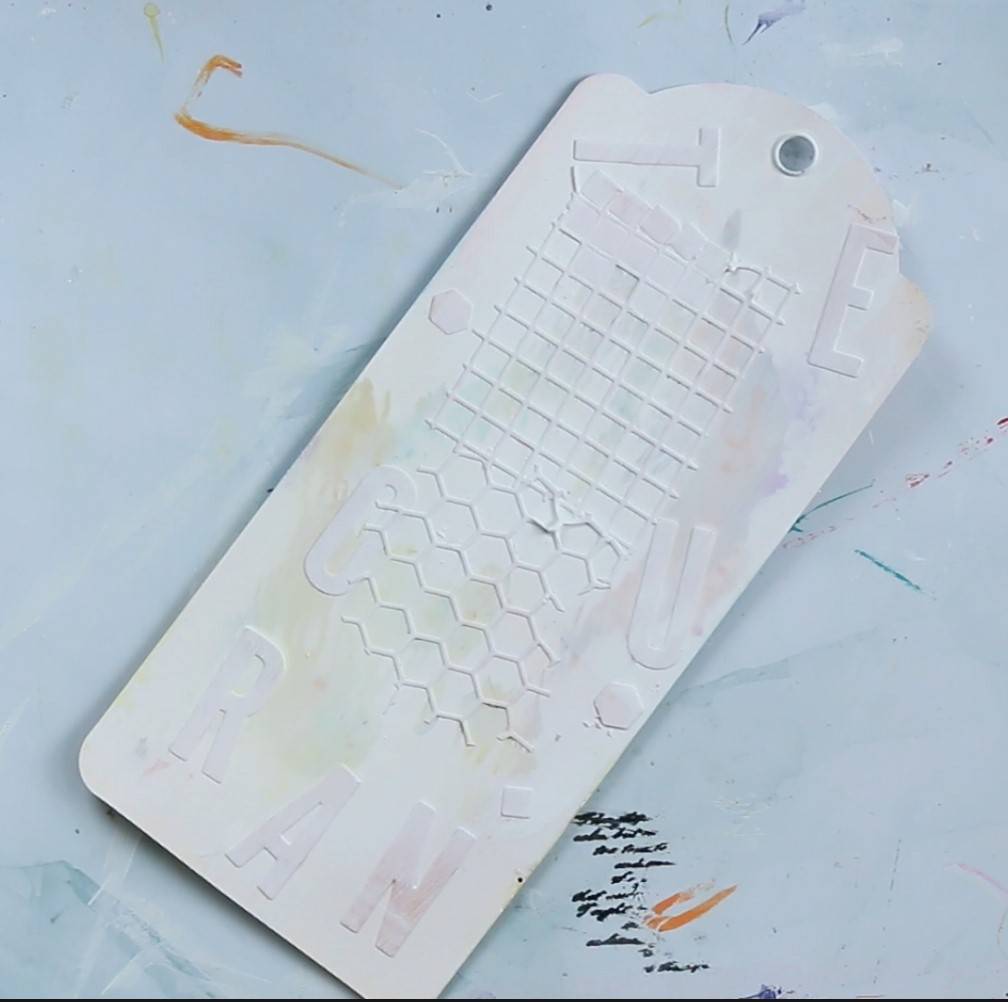

After I used - Patterns & Prints - Die Set, I adhered the die cuts into my tag then added a layer of white gesso. Then I color sprayed them.
People who love to add texture to their projects will love Stamp Club - Patterns & Prints - Stamp & Die Set.
Now let have a closer look at all the tags after following all the steps


Thank you so much for stopping by, Please check Tonic Studios for more inspiration from the design team.
Buy The Craft Project
