


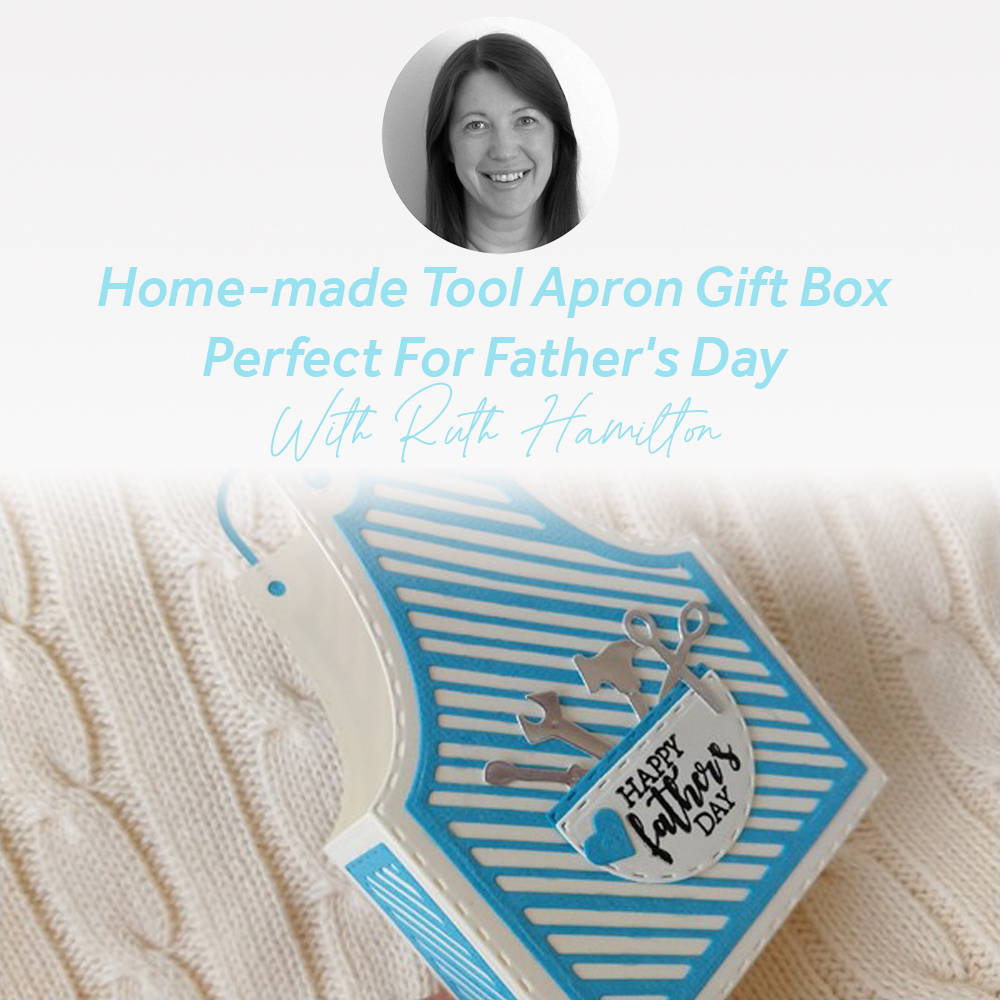
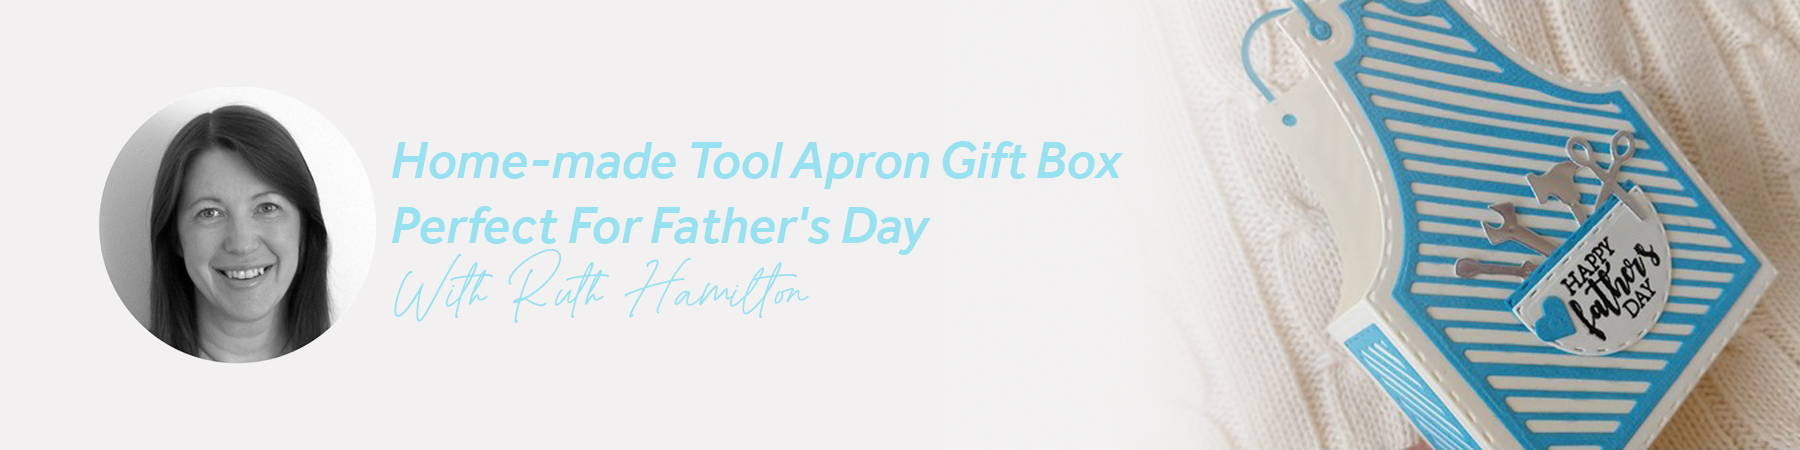
The Country Apron Craft Kit from Tonic has all the dies etc for you to make a gorgeous little apron shaped gift box. You could also use the apron on a card.
What you will need
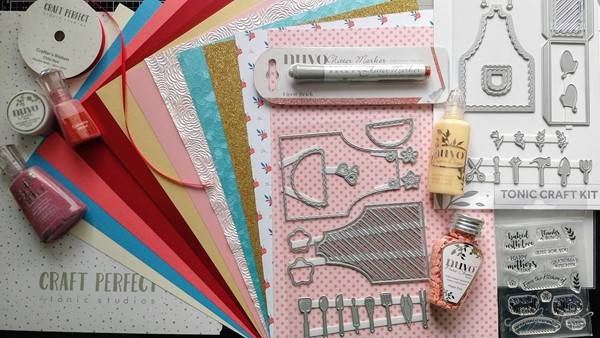
- Tonic Studios Craft Kit - Country Apron
- Craft Perfect Hi Tack Tape
- Nuvo Deluxe Adhesive
- Silver Mirror Card
Step 1
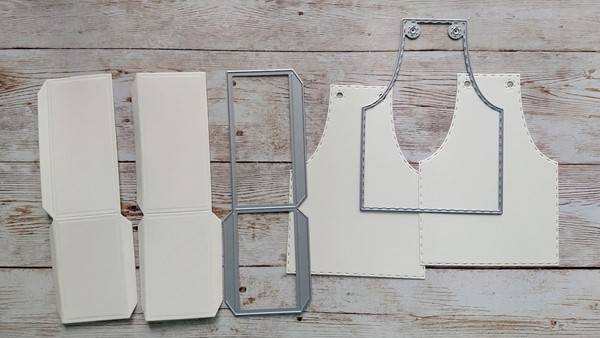
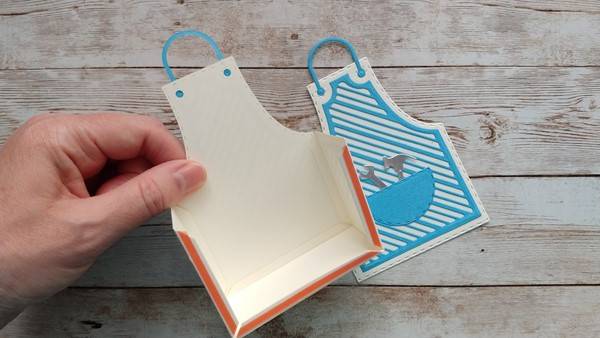
Die cut 2 outer apron shapes and two rectangles with tabs from the Ivory Smooth Card.
Step 2
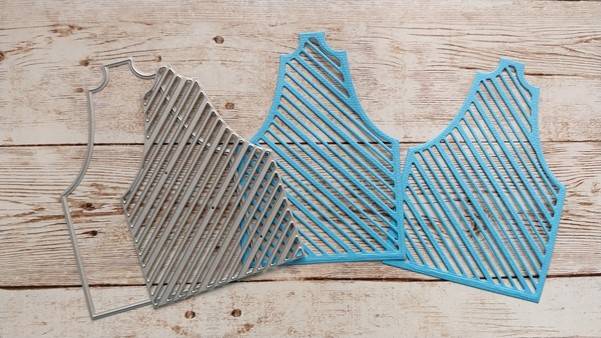
Using the 2 dies shown, die cut the inner apron shape from Cornflower Blue card twice.
Step 3
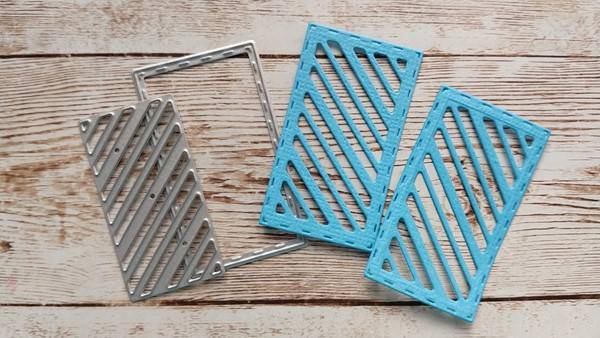
Using the 2 rectangle dies shown, die cut the striped shape twice from Cornflower Blue card.
Step 4
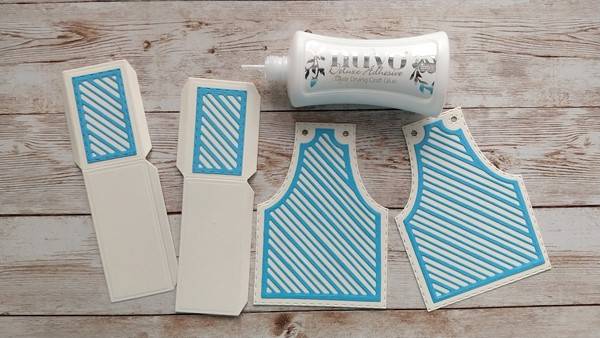
Glue the striped die cuts to the ivory shapes.
Step 5
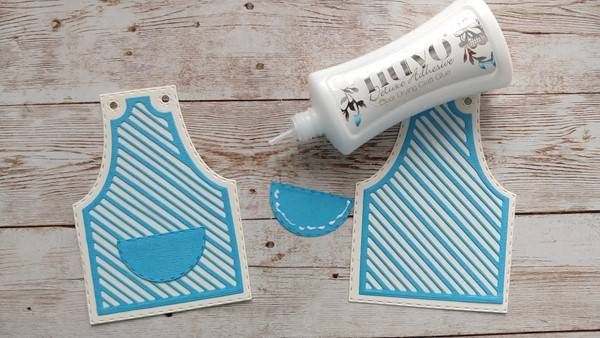
Die cut the pockets from blue card and adding glue where shown, attach to the apron shapes.
Step 6
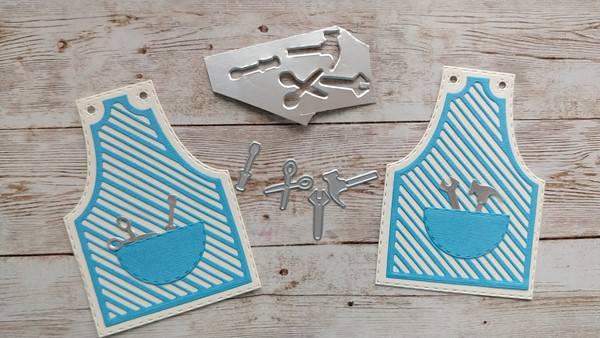
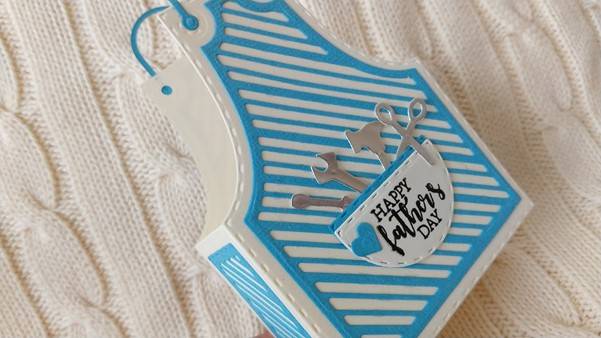
Die cut the tools from silver card and glue into the pockets.
Step 7
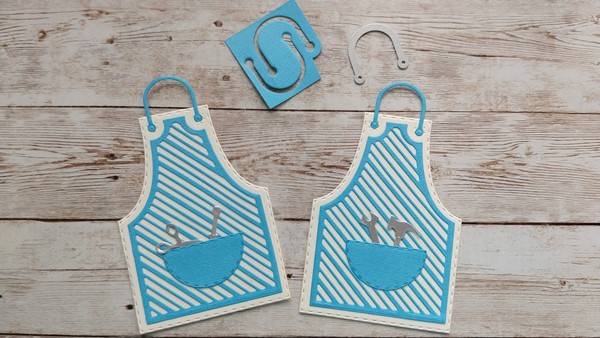
Glue the tools into the pockets. Die cut blue "neck ribbon" and glue in place.
Step 8
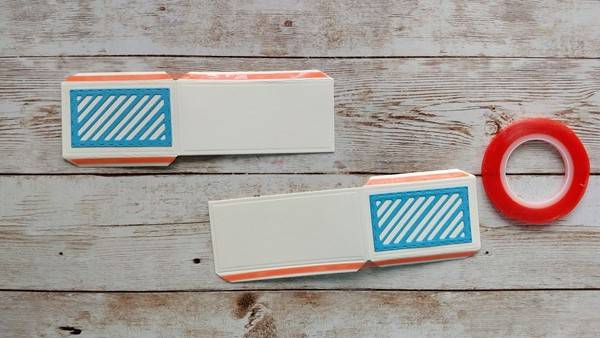
Add hi tack tape along the tabs on the side and bottom panels.
Step 9
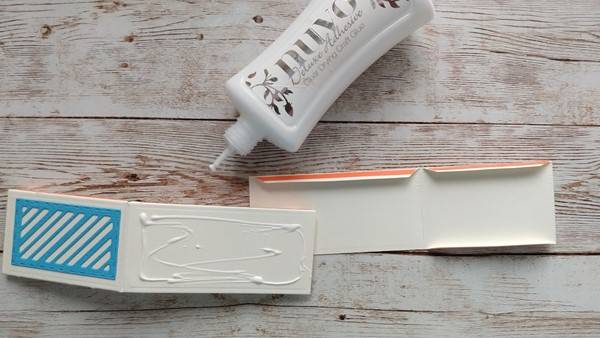
Glue the bases together ie one on top of the other.
Step 10
Attach the panels to the apron as shown. Repeat with the other apron.
Step 11
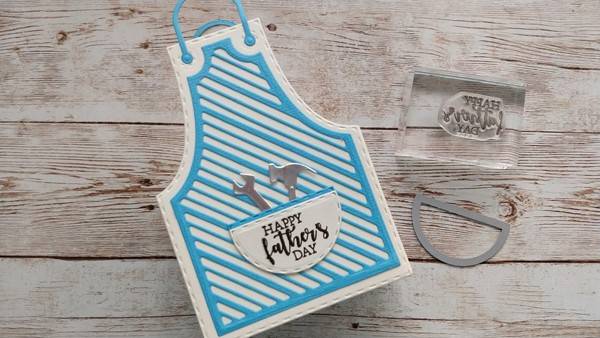
Die cut an ivory pocket and stamp Happy Father's Day onto it. Glue on top of the blue pocket, leaving a little strip showing at the top.
Step 12
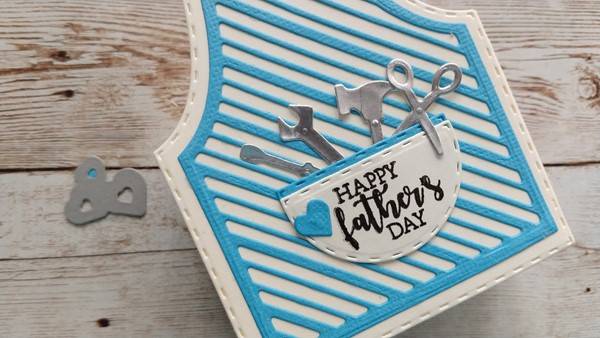
Die cut a blue heart and glue beside the sentiment.

You can also see how I made the pink apron box in my video here
Buy The Craft Project

