


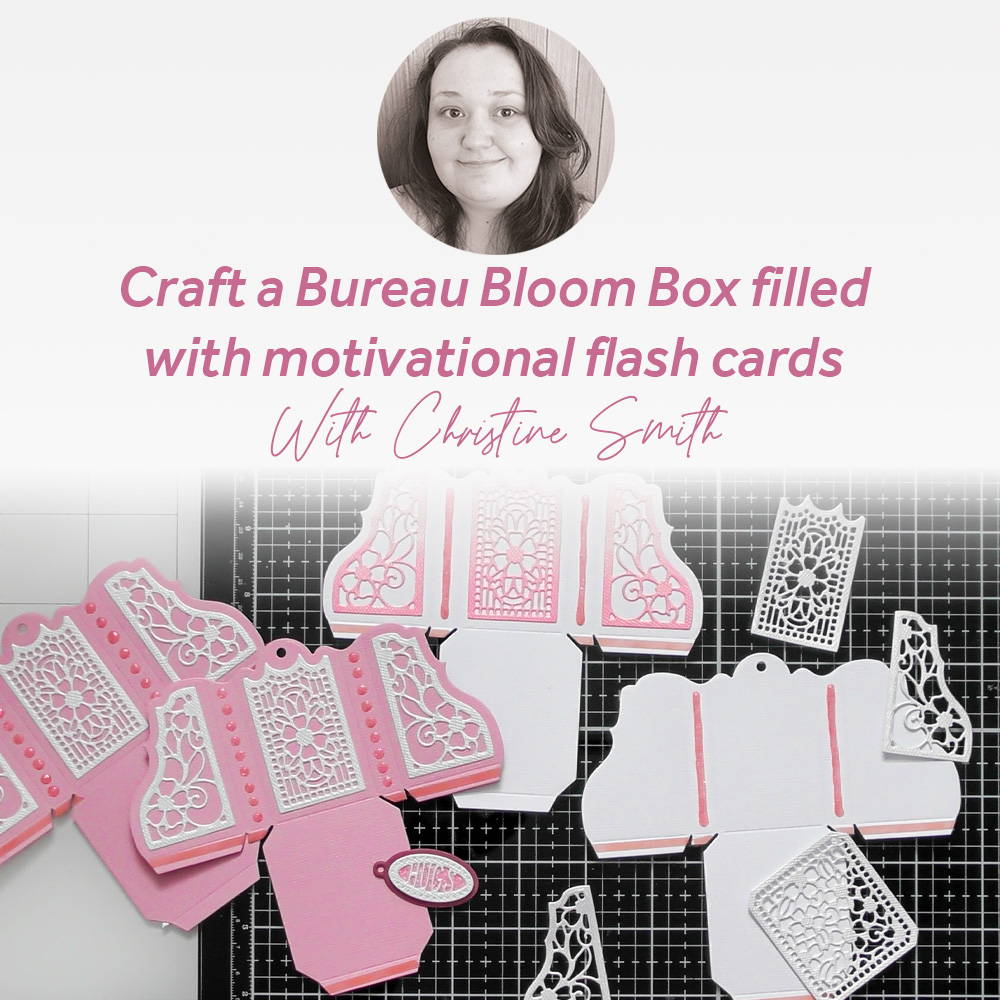
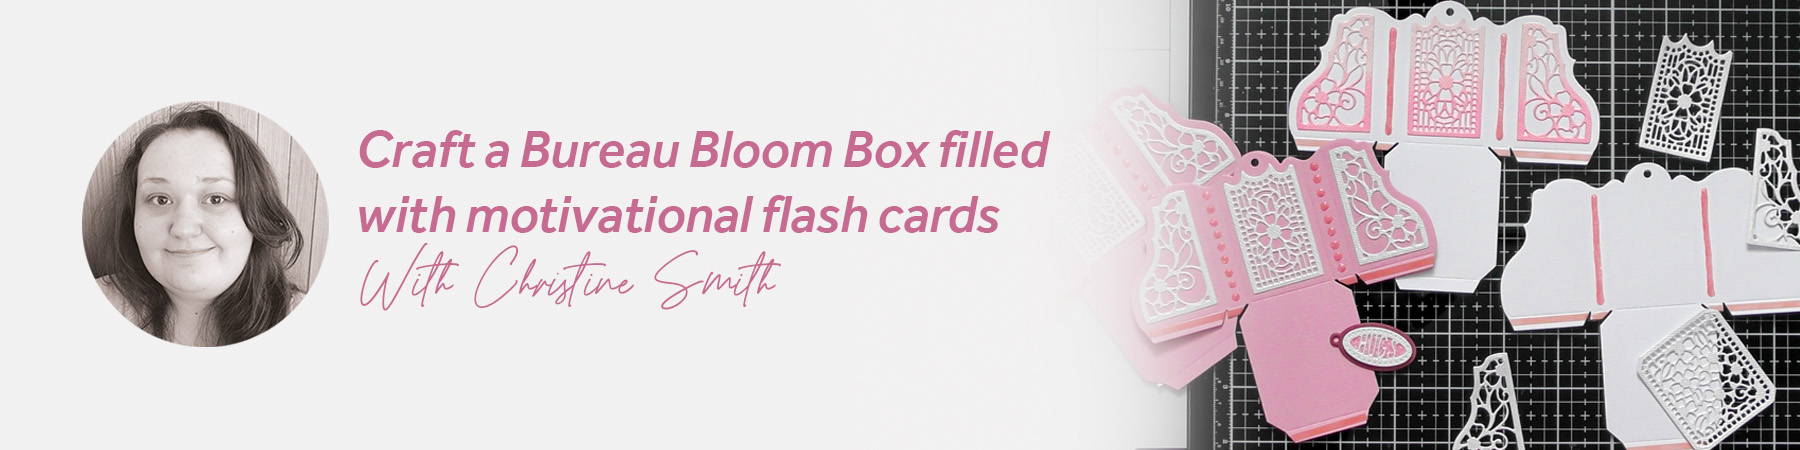
The lovely Sophie from Tonic requested a cute little project for this month’s kit, creating one of the gorgeous Bureau Bloom boxes from the kit (with a little CRaFTi twist) with a selection of flashcards inside that you could pin to your notice board or on the fridge too :D So here’s what I created :D I’ve done a detailed construction as I’ve changed the way the box goes together
Step 1
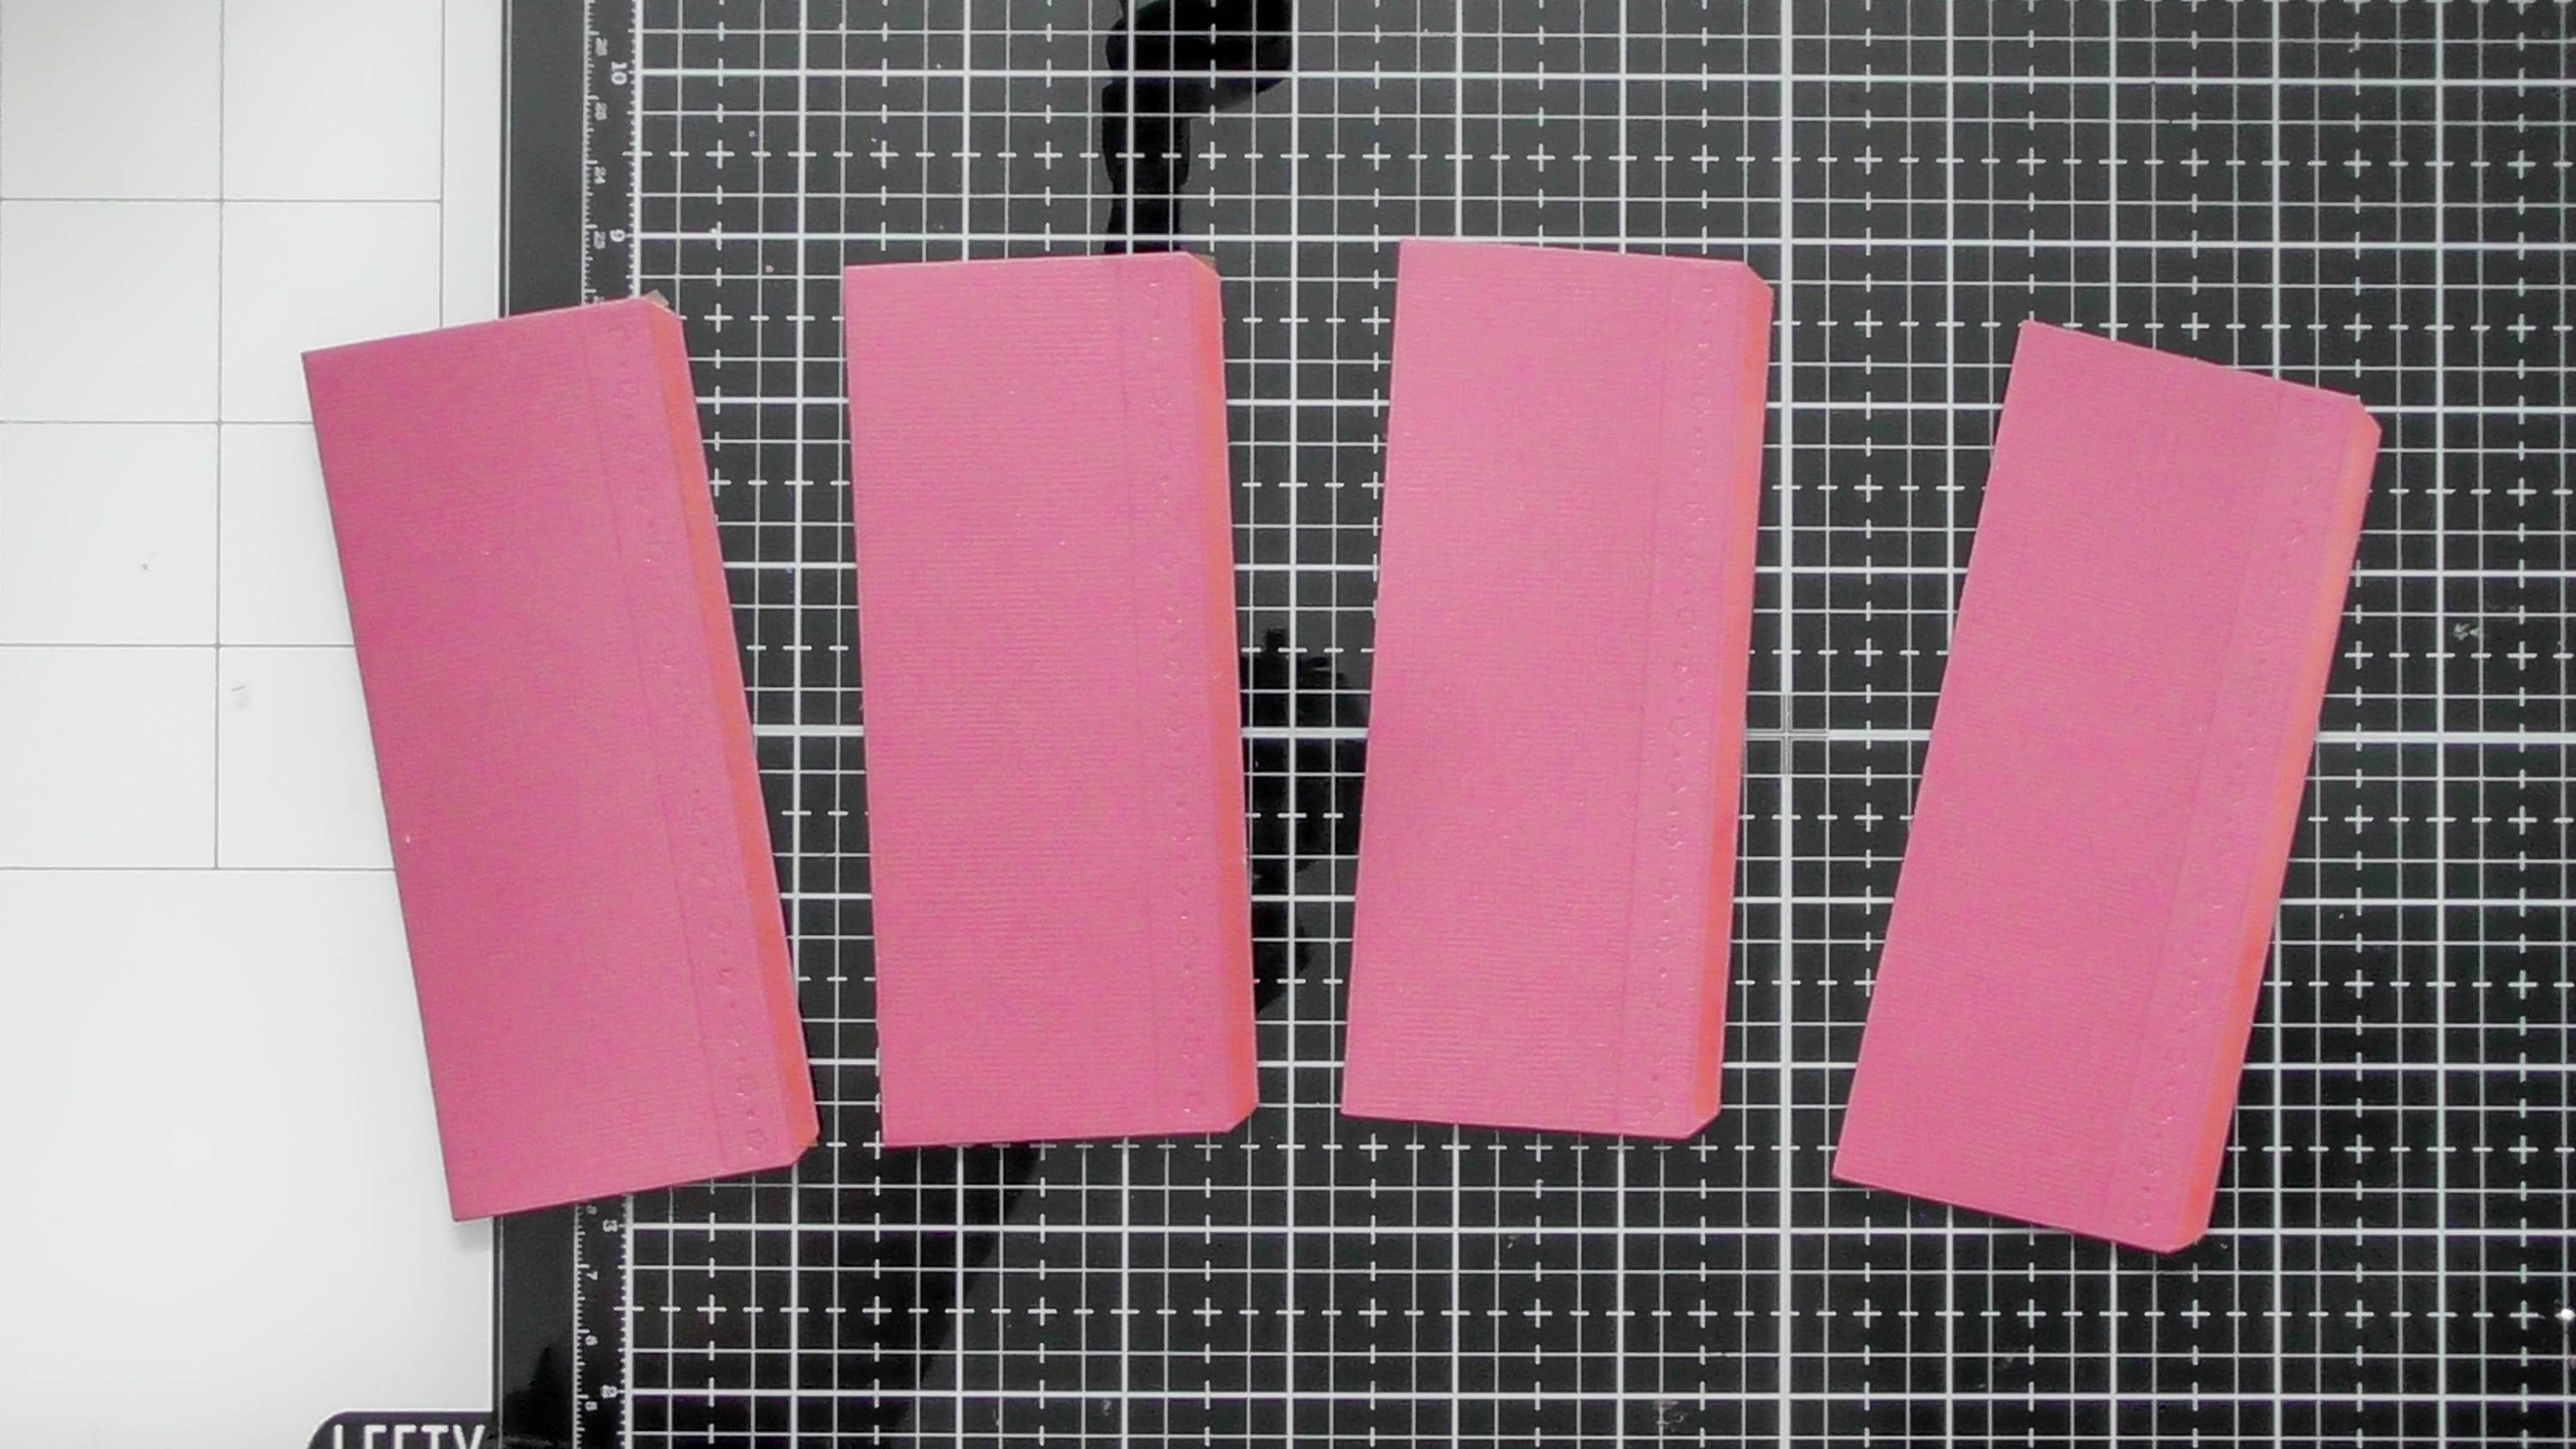
Die-cut 4 of the large panels from your chosen colour of card, you can also use the fab debossing star die on the skinny sides of the box too, and add your 3 mm red liner tape to the glue tabs as well.
Step 2
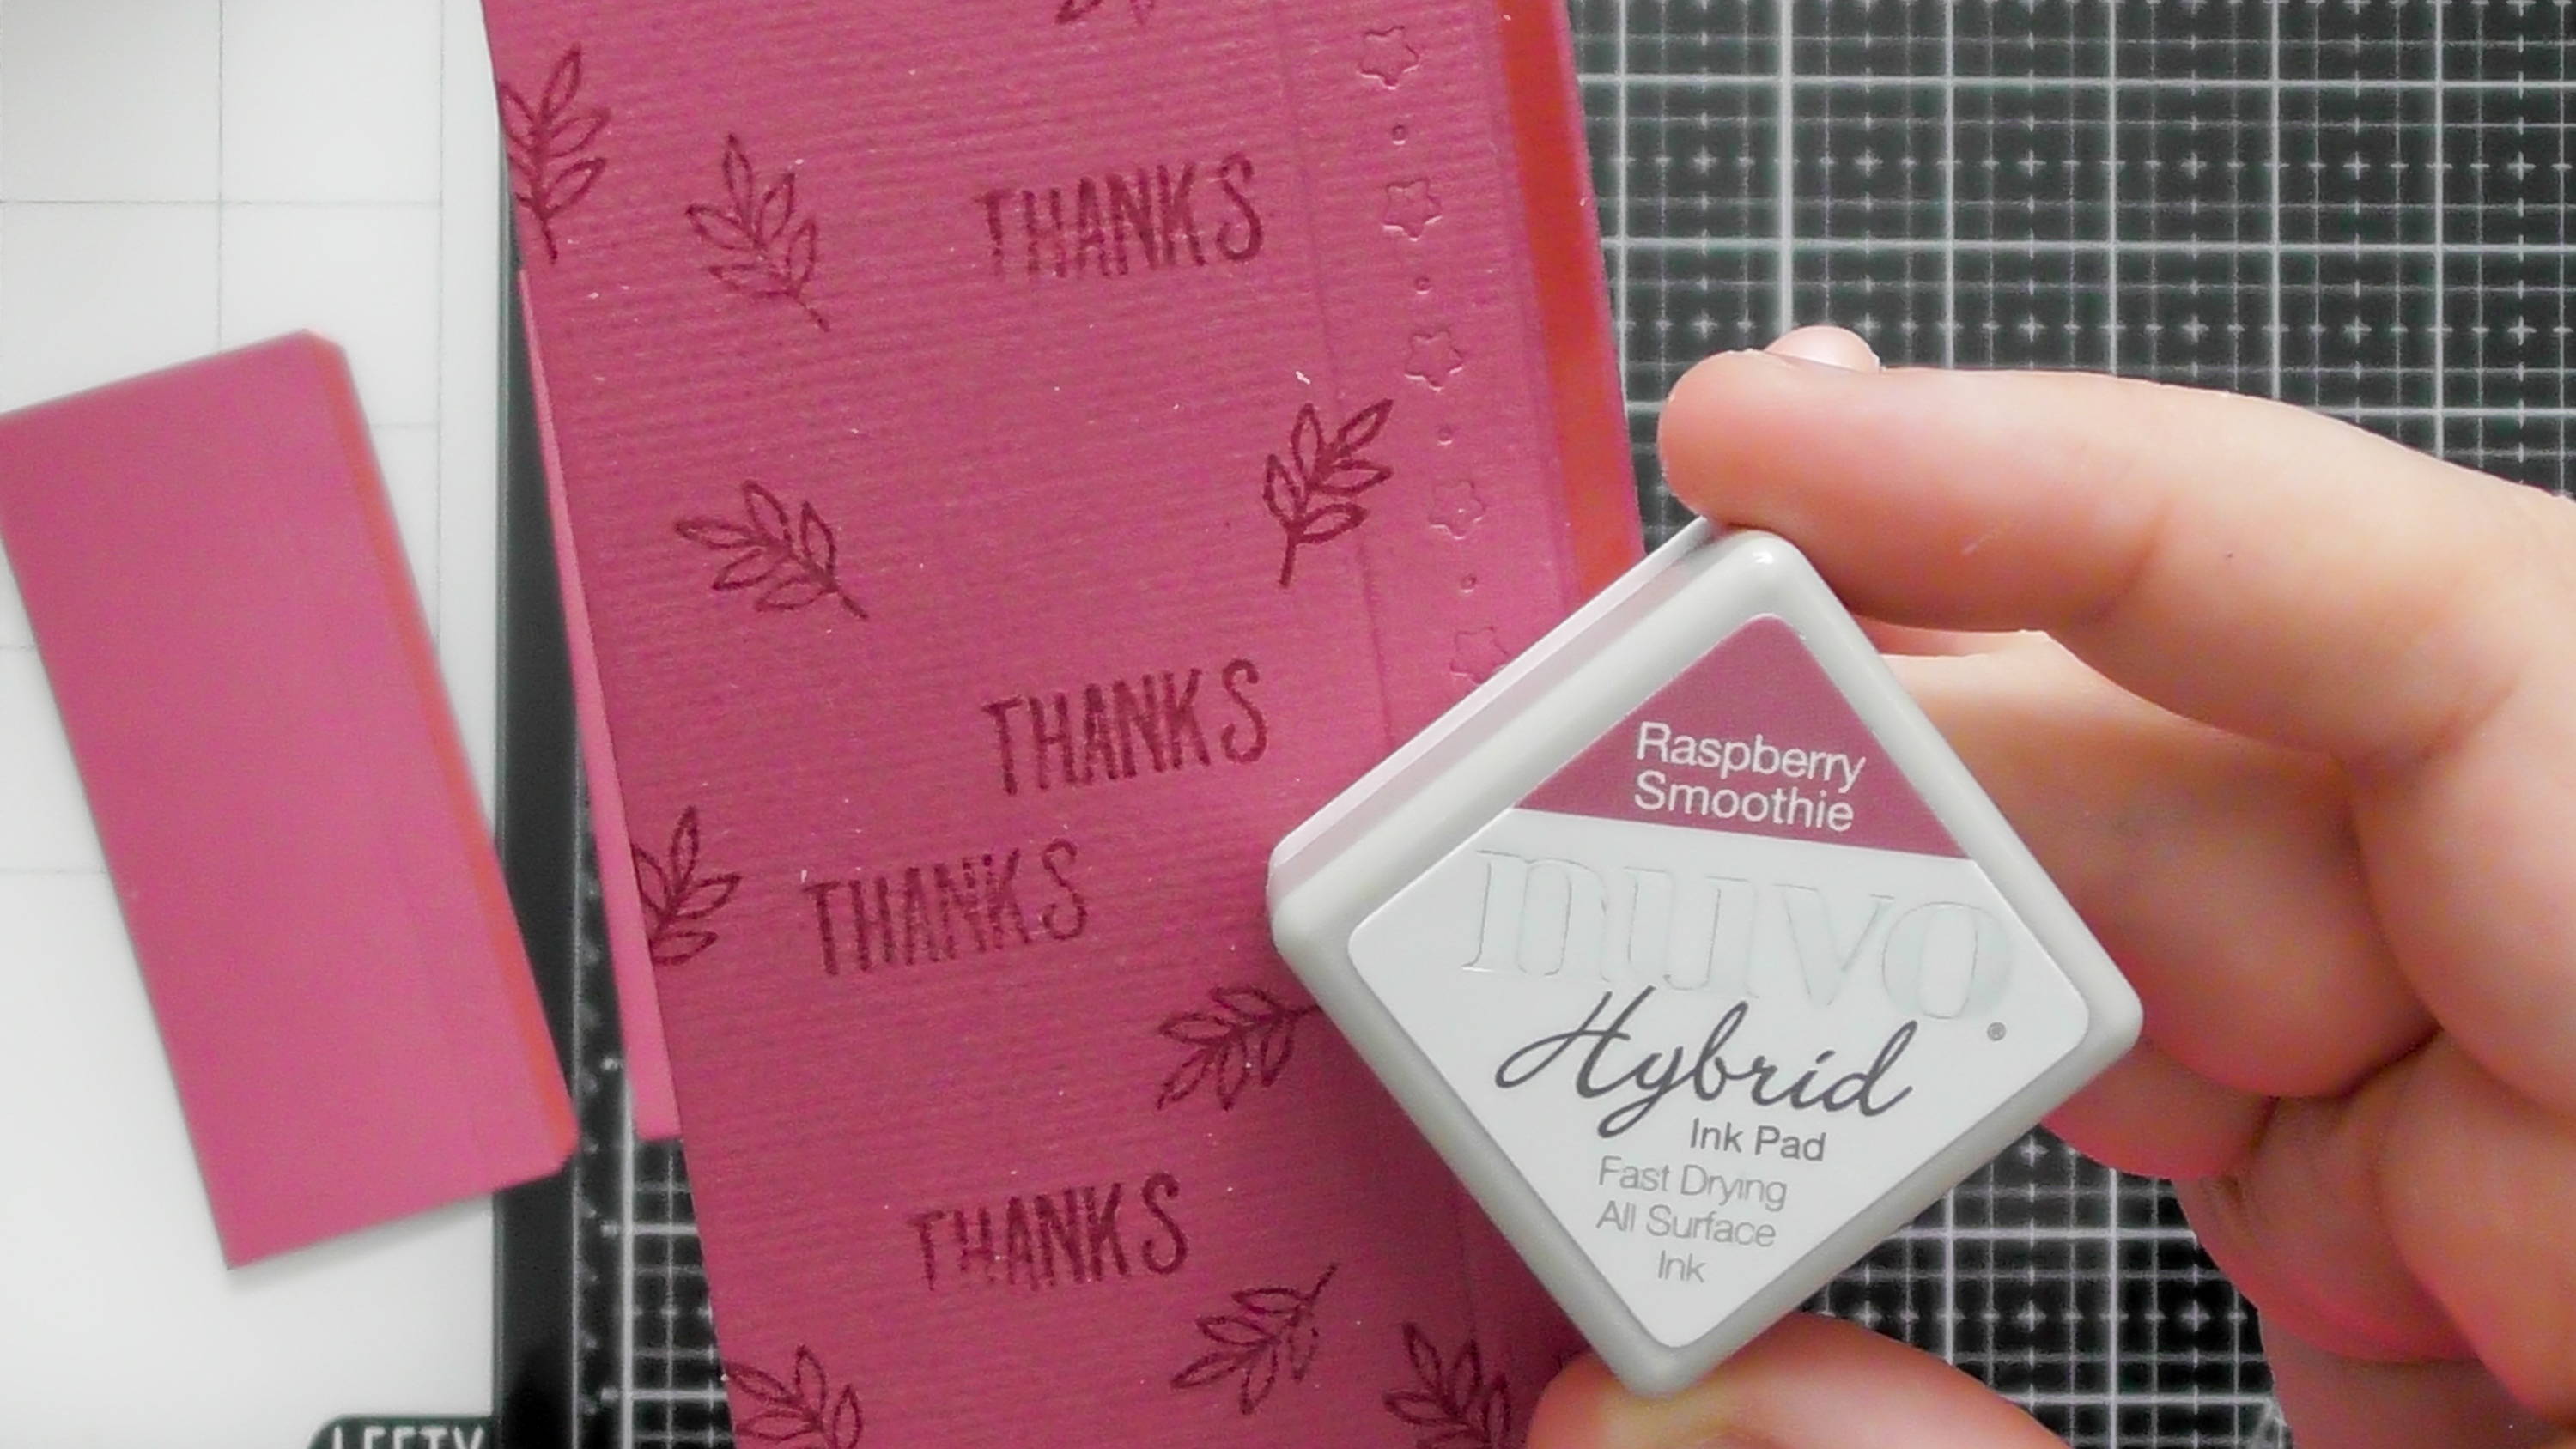
Then to add some extra interest to the textured craft perfect, I’ve used some Raspberry Smoothie ink to stamp on some detail with the stamps included in the kit :D The Raspberry Smoothie ink gives the perfect watermark effect to the Raspberry textured Craft Perfect cardstock.
Step 3
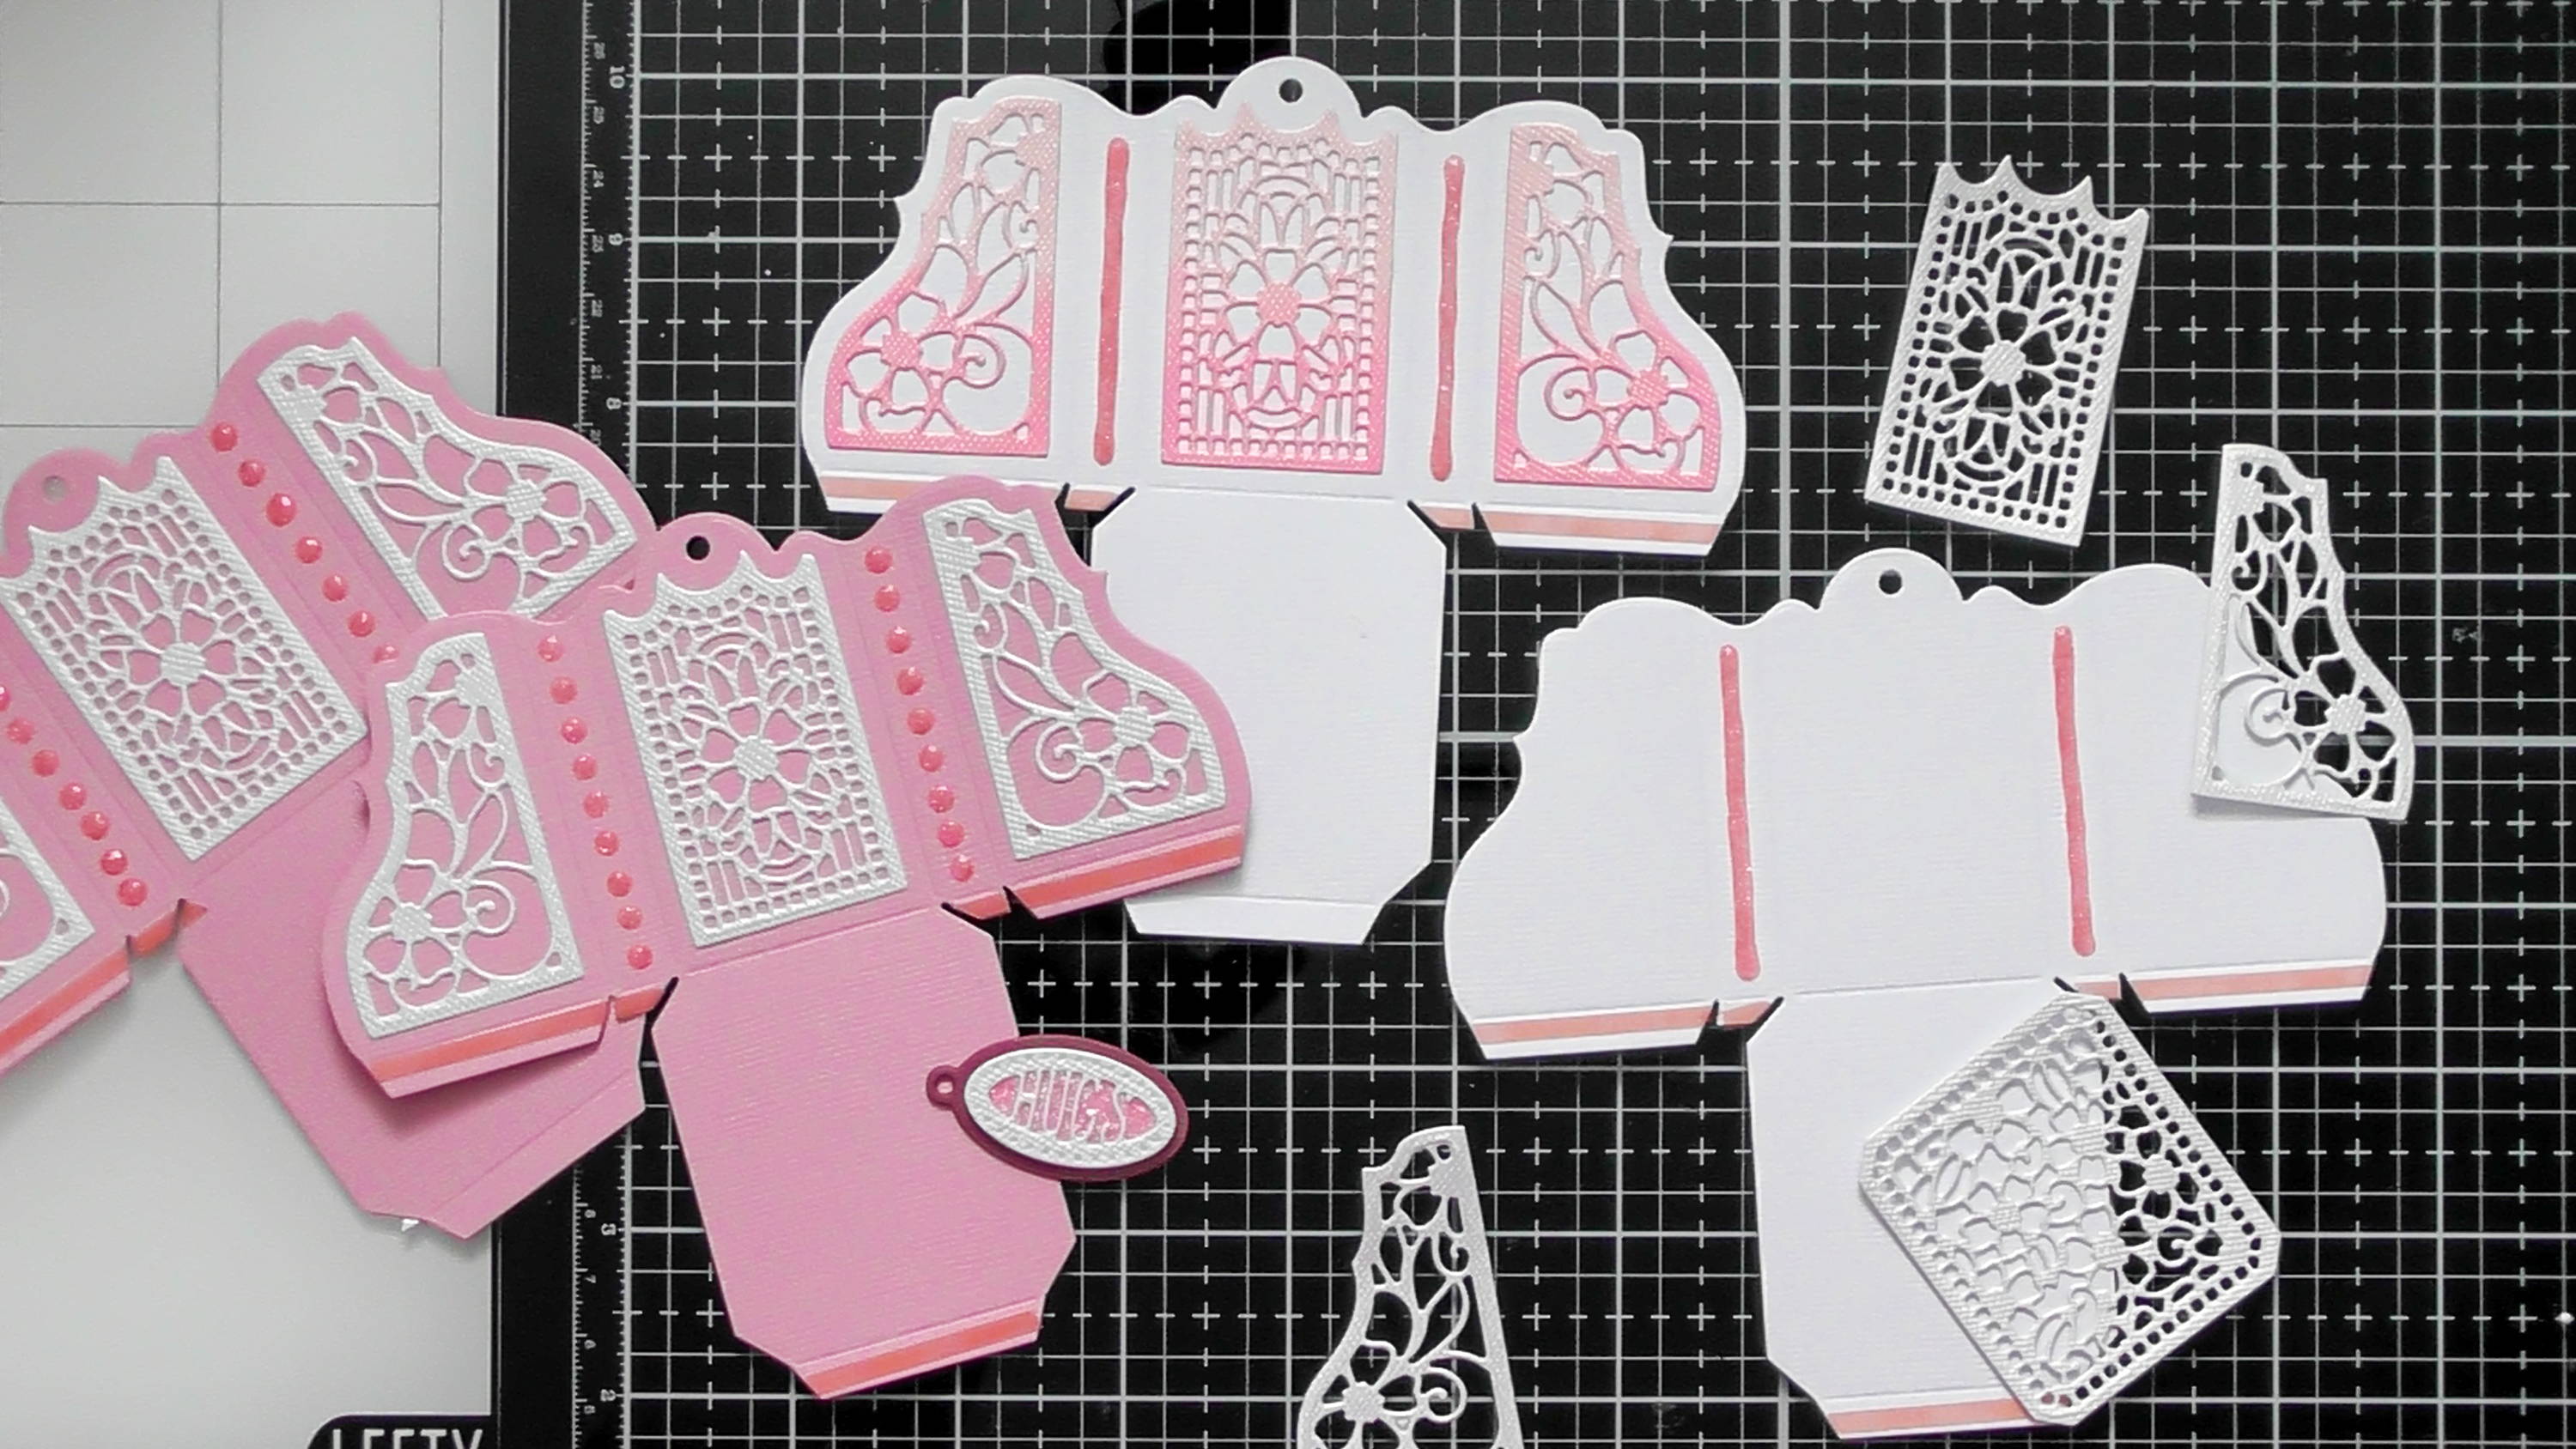
For my alternate lid I have cut 4 of the lid piece (I switched it up with different colours but you can definitely do them all from white too) And I’ve also cut all the decorative panels from Ice Rink Card too.
Step 4
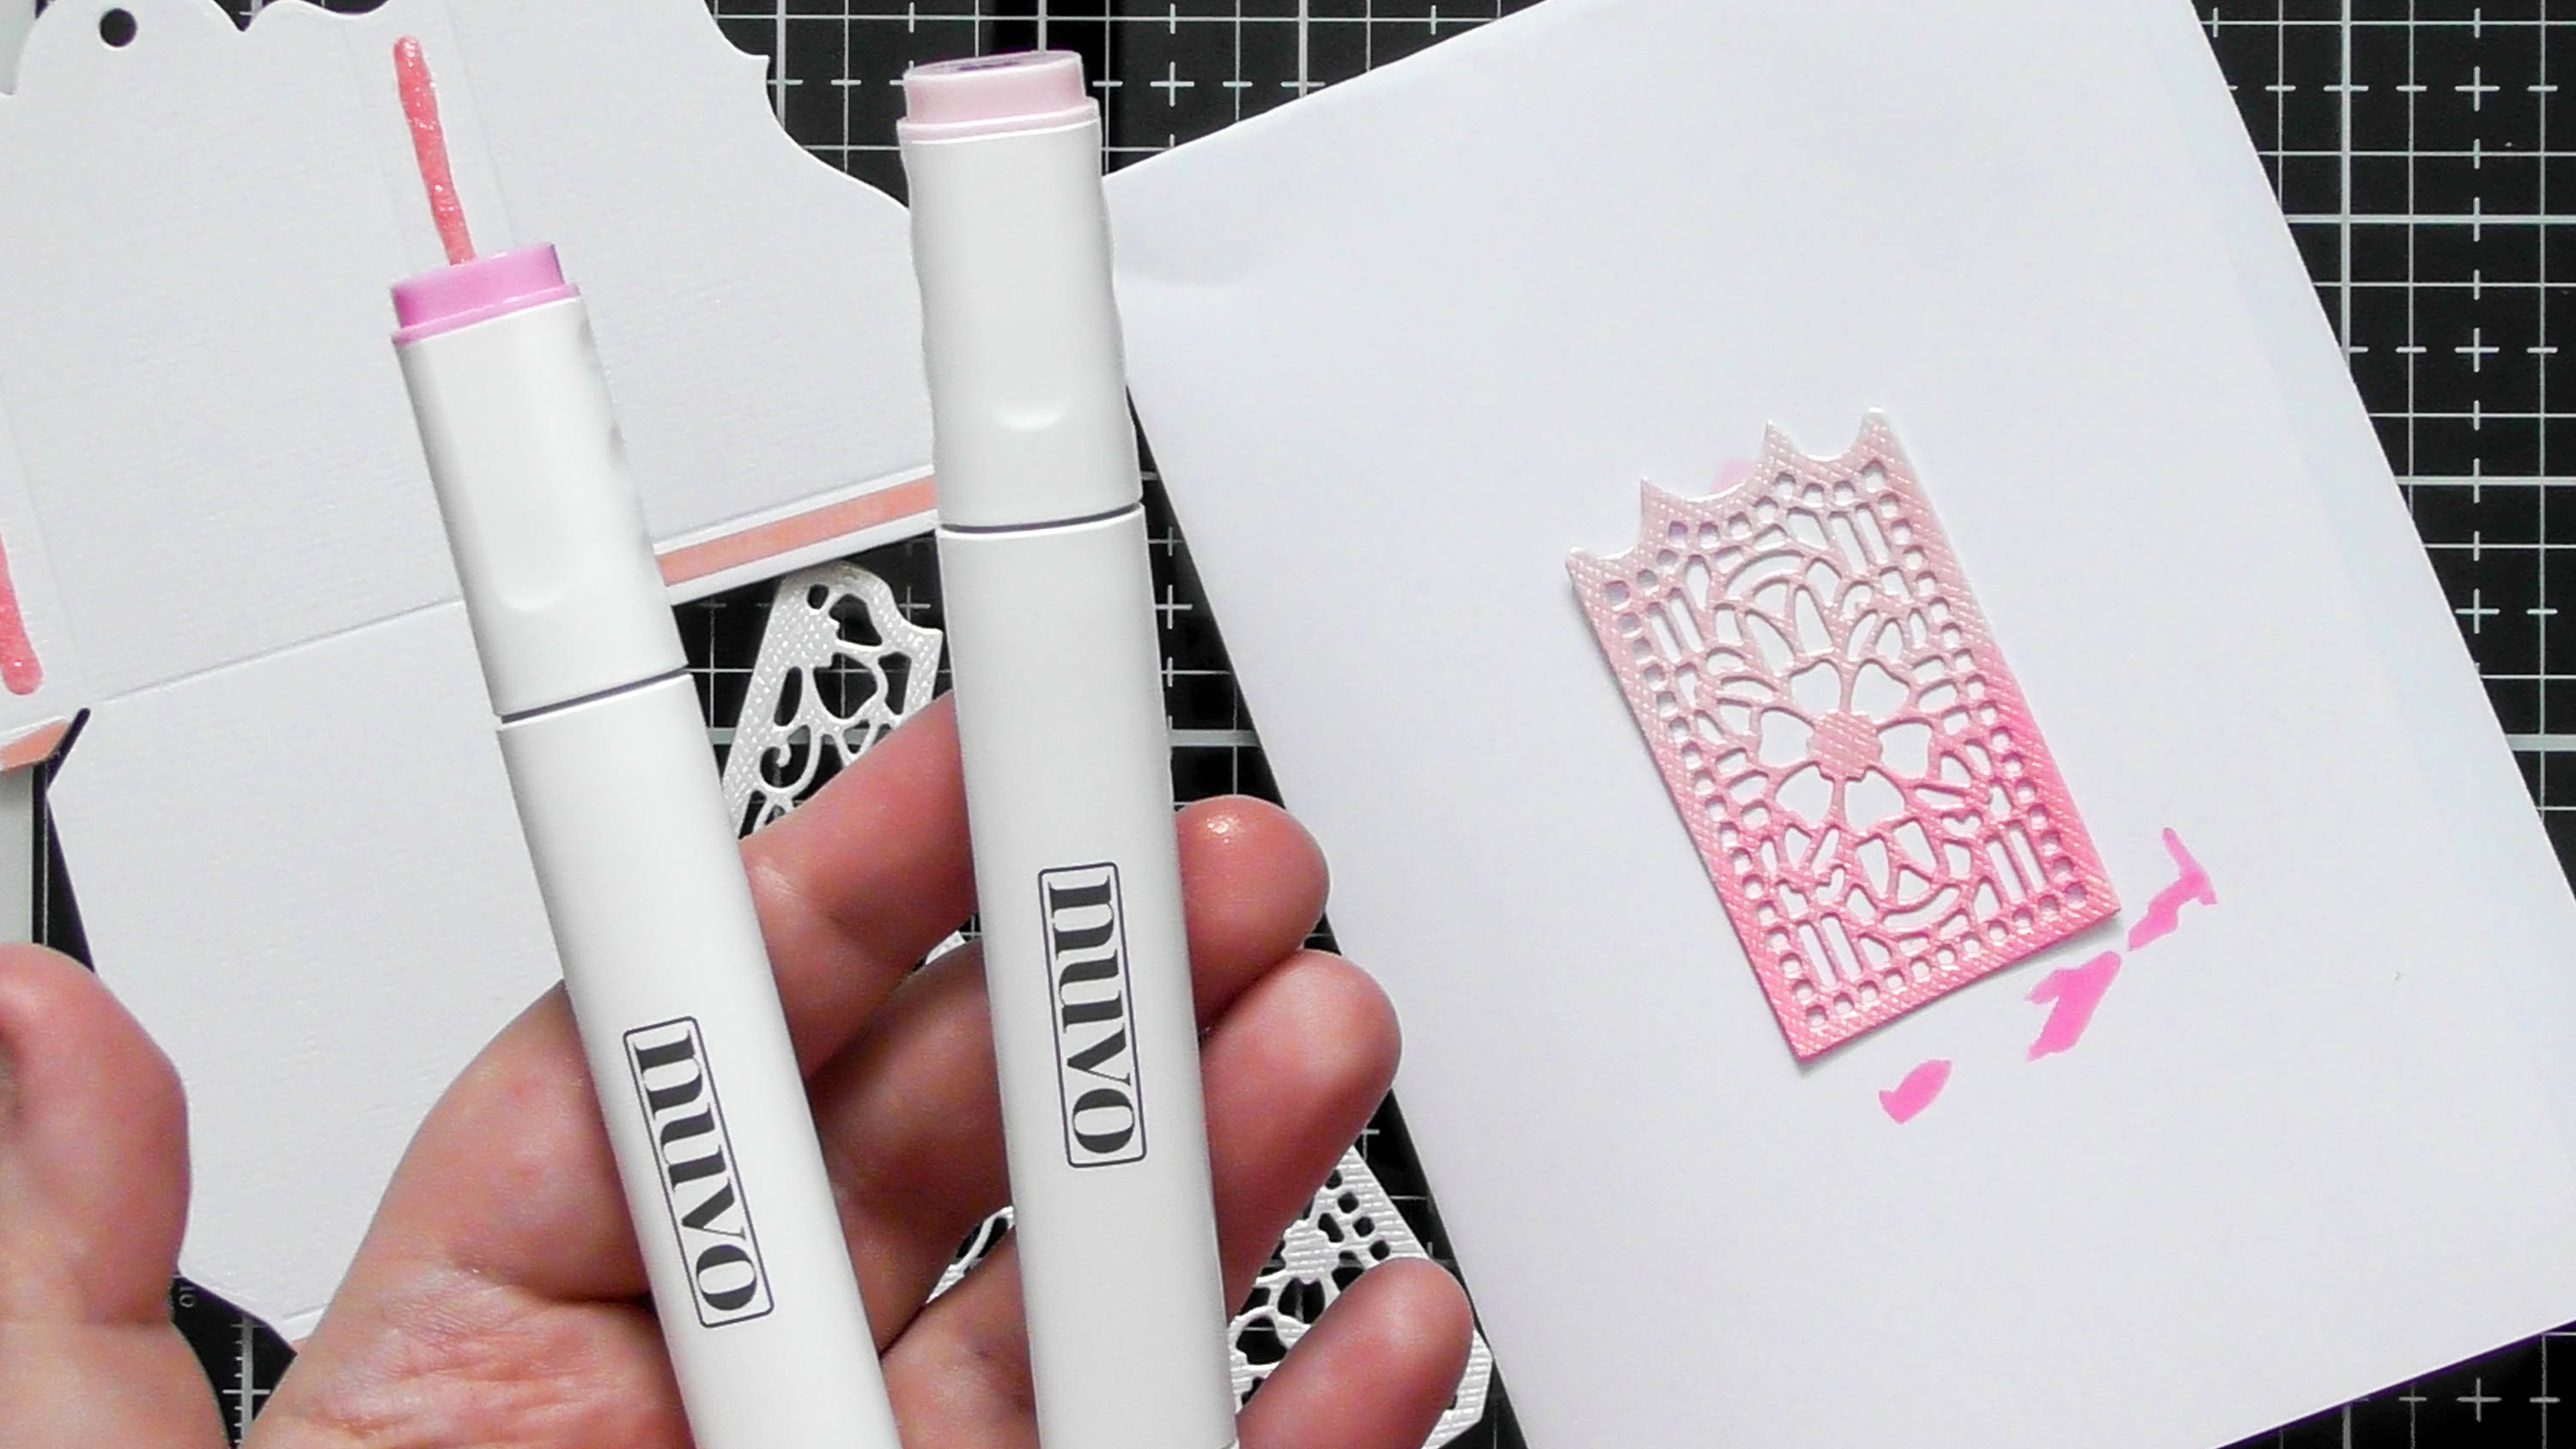
To make the Ice Rink die-cuts stand out on the white lid, I used the 2 pink Nuvo Alcohol pens from the kit to add an ombre of colour to the intricate panels.
Step 5
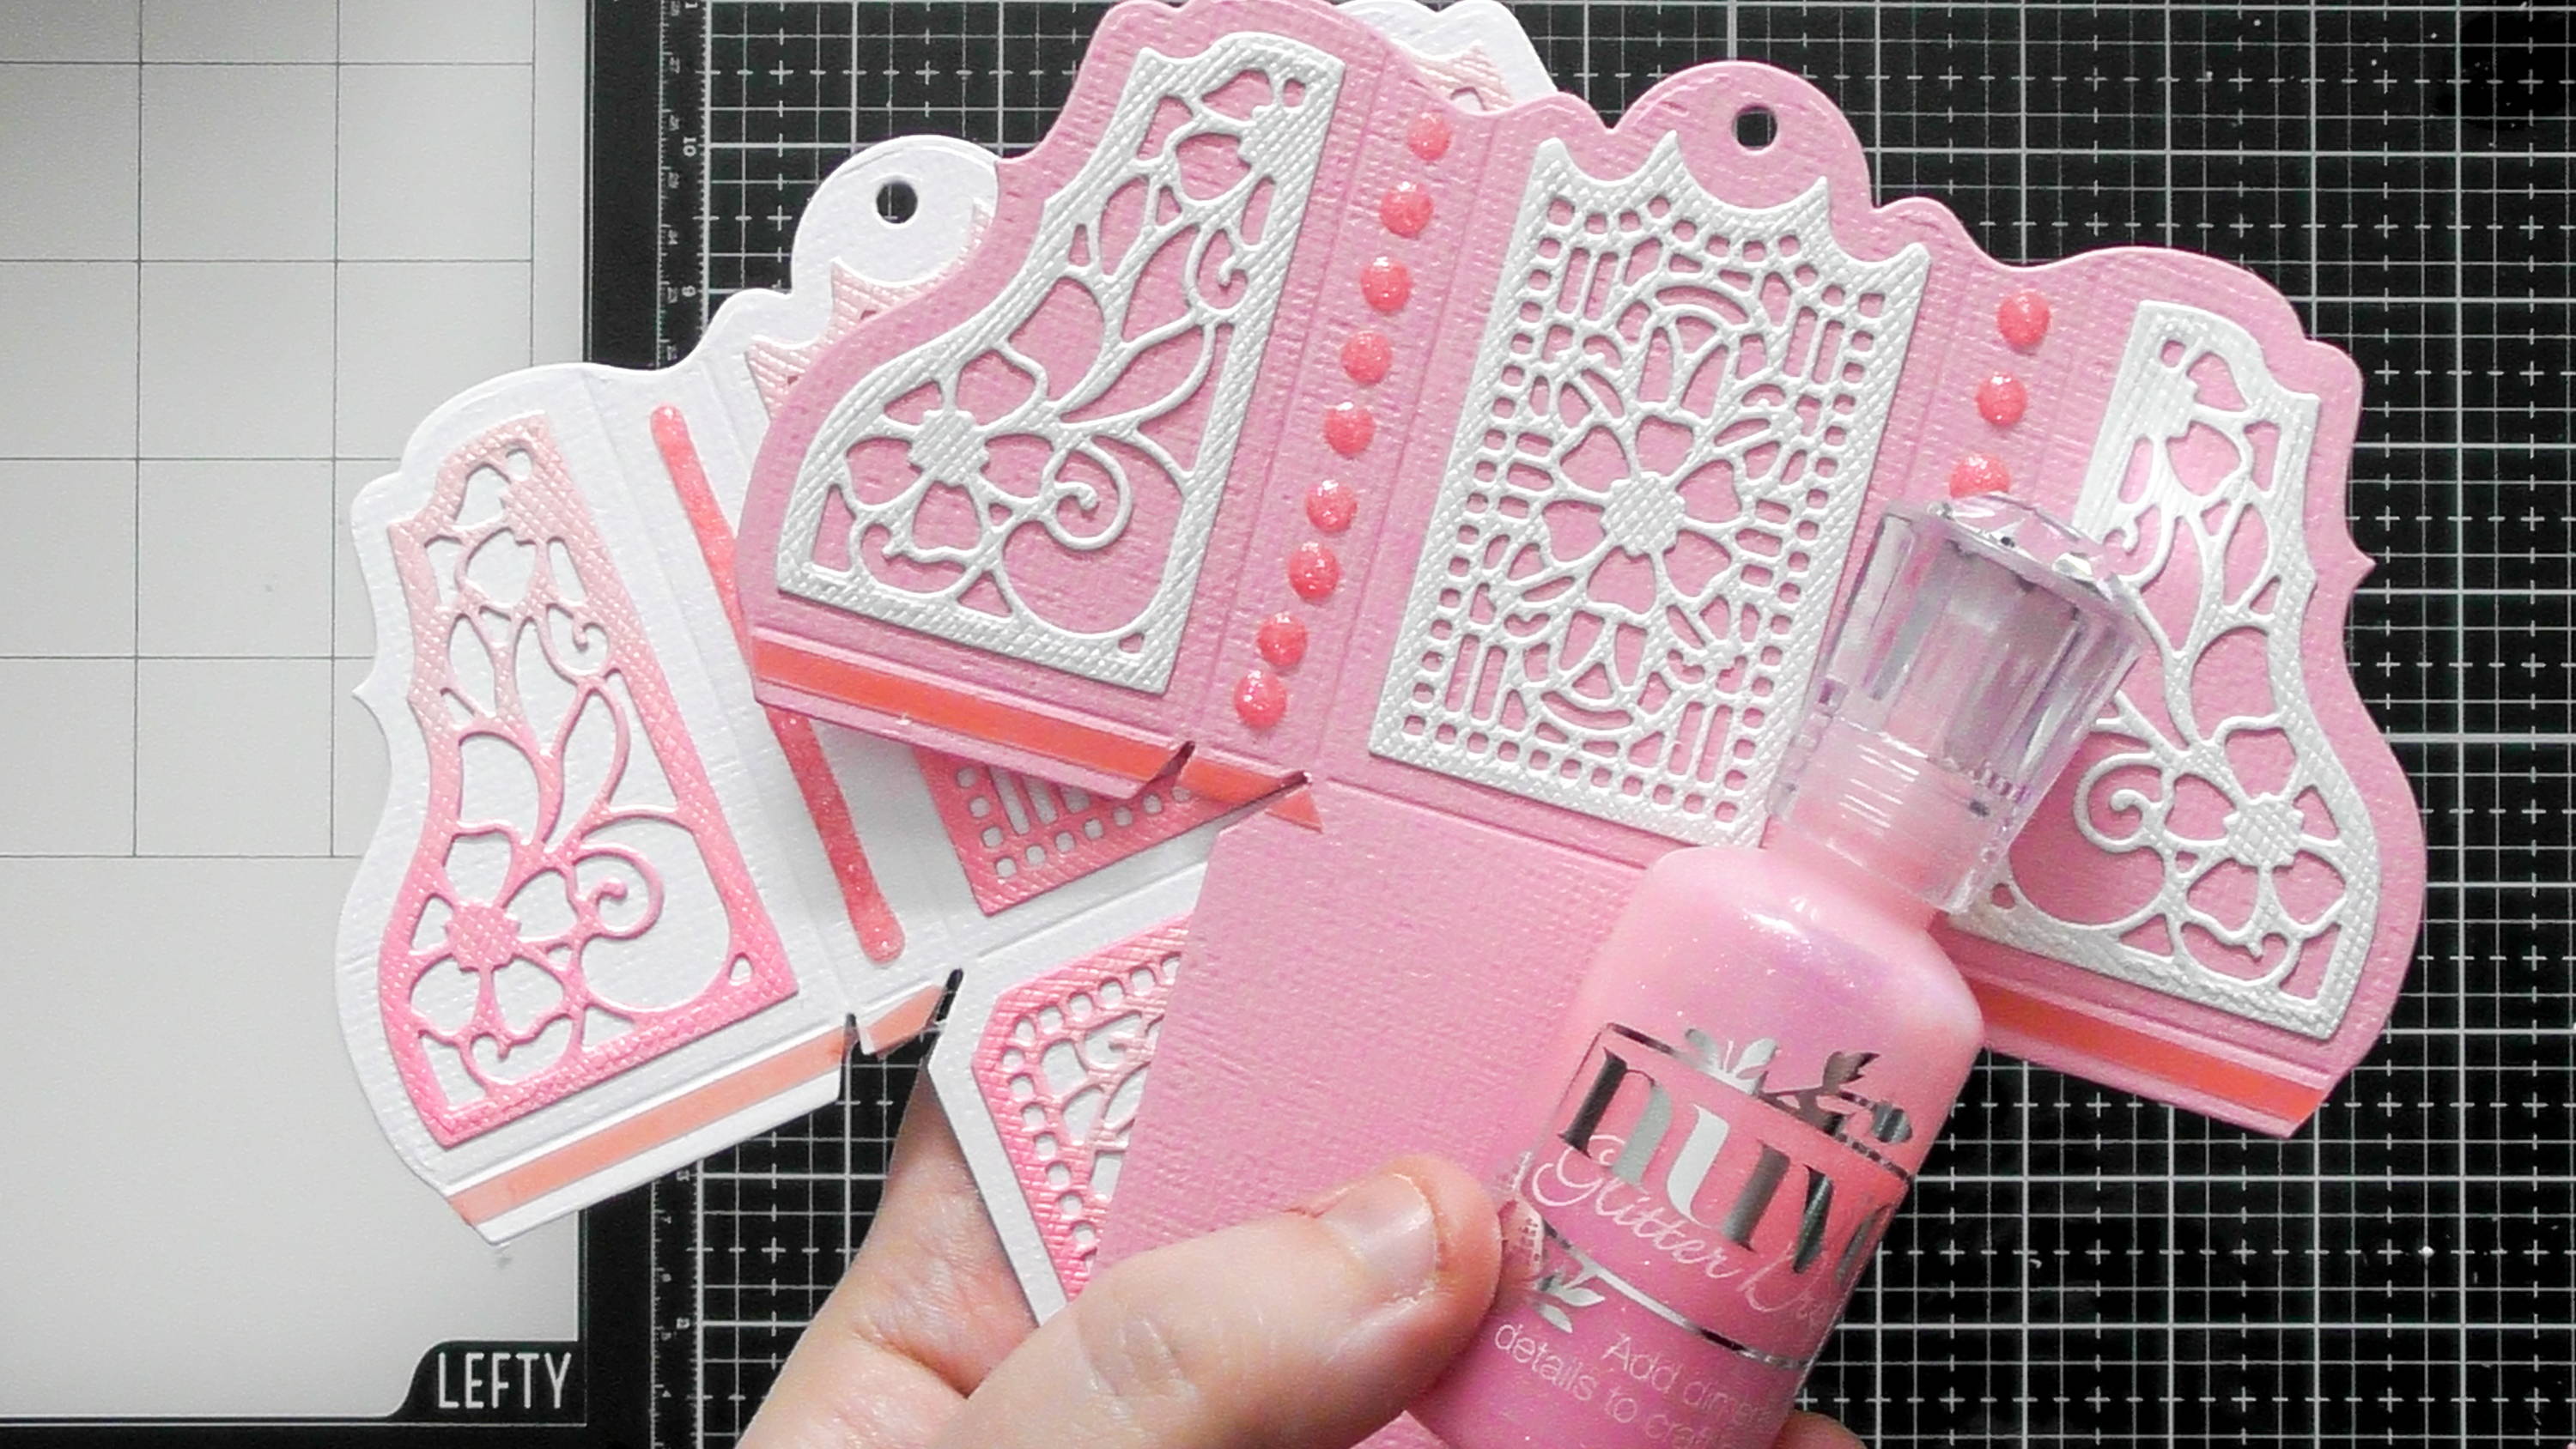
And instead of using the debossing dies on the skinny sides, I’ve used the Enchanting Pink Nuvo Drop from the kit to add Nuvo Drops and also a line of Nuvo Drop too for a different look.
Step 6
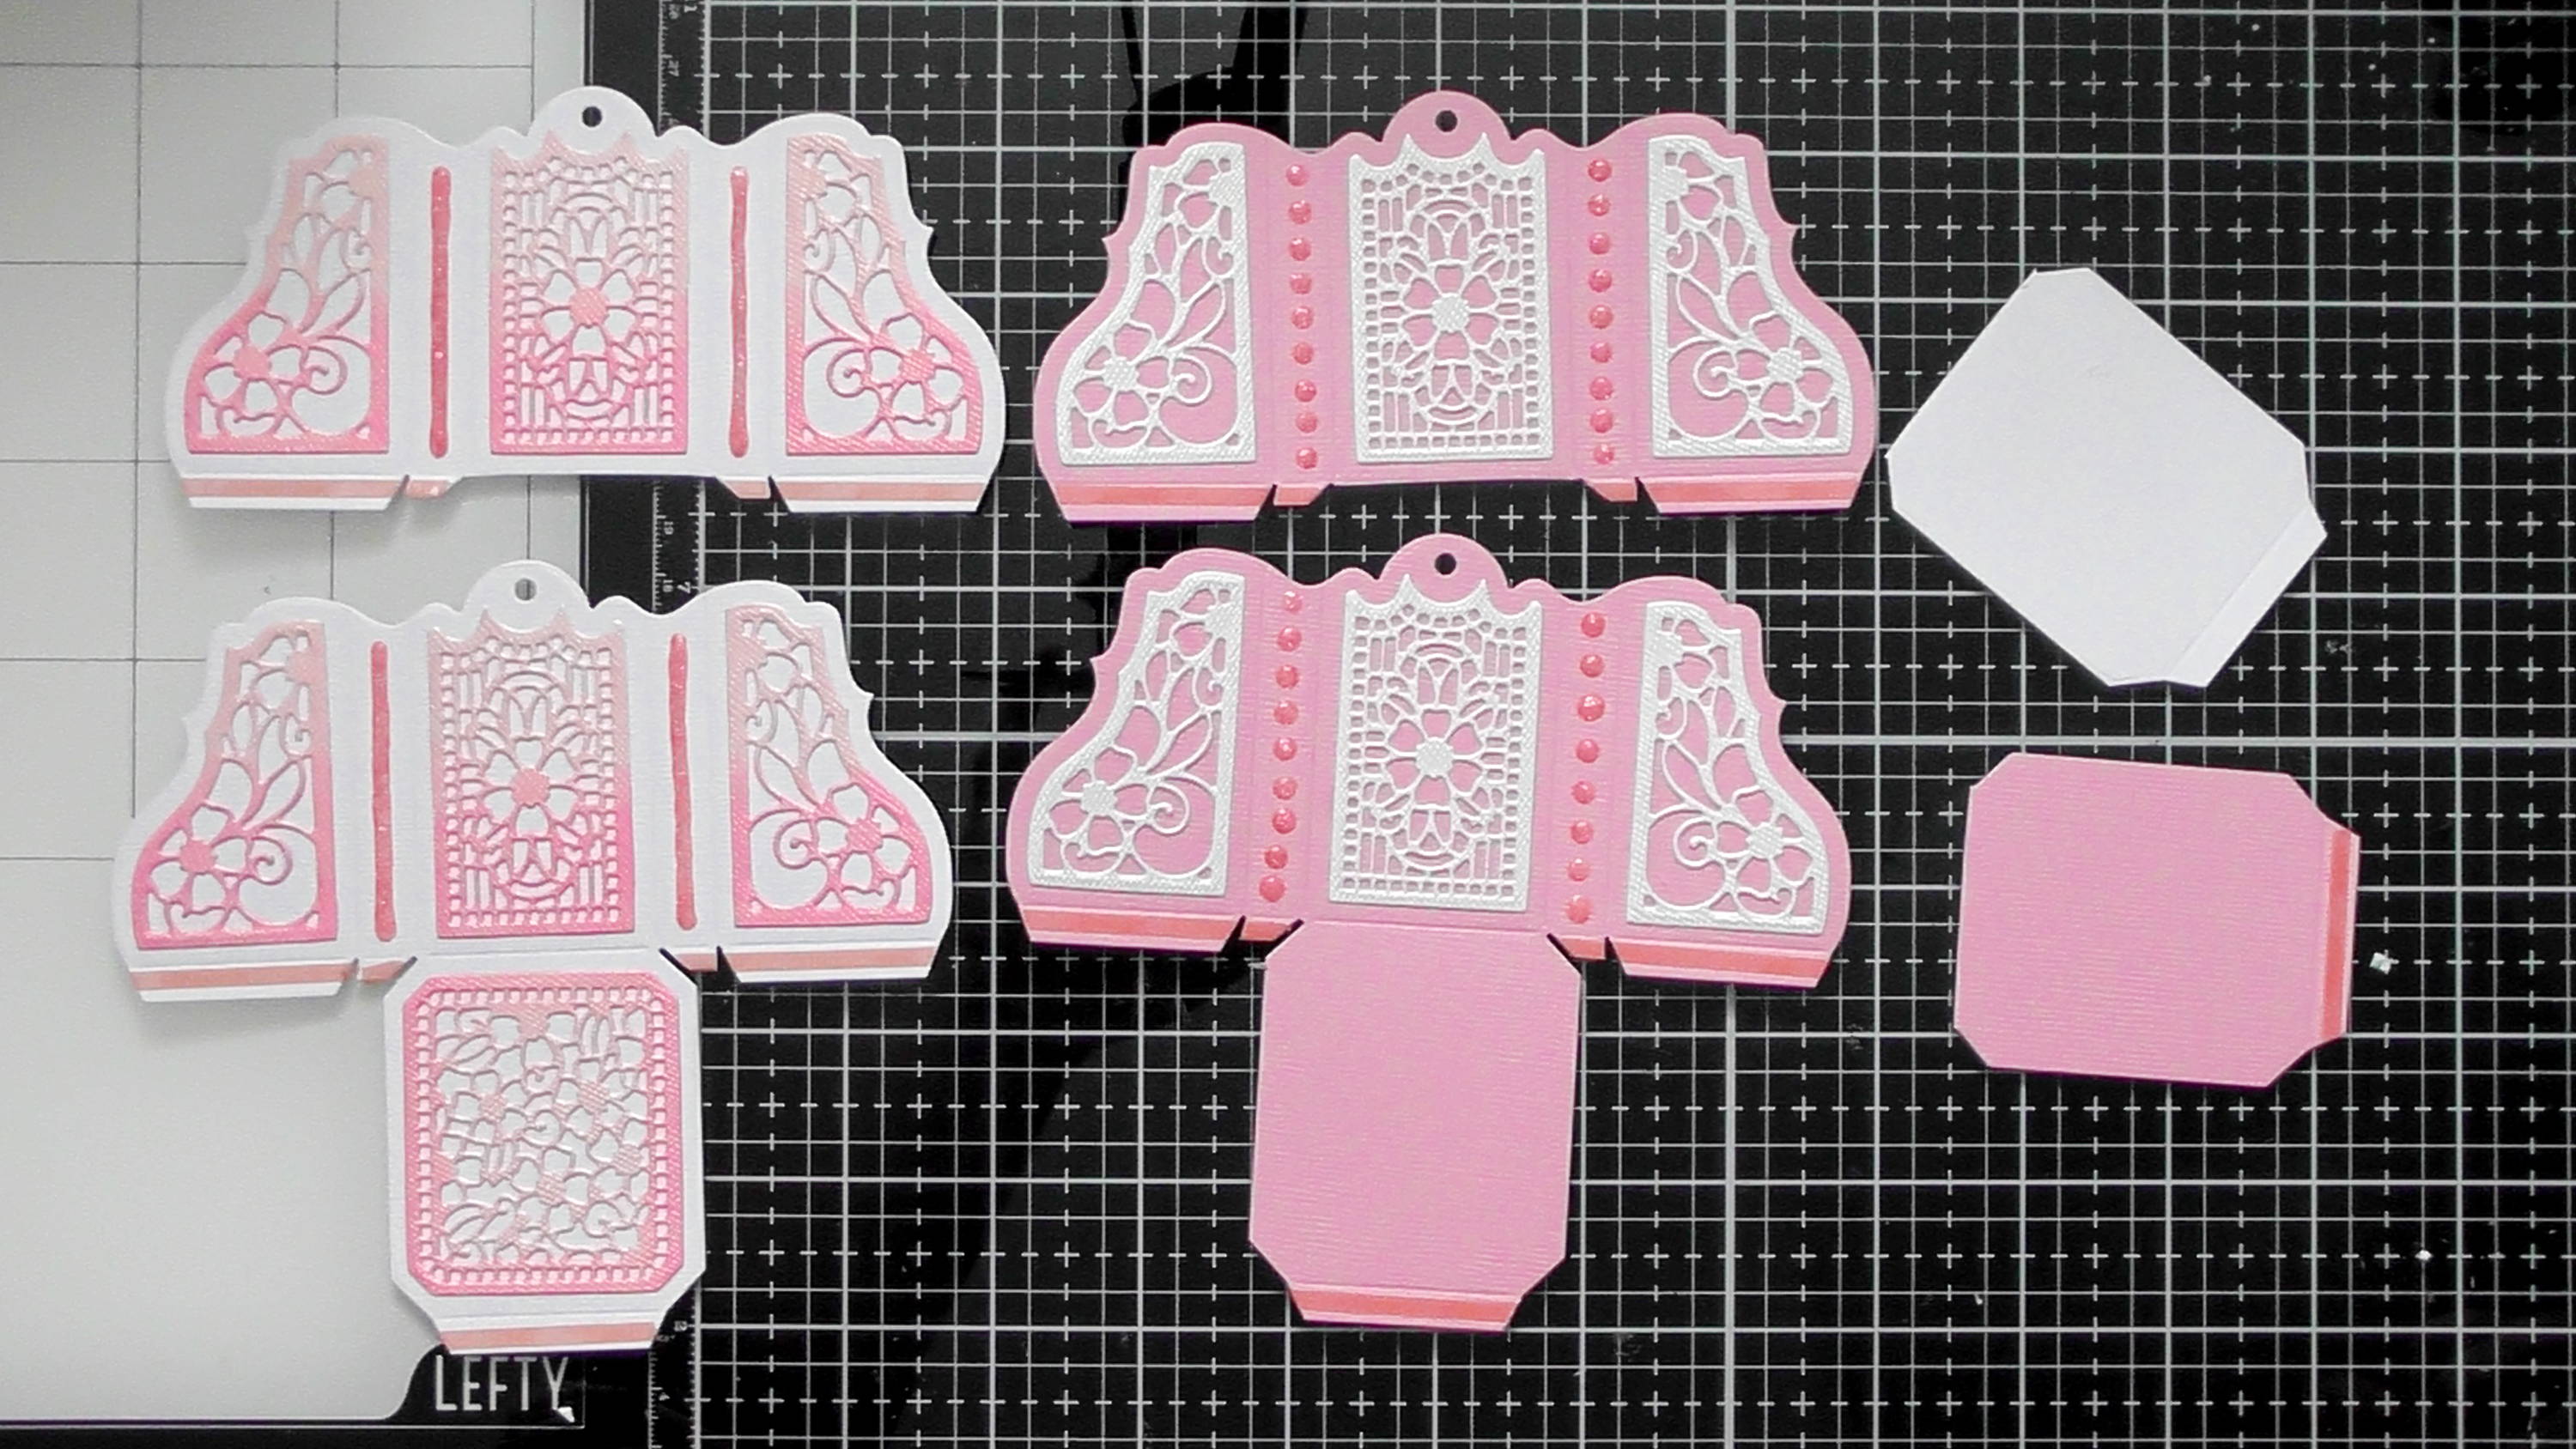
For my version of the lid and base, you want to snip off the pieces shown to the right to give the main pieces on the left.
Step 7
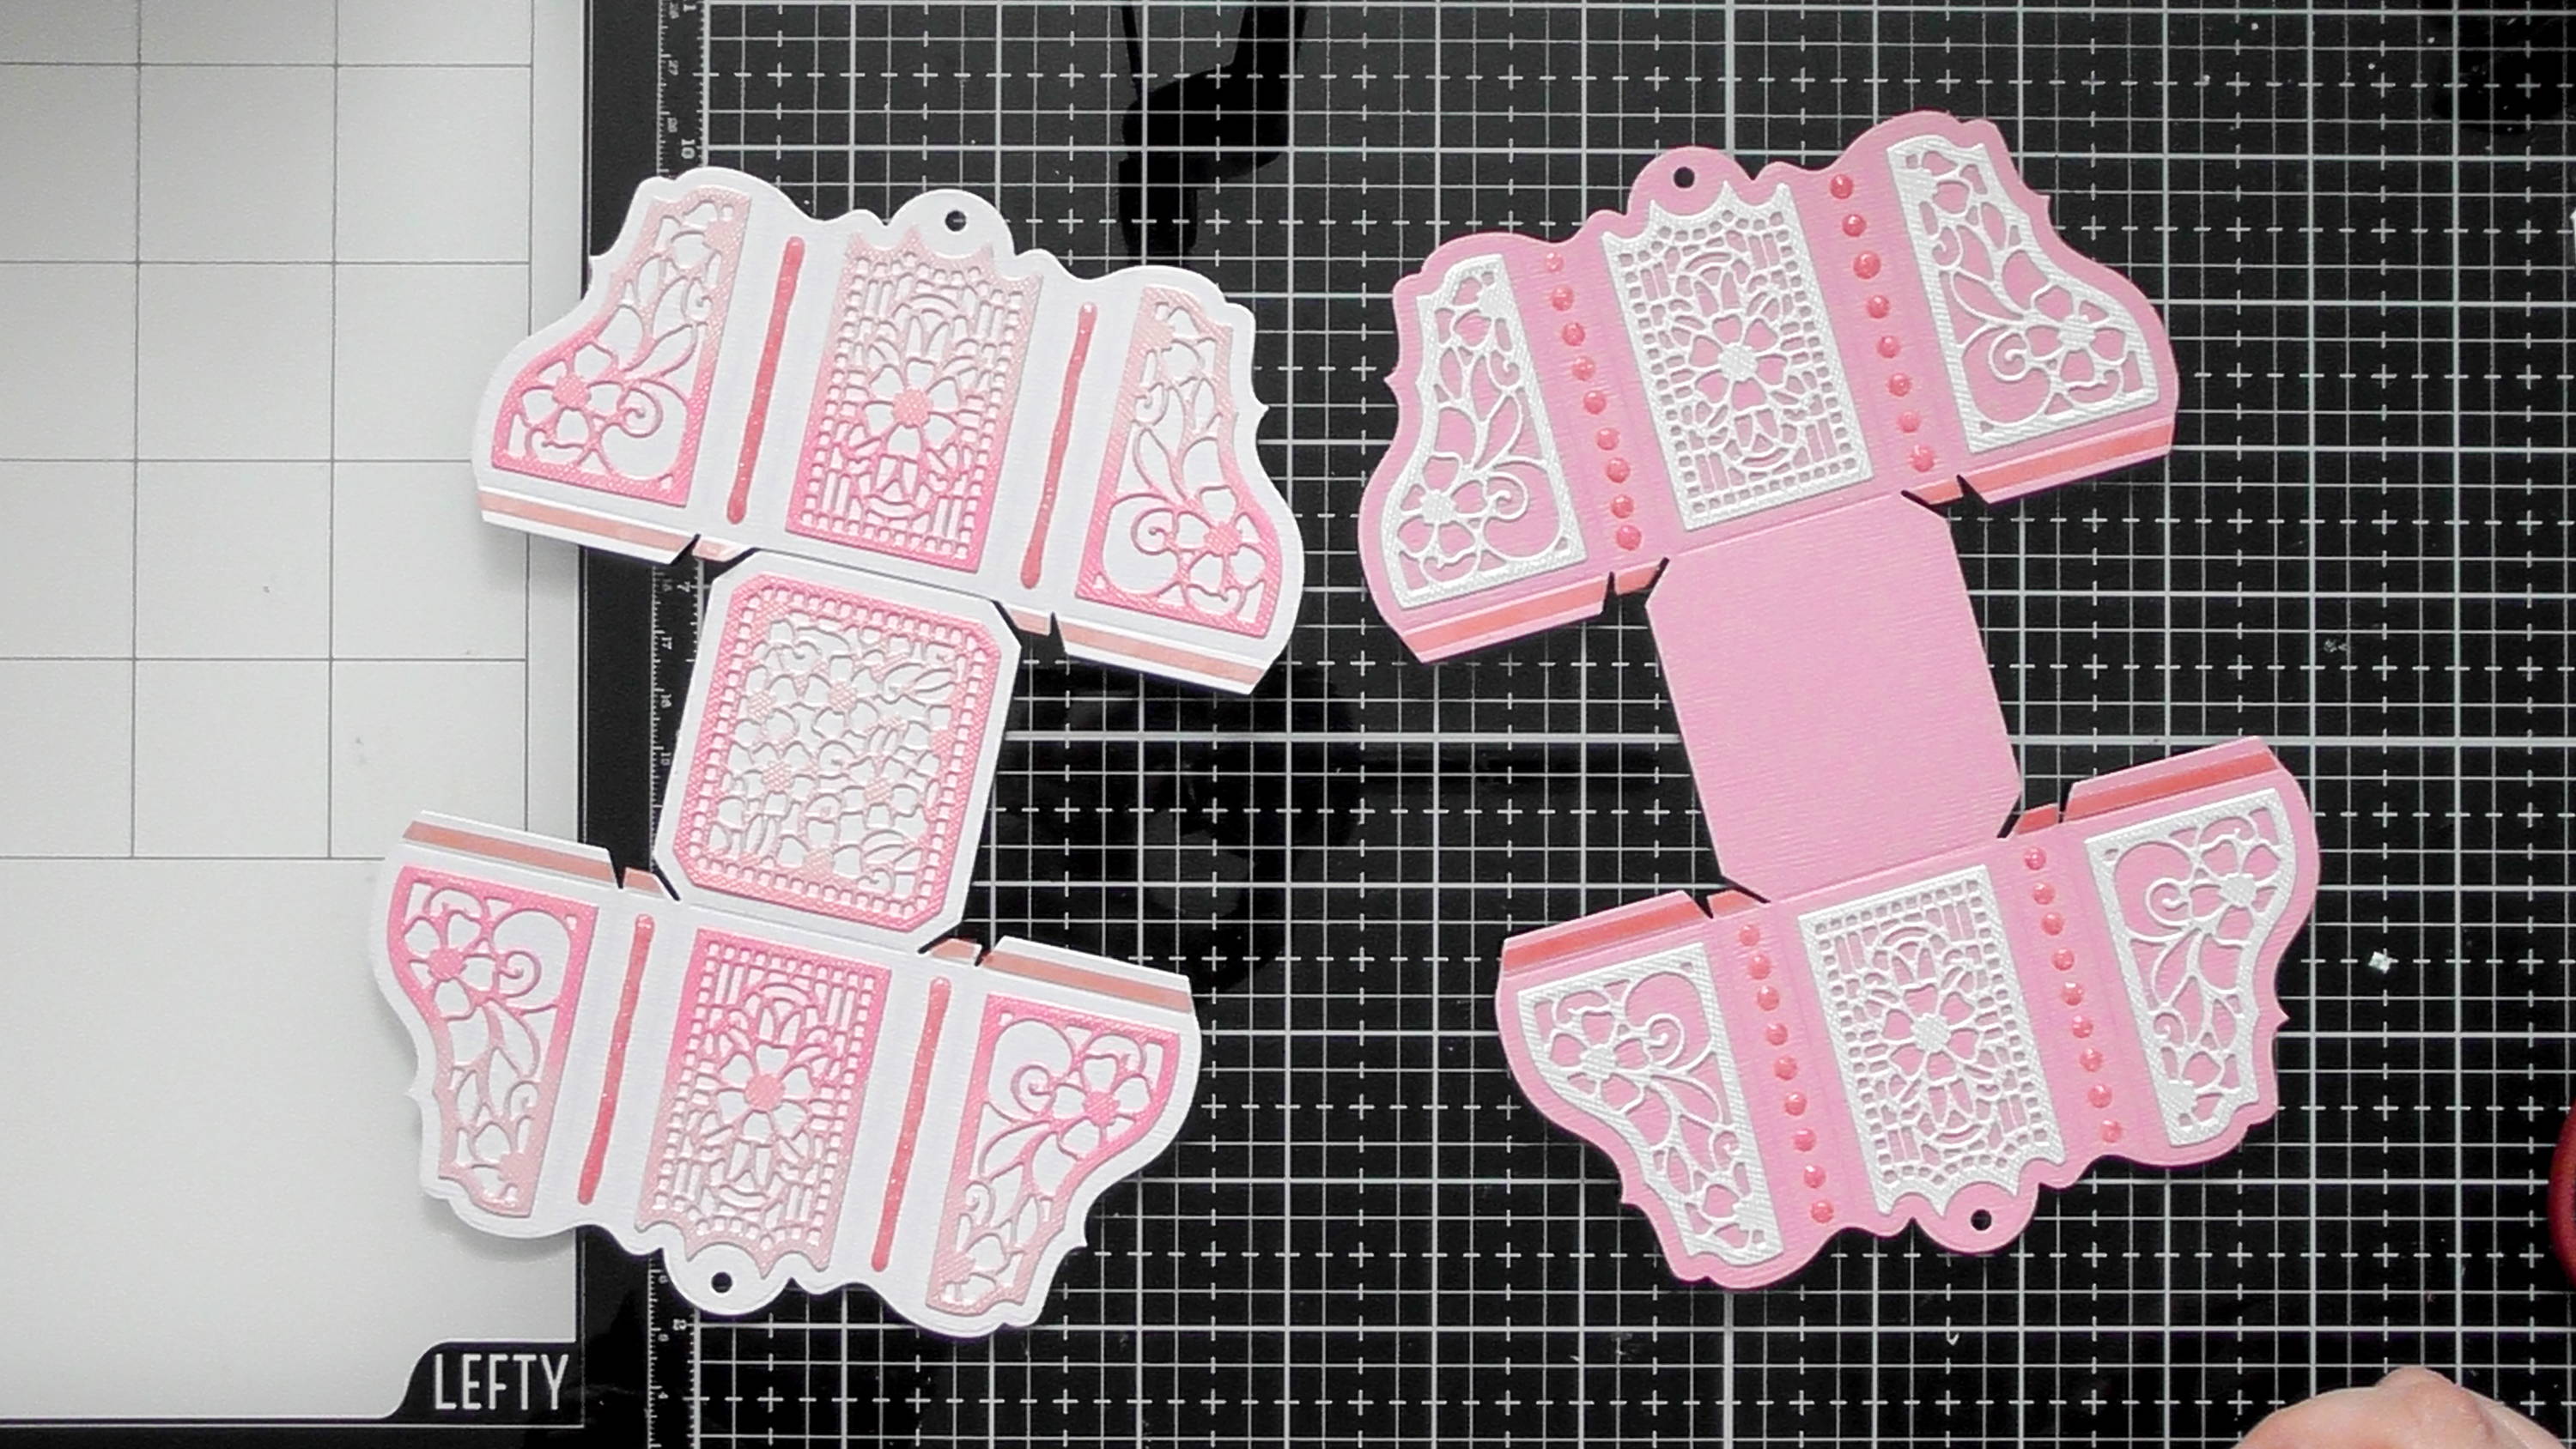
And you want to stick them together like so.
Step 8
You can then use your Glide Folder to pre-crease all the score lines.
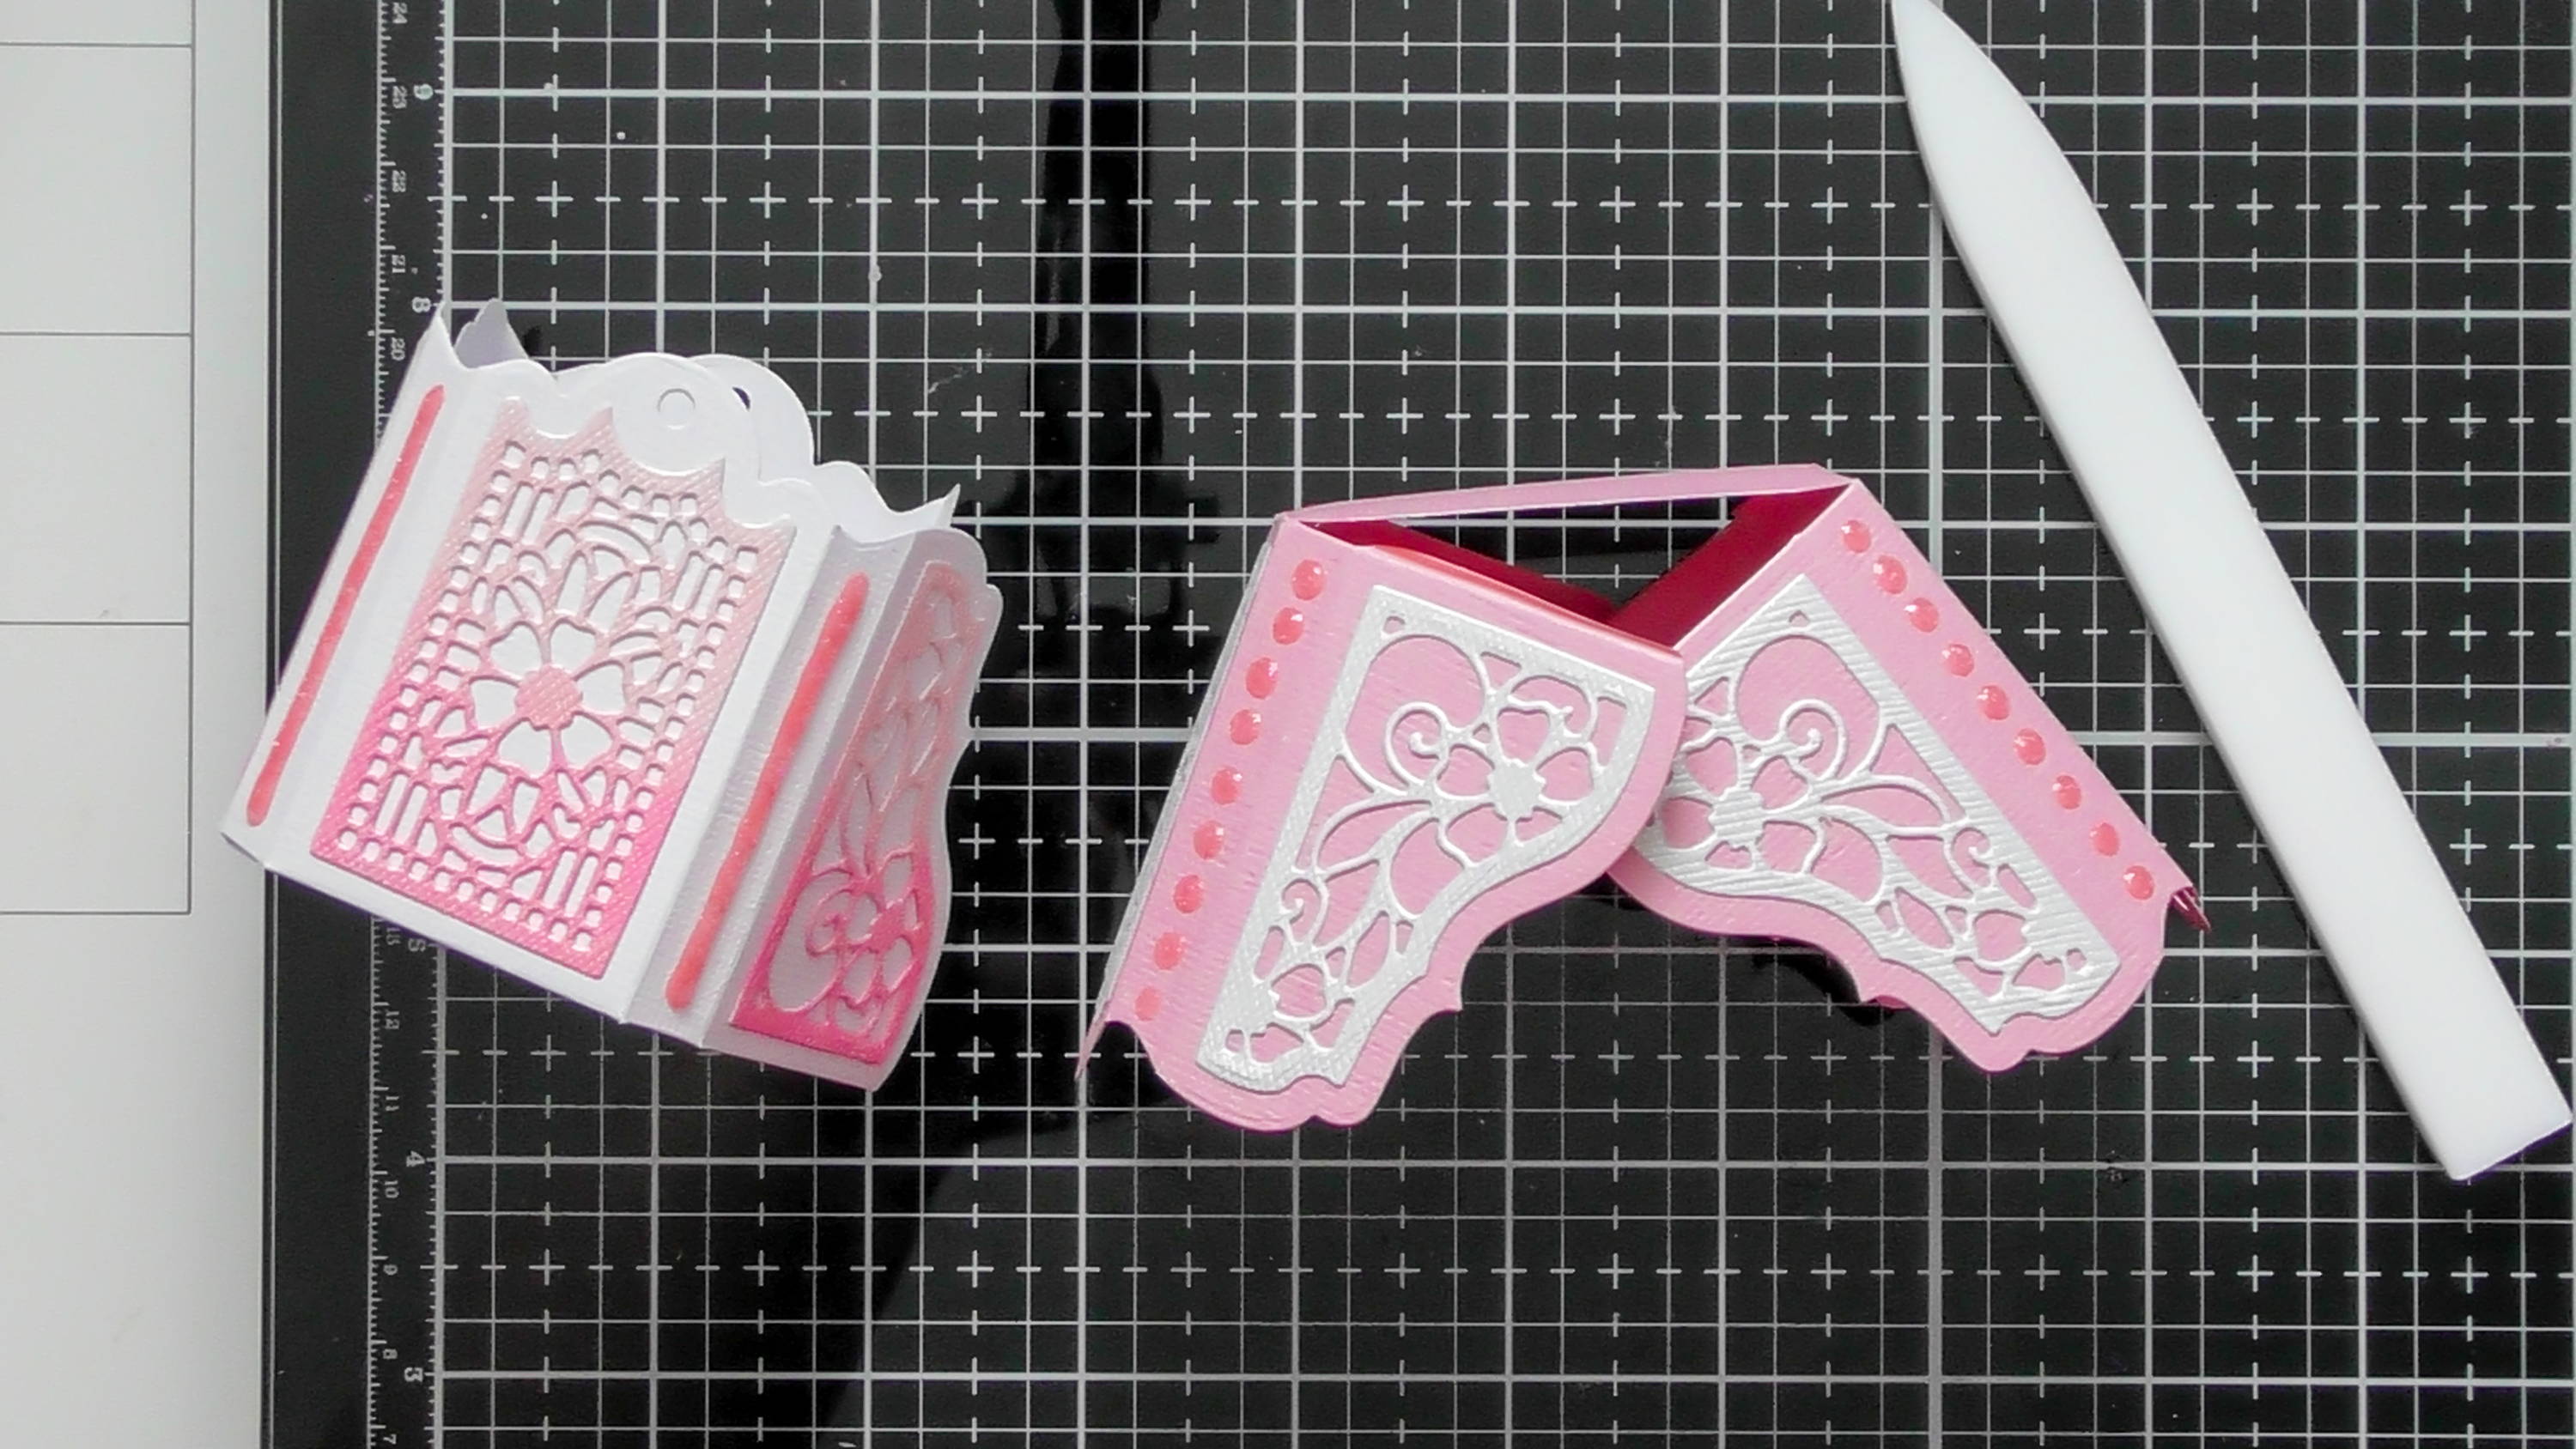
Step 9
and then simply assemble the lid and base using the glue tabs, overlapping the 2 side pieces like so.
Step 10
to give you these :D You want to make use you’re Nuvo drops are dry before assembling too.
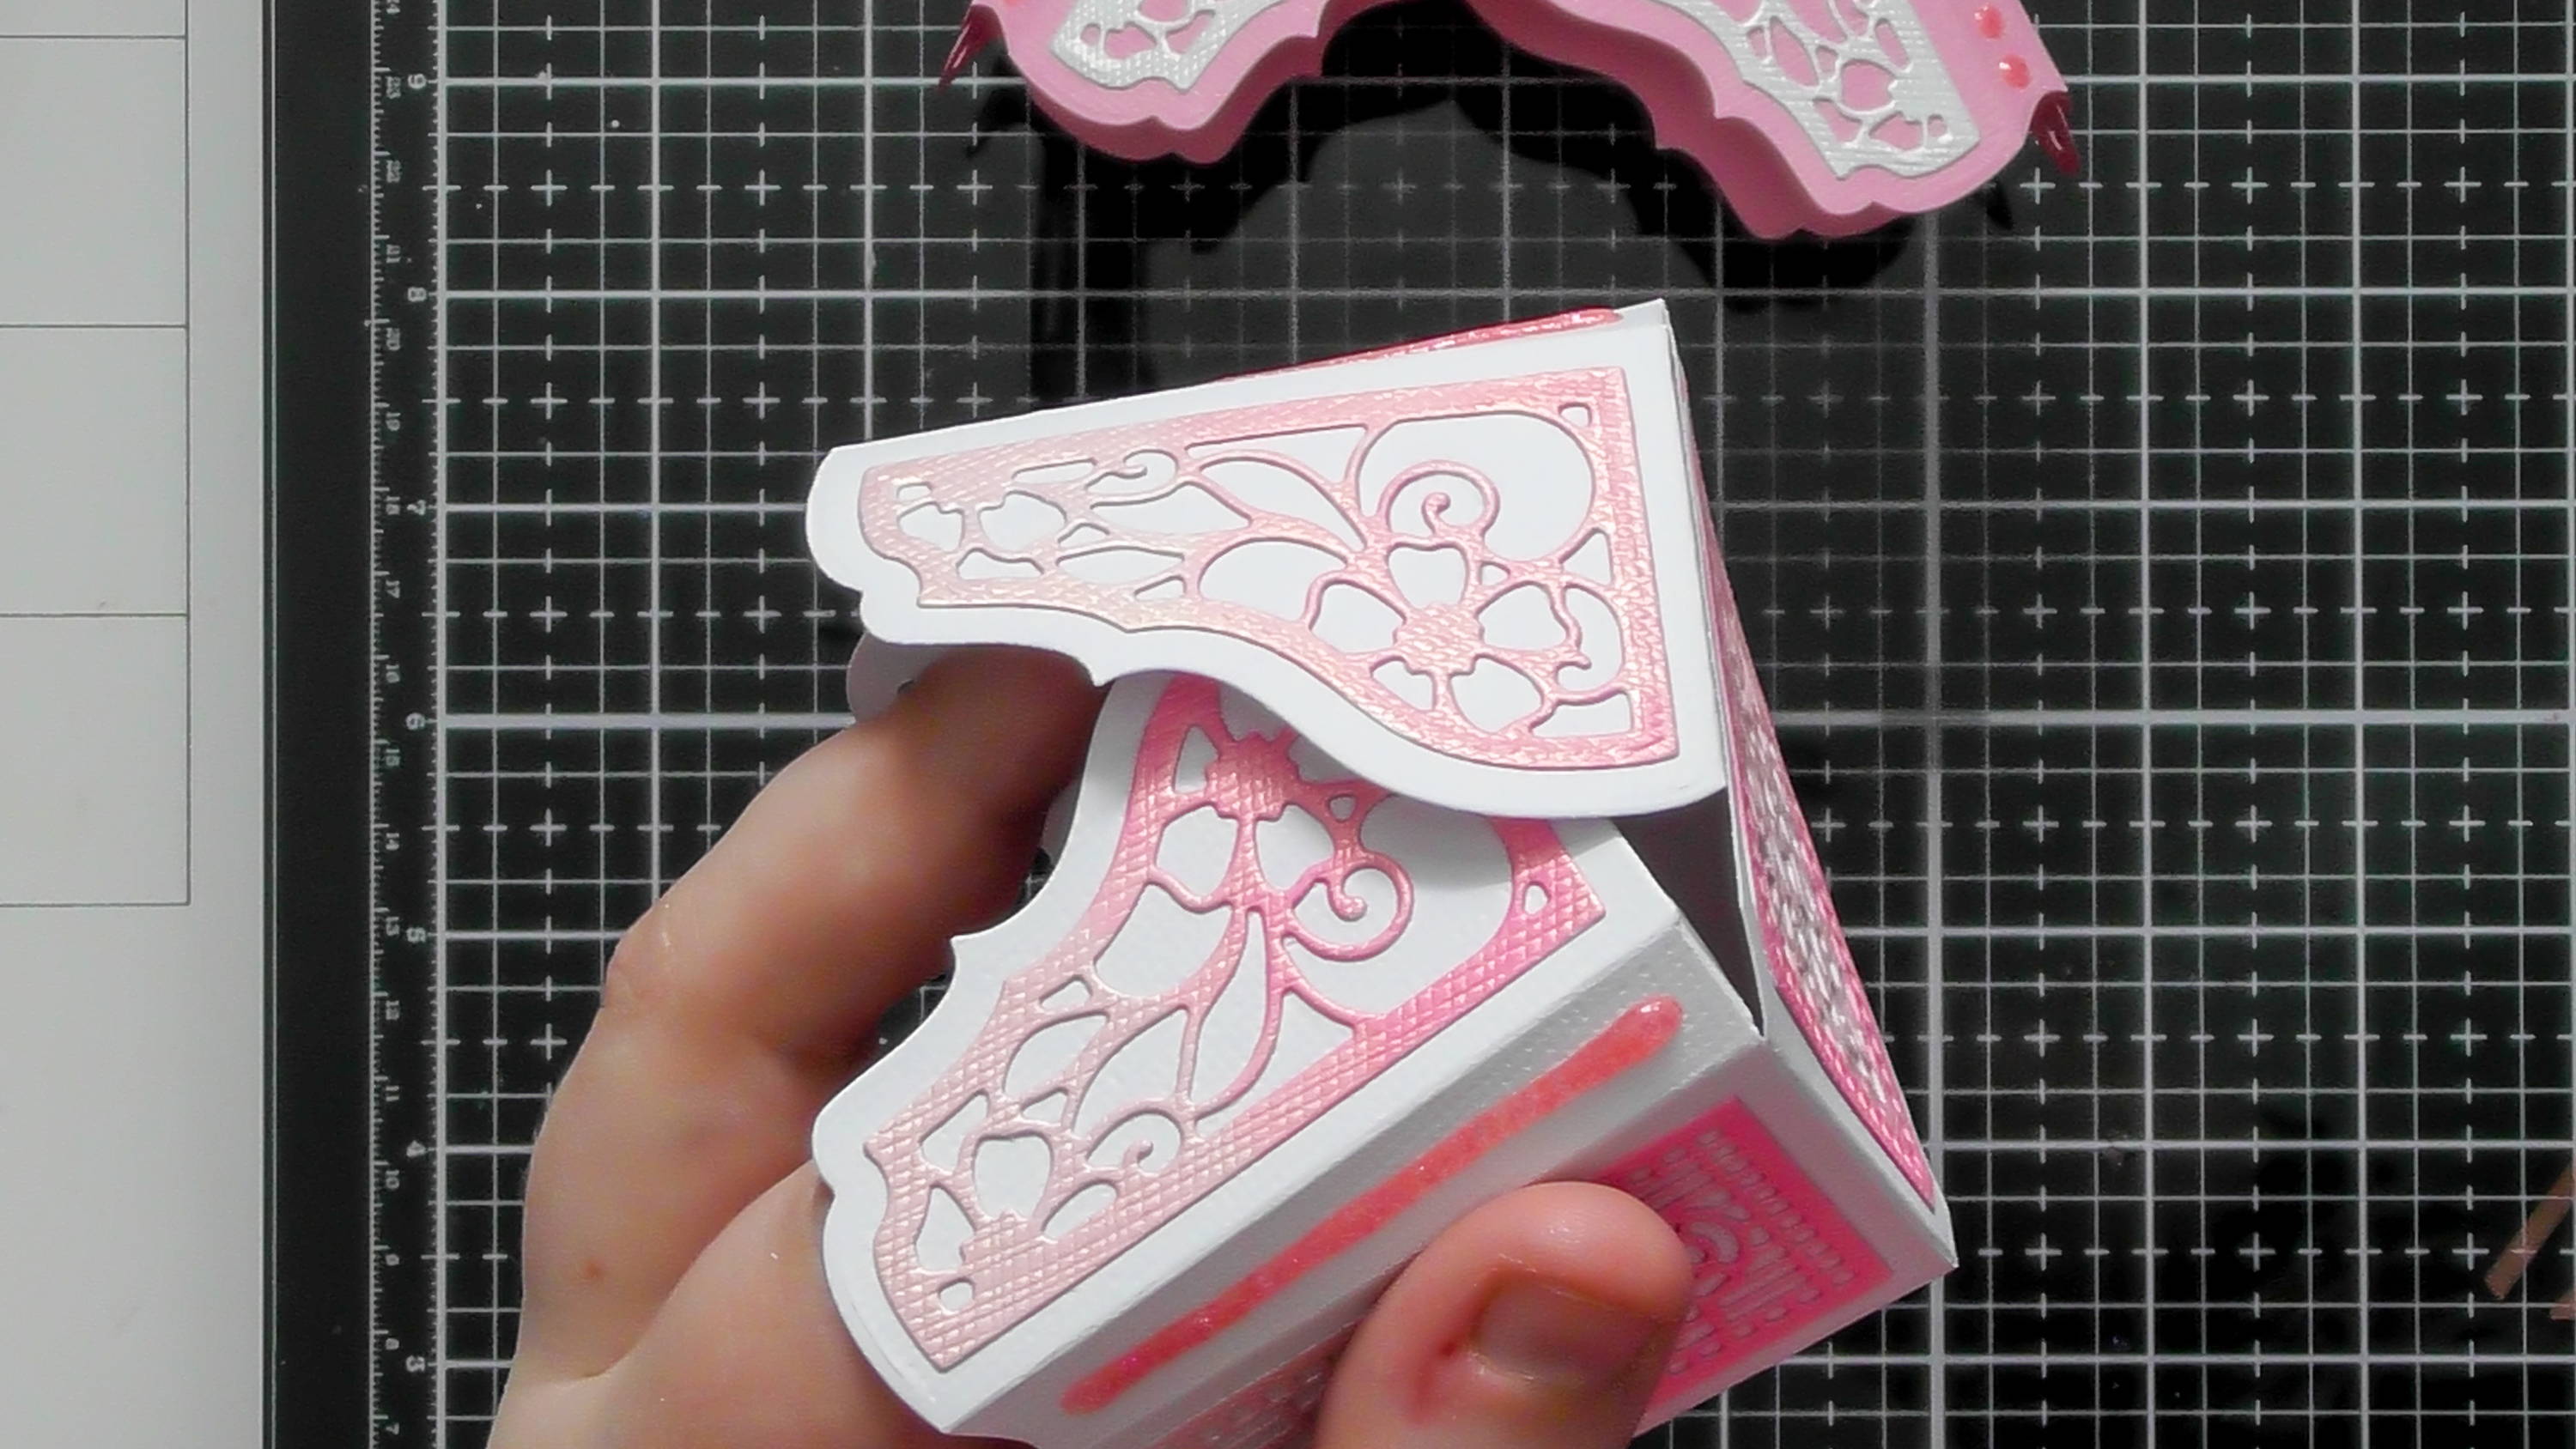
Step 11
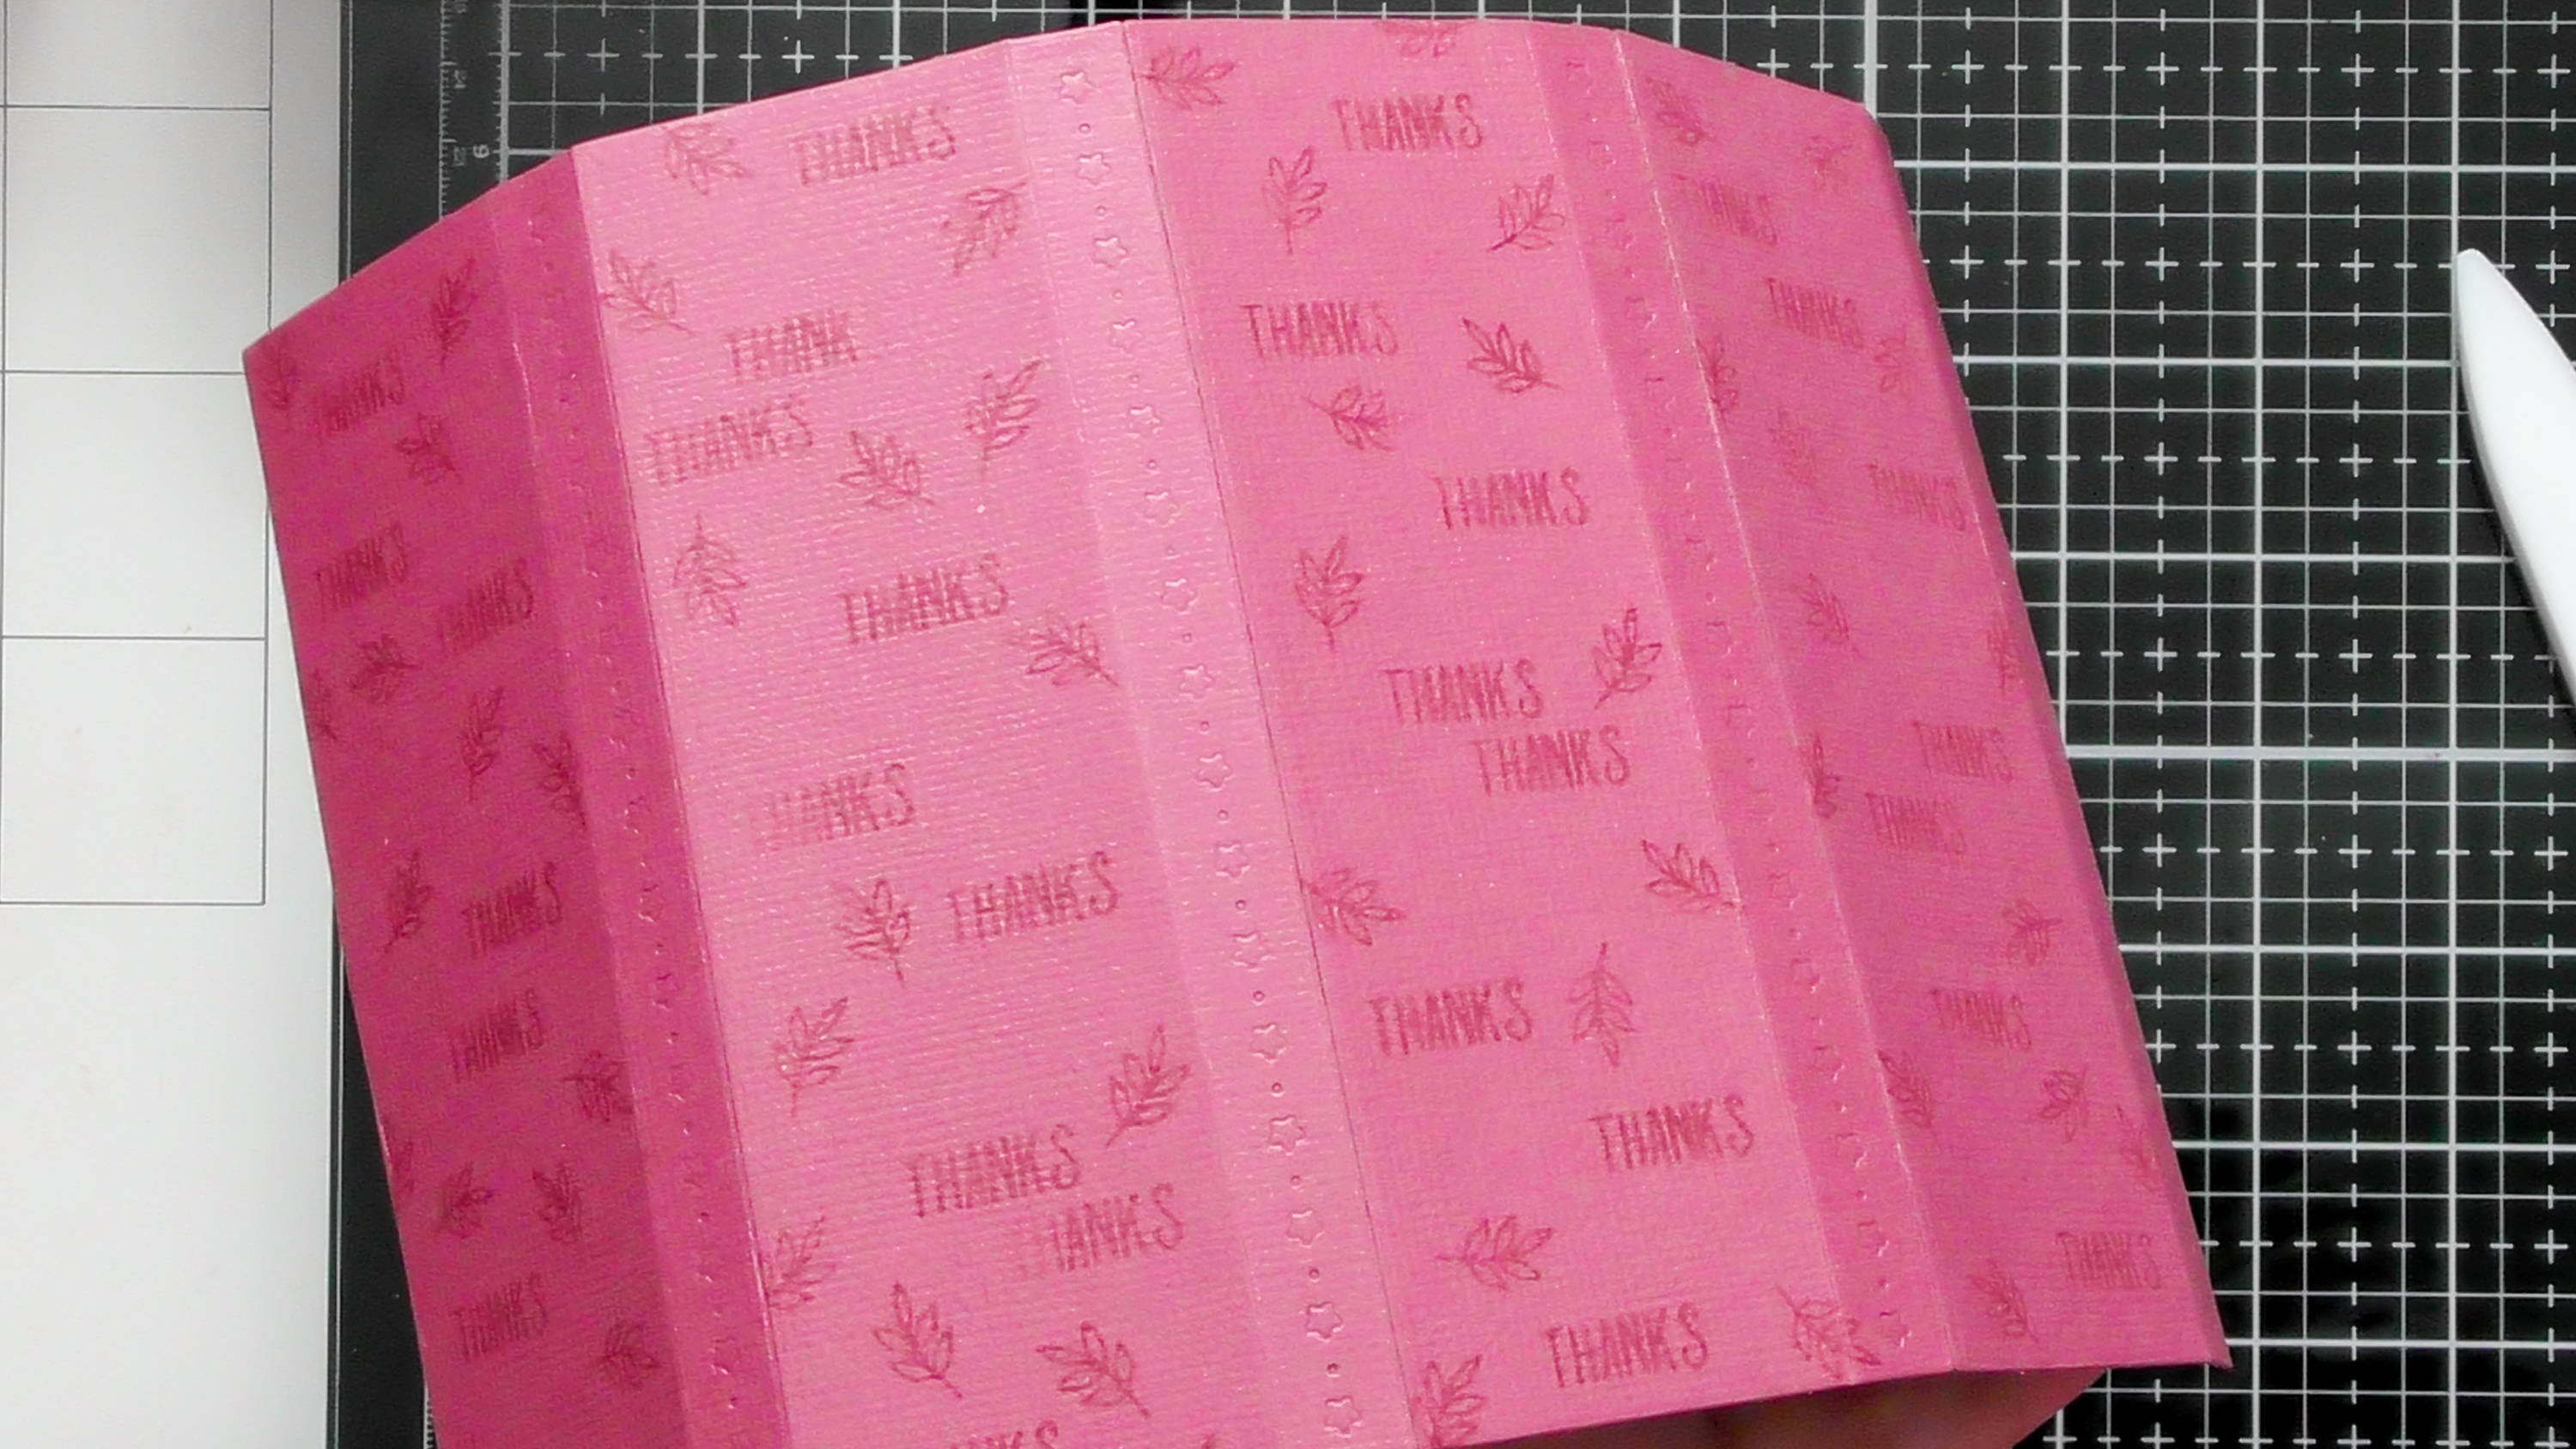
Stick all the side panels together and pre-fold all the long score lines on the main body of the box, the secure with the final glue tab to give a tube.
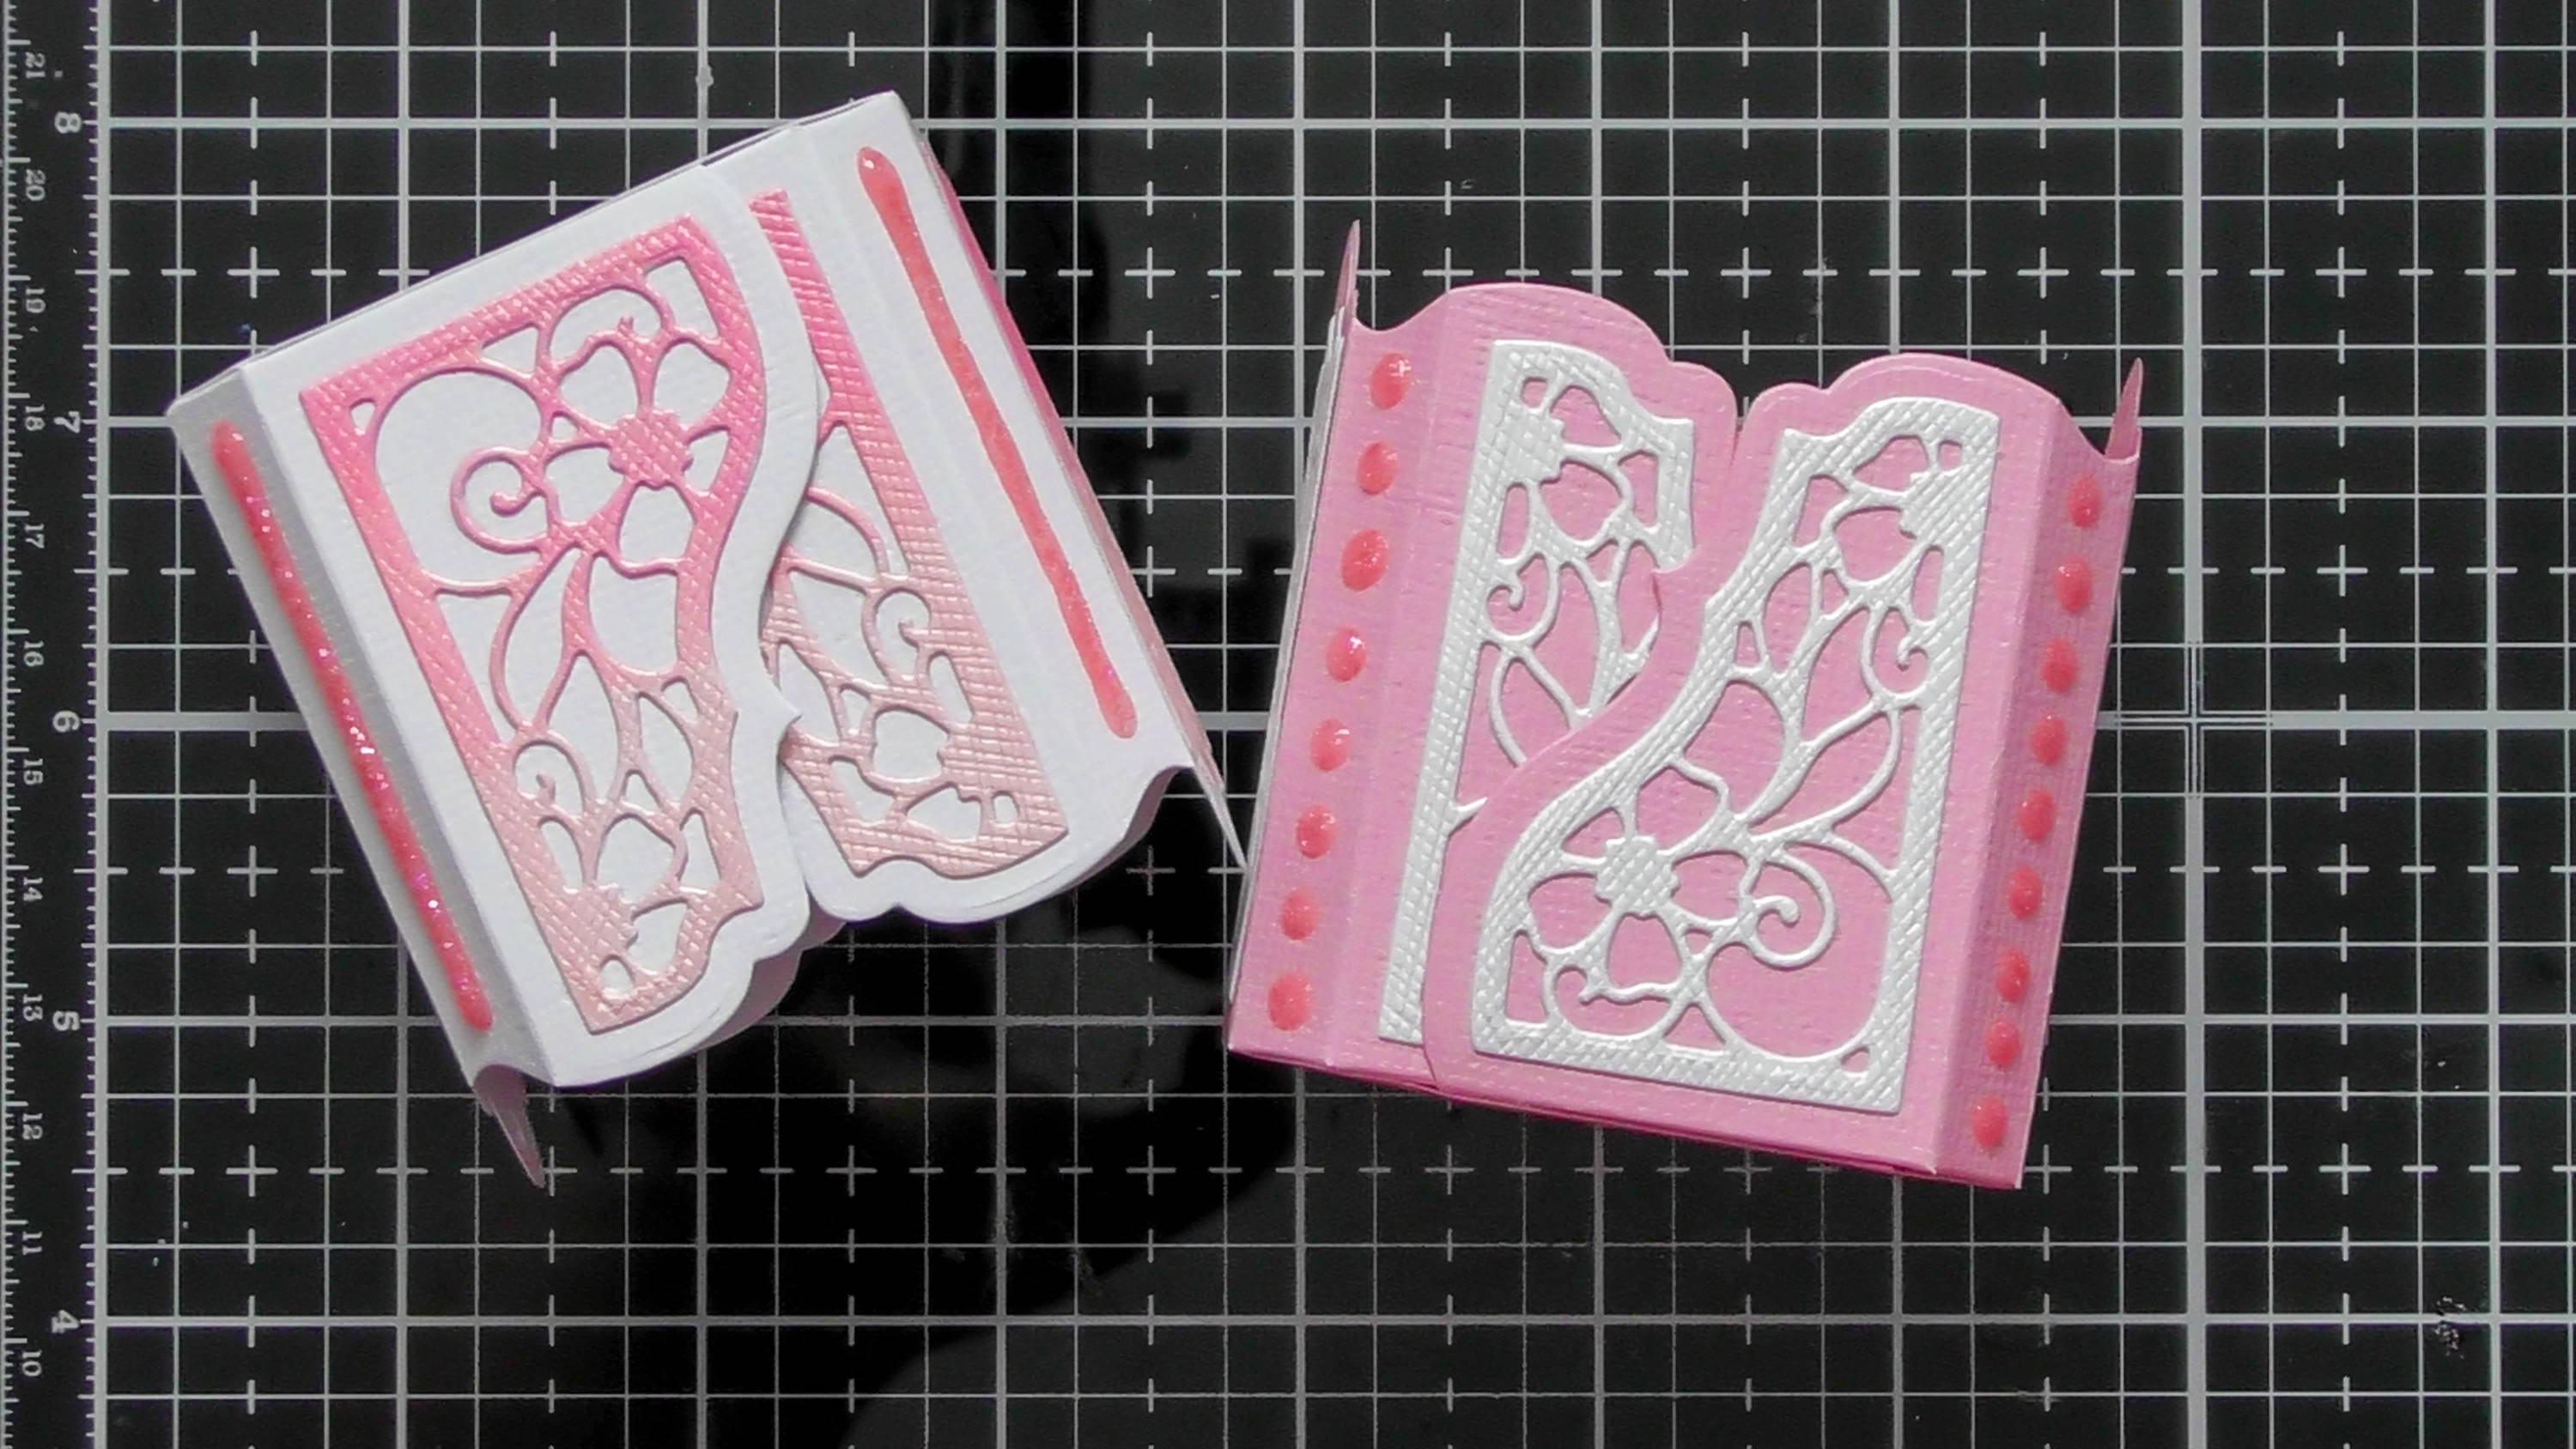
Step 12
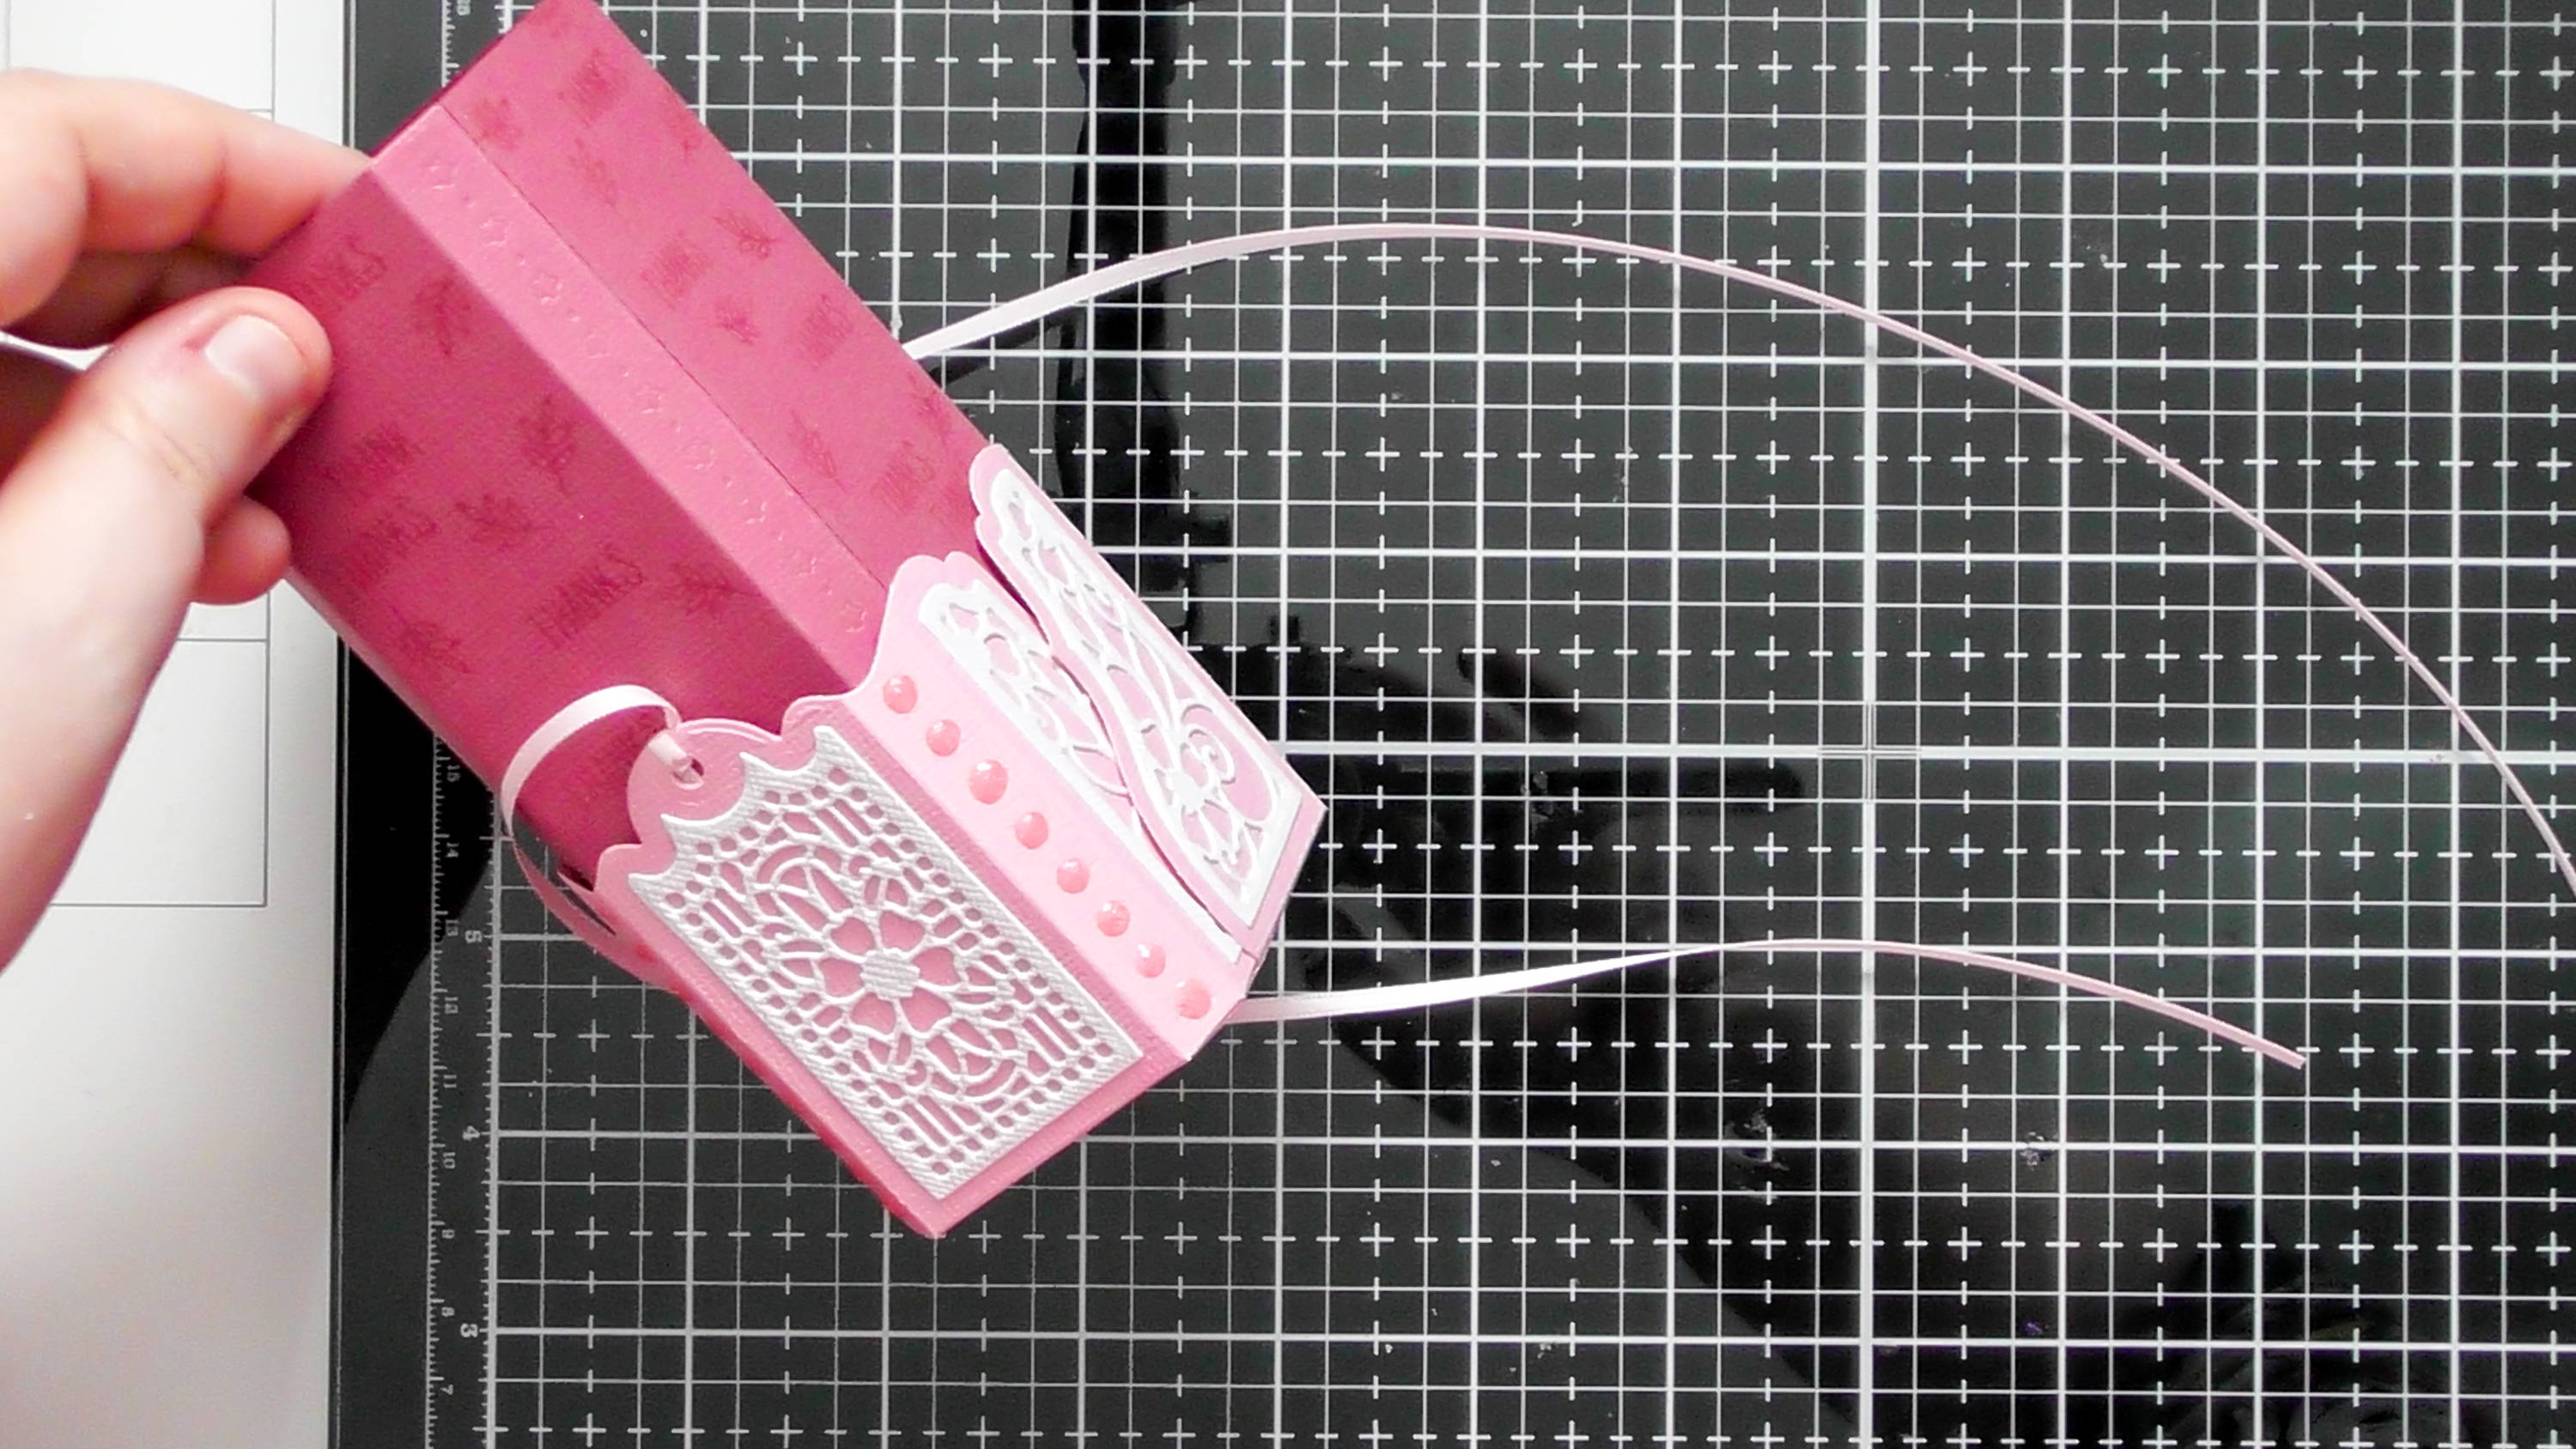
Add the base to the end of the tube, I decided not to glue it, but you can glue it depending on what gift your putting inside :D For the closure I took 2 lengths of the 3mm ribbon and tied one to each of the holes on the base.
Step 13
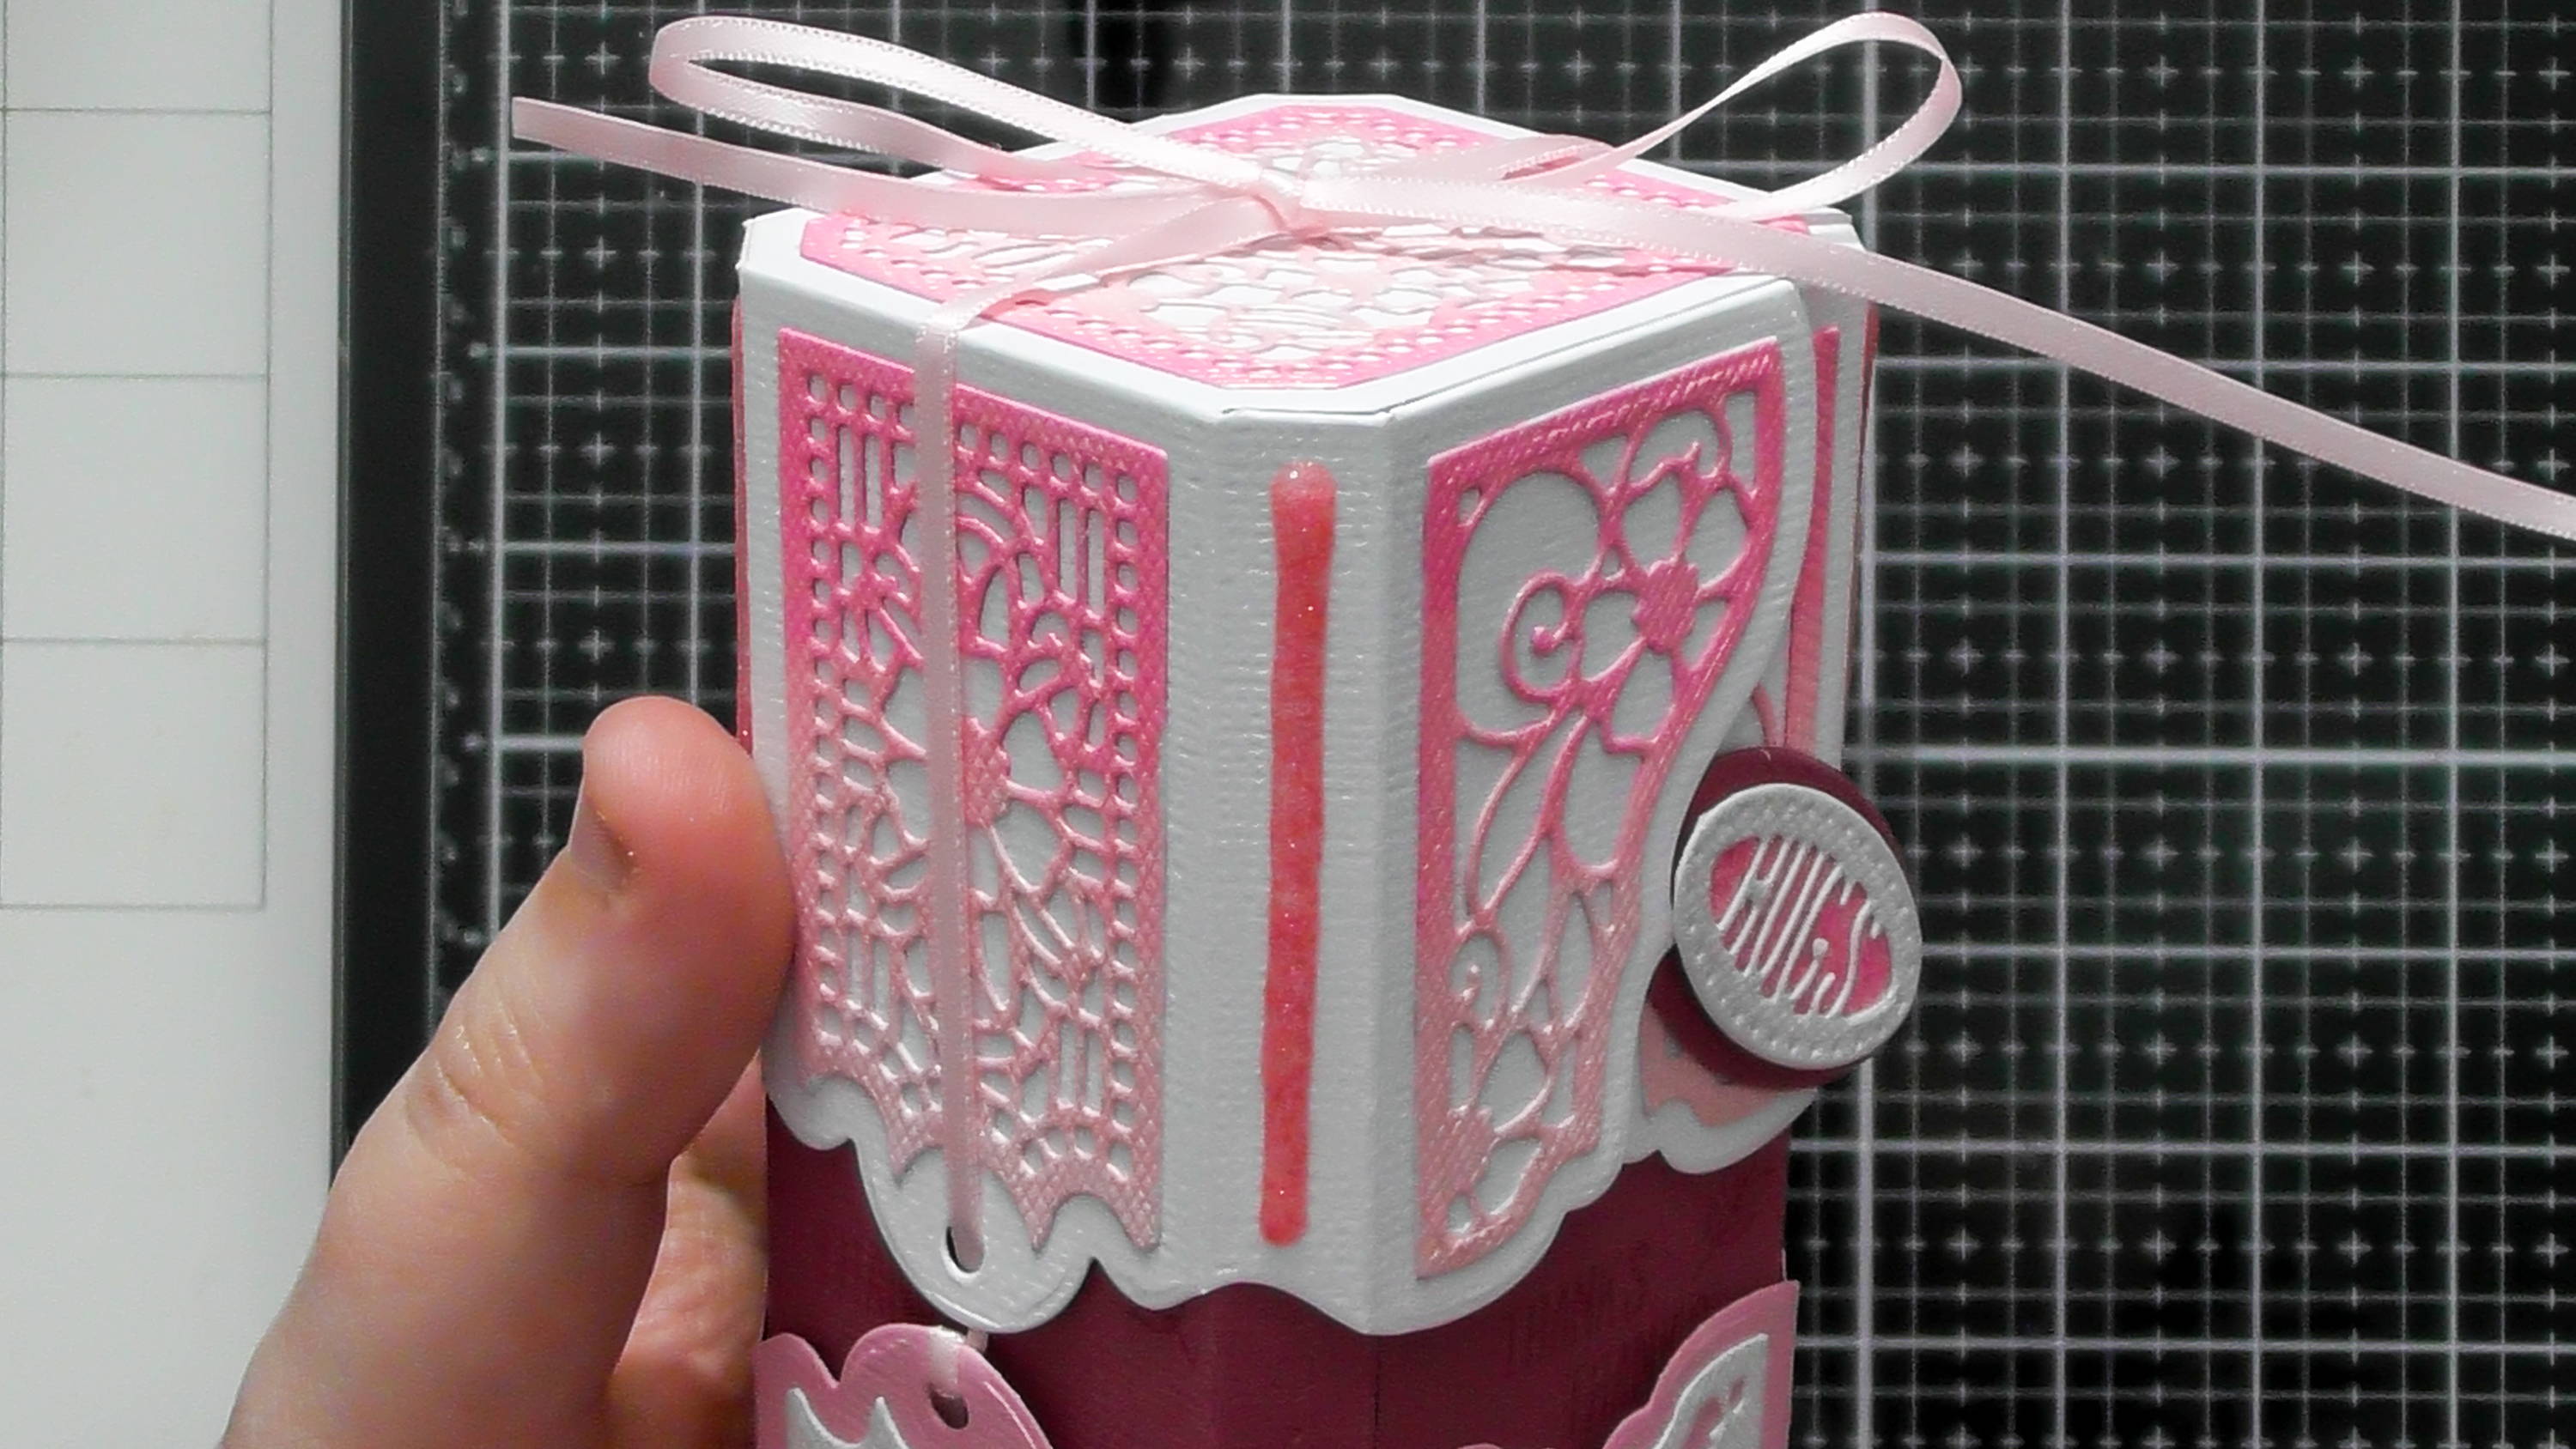
I then threaded those ribbons through to holes on the lid, and tied the 2 ends together into a bow on top of the box :D And then I simply added a little tag tucking it under where the 2 sides overlap.
Step 14

The flash cards inside can be whatever you want. I decided to stick with the dies from the kit, but you could maximise the size by measuring the completed box and creating your own rectangles :D I think you could also use these flash cards as bookmarks, or you could write verses on them to personalise them to the recipient too :D There’s lots of scope for creating these.
Hope you enjoyed this little project :D Check out my Un-Boxing video for some more ideas including an alternate construction for the box, and some card making ideas and Nuvo inspiration too as well as a detailed look at the kit :D Christine xxx
Buy The Craft Project
